background image

PL

Bujak na spr ynie "RAJDU "
Instrukcja monta u - og lna

Informacje og lne:
1. Przed przyst pieniem do monta u, nale y przeczyta  instrukcj  w ca o ci oraz sprawdzi  zawarto  zestawu.
2. Monta u powinna dokonywa  osoba doros a.
3. Przed przyst pieniem do monta u nale y przygotowa  pod o e w miejscu stawiania bujaka.
4. W miejscach  czenia ze sob  drewna za pomoc  wkr t w, nale y uprzednio wykona  otw r o  rednicy nieco 
mniejszej od  rednicy u ywanego wkr ta. 
Czynno  ta jest konieczna z uwagi na mo liwo  p kania drewna podczas wkr cania wkr t w bez nawiercania.
 
Producent nie ponosi odpowidzialno ci za skutki niedostosowania si  do informacji oraz zalece  producenta 
zawartych w niniejszej instrukcji.


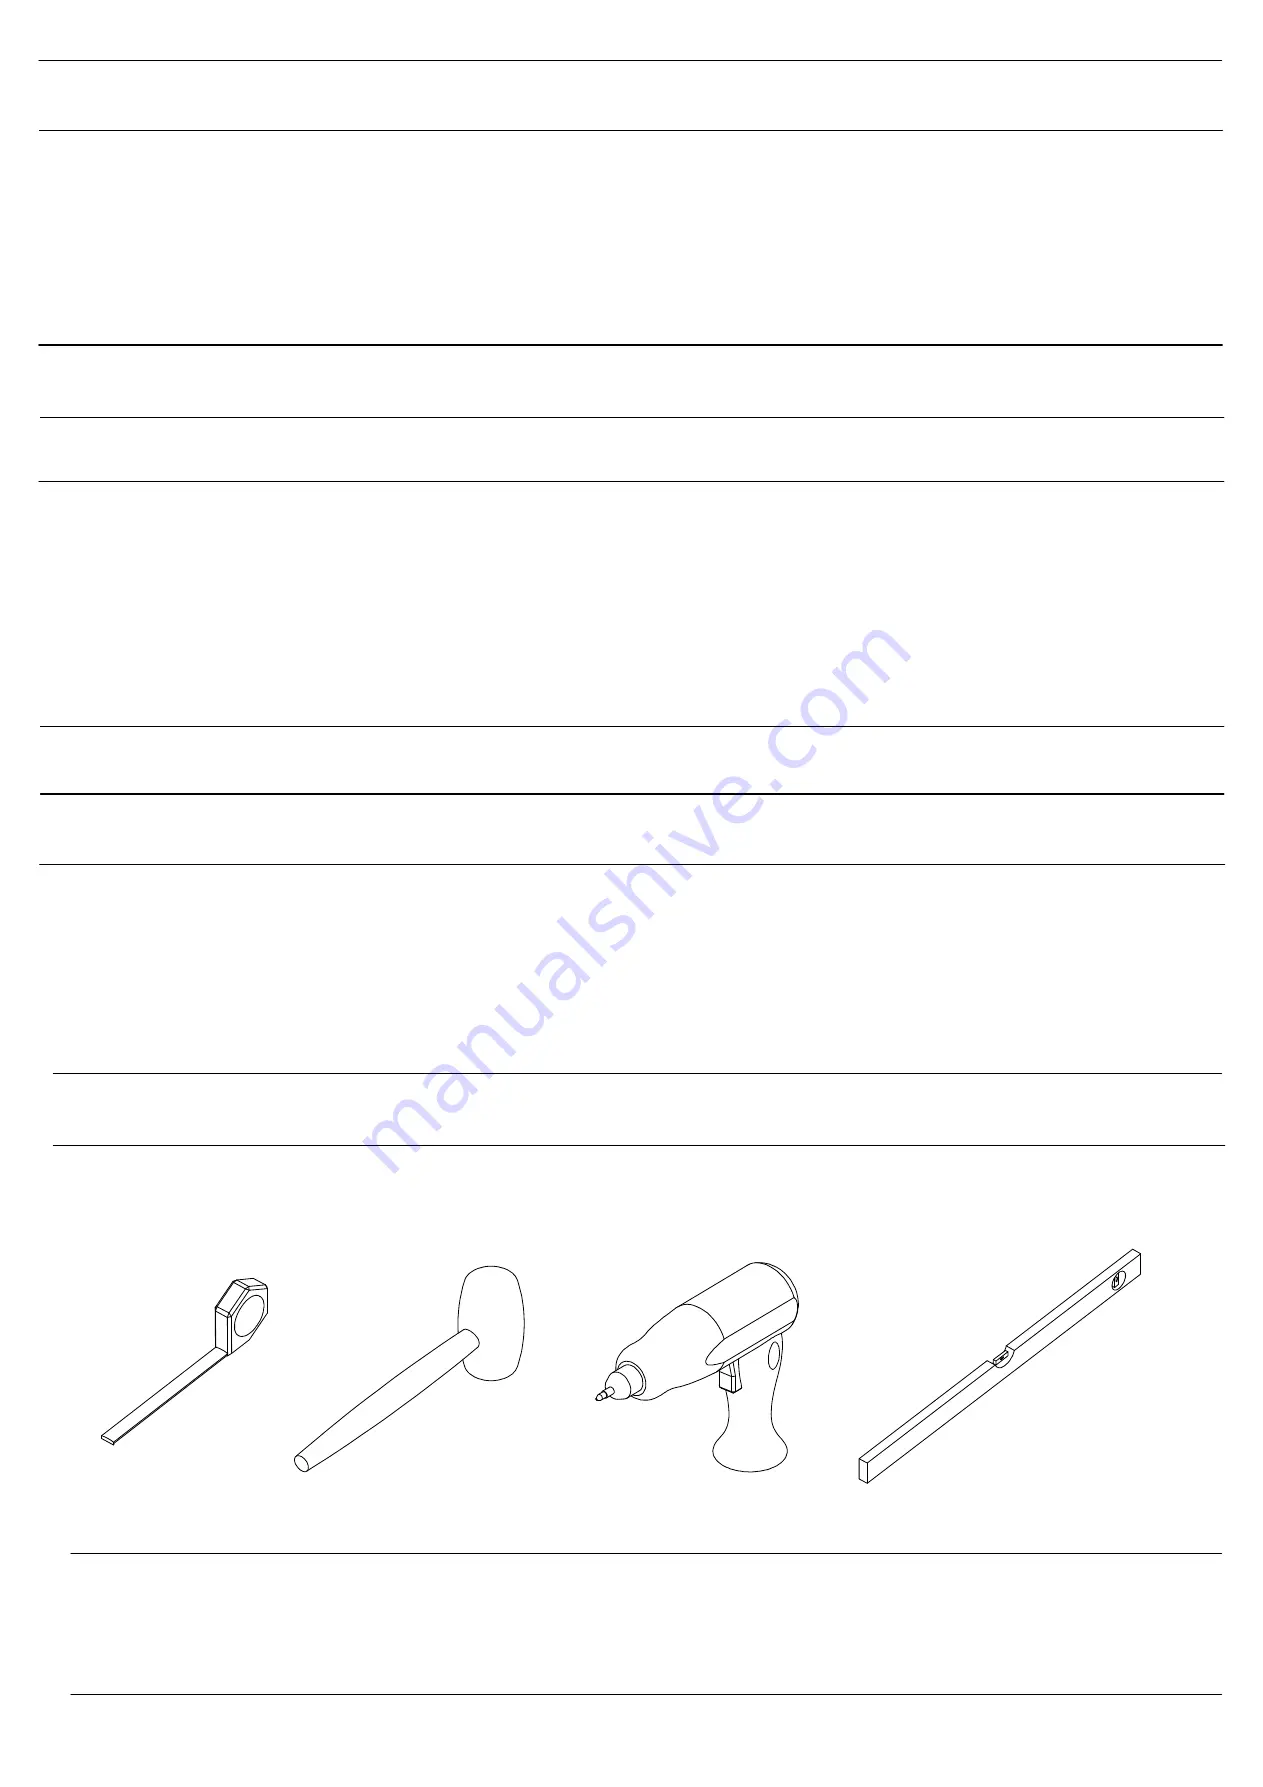
Podstawowe narz dzia potrzebne do monta u

Basic tools required for assembly

 Outils de base n cessaires pour le montage

3/6

EN

Spring rider "RAJDU "
Assembly instructions - general

General information:
1. Before the assembly, please read the instructions in full and check the contents of the set.
2. The assembly should be carried out by an adult.
3. Before assembly, prepare the surface where the spring rider is to be placed.
4. At the connection point between two pieces of wood, drill a pilot hole that is slightly smaller in diameter, 
before connecting them with the screw.
This step is necessary to prevent wood cracking which could happen if the screws are placed without the pilot 
hole.
 
The manufacturer shall not be responsible in any way for the results of failure to comply with the 
manufacturer's recommendations given herein.


FR

Jeu sur ressort "RAJDU "
Manuel de montage - principes de base

Informations g n rales:
1. Avant le montage, lire attentivement le manuel et v rifier le contenu de l'ensemble.
2. Le montage doit  tre effectu  par une personne adulte.
3. Avant le montage, pr parer le substrat pour y placer le jeu.
4. Aux points de connexion du bois   l'aide de boulons, percer d'abord un trou ayant un diam tre l g rement 
inf rieur au diam tre du boulon utilis .
Cela est n cessaire en raison de la possibilit  de fissuration du bois lors du vissage sans per age.
 
Le fabricant n'est pas responsable des cons quences de ne pas respecter les informations et les consignes du 
fabricant contenues dans ce manuel.


Summary of Contents for RAJDUS

Page 1: ...a Ryzyko upadku i uderzenia powoduj cego zranienie u ytkownika WARNING This product is unsuitable for children under 36 months Risk of fall and injury to the user AVERTISSEMENT Ne convient pas aux enfants de moins de 36mois Risque de chute causant des blessures l utilisateur EAN5908235355047 L 950 x B670 x H850mm Ostrze enie Wy cznie dou ytku domowego Dou ytku zewn trznego Warning For home use onl...

Page 2: ...e nale y przeprowadza cz ciej Raz wroku nale y przeprowadza inspekcj zabawki sprawdzaj c stan jej podstawowych cz ci stabilno oraz wytrzyma o po cze rubowych ruby czniki oraz inne akcesoria musz by skontrolowane pod k temich zu ycia si lub uszkodzenia i wymienione wraziepotrzeby Wprzypadku stwierdzenia uszkodze niemo liwych do naprawienia nale y taki bujak ca kowicie wycofa z u ytkowania Wszystkie...

Page 3: ...ould be carried out by an adult 3 Before assembly prepare thesurface where the spring rider is to be placed 4 At the connection point between two pieces of wood drill a pilot hole that is slightly smaller in diameter before connecting themwith the screw This step is necessary to prevent wood cracking which could happen if the screws are placed without the pilot hole The manufacturer shall not be r...

Page 4: ...1 z podstaw 2 wkr tami E 2 Umie mask 6 na zderzaku 5 i przymocuj wkr tami F 3 Po cz oparcie 7 z podp rk 8 wkr tami F 4 Po czone mask 6 i zderzak 5 oraz oparcie 7 z podp rk 8 umie na siedzonku 3 i przymocuj za pomoc wkr t w F 5 Wsporniki poprzeczek 4 przymocuj do siedzonka 3 wkr tami E 6 Umie spr yn A na podstawie 2 i przymocuj za pomoc cznik w B i rub C 7 Umie autko na spr ynie A i przymocuj cznik...

Page 5: ...bar supports 4 to the seat 3 with the screws E 6 Place the spring A on the base 2 and fix with the connectors B and screws C 7 Place the car on the spring A and fix it with the connectors B and screws D 8 Place the crossbars 9 intheholes of the front supports 4 and fix it with the screws G Fix the wheels 10 and the headlights 11 to the seat 3 with the screws G IMPORTANT MAXIMUMALLOWED NUMBER OF US...

Page 6: ...Bujak na spr ynie RAJDU 6 6 1 2 E 1 2 3 4 5 6 7 2 A B C B 5 6 F 8 7 F 3 6 5 7 8 F F 3 4 E E 8 A 3 B B D D 9 4 9 G G 10 10 G G 11 11 G 3 C Assembly Instructions Spring rider RAJDU Manuel de montage Jeu sur ressort RAJDU EN FR ...

Reviews: