Tools
Tools Menu
41
–
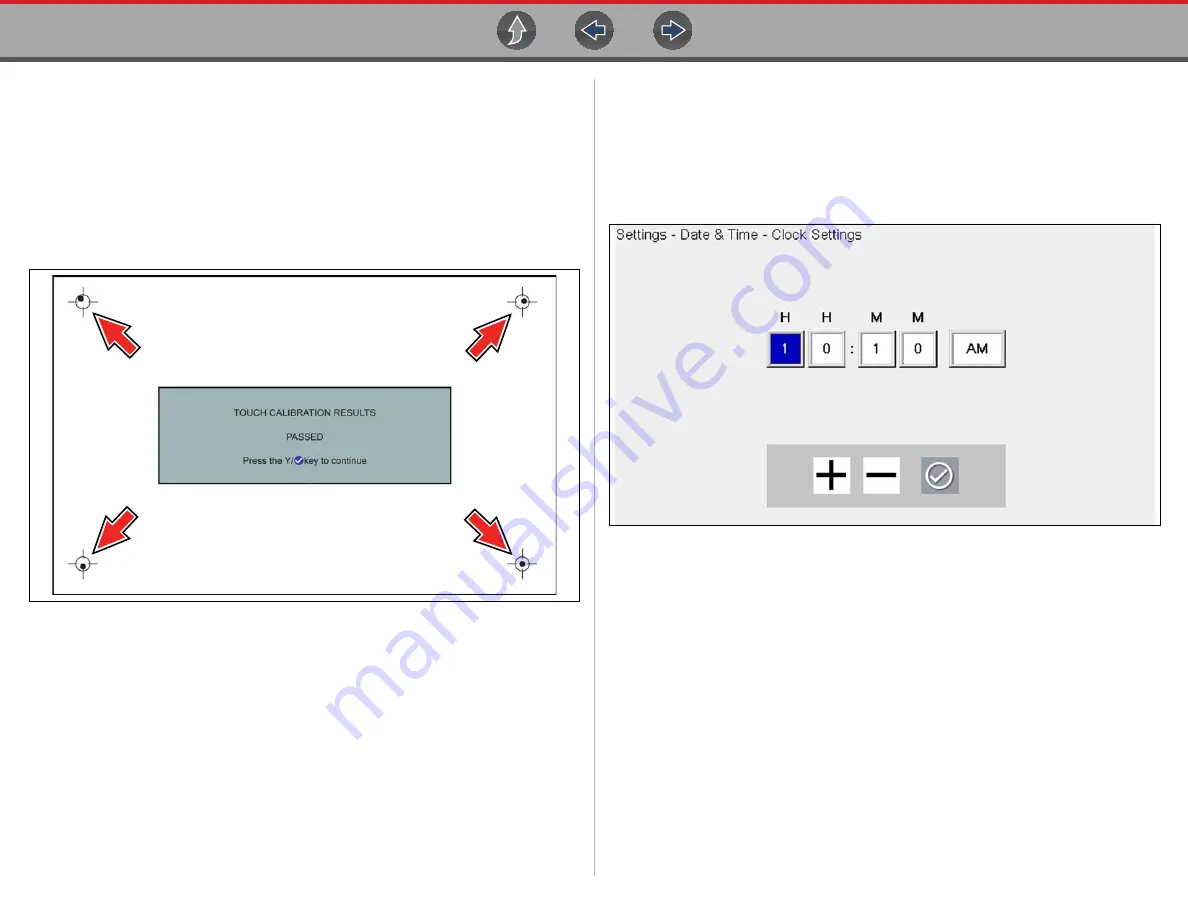
If the calibration is successful, the “Touch Calibration Results - Passed”
screen is displayed (
). Press the
Y
button to complete the process
and return to the Display menu.
–
If the calibration is not successful, the “Touch Calibration Results - Failed”
screen is displayed. Press the
Y
button to perform the procedure again.
The results screen (
) shows the entered calibration of each
indicator. Ideal calibration would be to select each indicator exactly in the
center, however selection inside the displayed circle is acceptable. If selecting
the center is difficult using your finger, use a touch screen stylus (not included).
Figure 6-8
Touch screen calibration - Passed
DATE & TIME (settings)
Time Zone
This option opens a menu of time zone settings. Scroll to highlight, then select the
local time zone. The display returns to the Settings menu once a time zone is
selected.
Clock Settings
This option opens a window for resetting the time on the real-time clock.
z
To set the clock:
1.
Select
Tools
from the Home screen to open the menu.
2.
Select
Settings
from the menu.
3.
Select
Clock Settings
from the menu.
A warning message briefly displays followed by the Clock Settings screen
(
Figure 6-9
Clock settings
4.
Select the
up
(
+
) icon on the screen or press the
up
(
b
) button to incrementally
increase the number in the highlighted field. Select the
down
(
–
) icon on the
screen or press the down (
d
) button to incrementally decrease the number.
5.
Select the
check
(
a
) icon on the screen or press the
Y/
a
button to move the
highlight to the next field.
6.
Repeat Step 4 and Step 5 until the correct time is displayed.
7.
Select the
Back
icon on the toolbar or press the
N/X
button to close the Clock
Settings window and return to the Settings menu.


