background image

Special Notes: 

1. Check that all components are accounted for and undamaged before

assembling.

2. Please assemble product in a clean and dry area. 

3. For larger units you may need another person to help assemble the product.

4. Clean the product with a mild cleaner and a damp cloth.

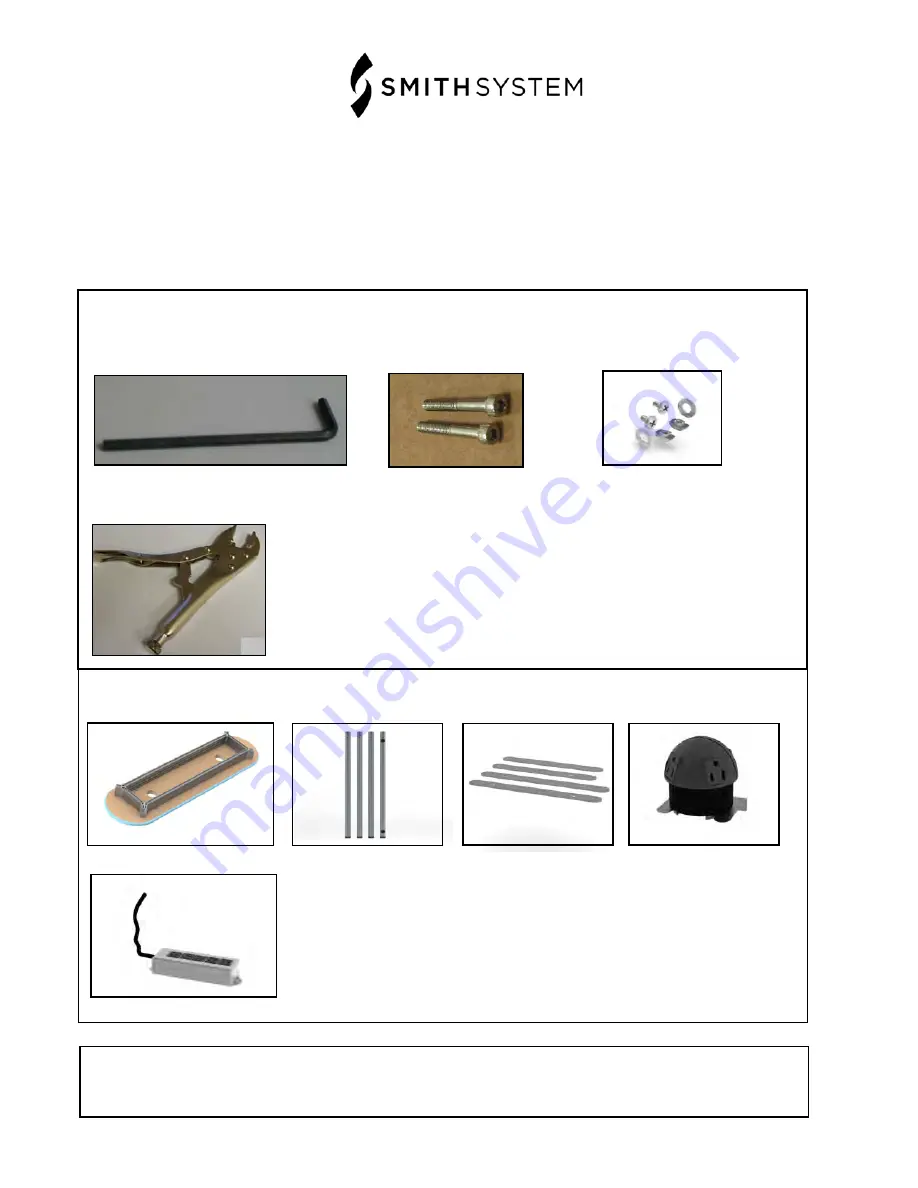
Components:

1. Table top with frame

2.  Leg set:

Tools/Hardware


2.  Nyloc Bolts (2 per leg) 

1.  5mm Allen Key

3.  67314 Hardware Pack  

4.  Vice Grip or Wrench *Not Included*

Notes:

If you have damaged or missing components or hardware or need assistance in assembling product, please 

contact Customer Service at 1-800-328-1061.  

3. Leg Stabilizers

3. Power Domes

5. Power Strip

Summary of Contents for UXL

Page 1: ... ULPB60____PLTFT UXL 60 Power Bar ULPB72____PLTFT UXL 72 Power Bar ULPB84____PLTFT UXL 84 Power Bar For assistance in assembling product missing or damaged parts or to place an order please contact customer service at 1 800 328 1061 You may also place your order online at www smithsystem com ...

Page 2: ...duct 4 Clean the product with a mild cleaner and a damp cloth Components 1 Table top with frame 2 Leg set Tools Hardware 2 Nyloc Bolts 2 per leg 1 5mm Allen Key 3 67314 Hardware Pack 4 Vice Grip or Wrench Not Included Notes If you have damaged or missing components or hardware or need assistance in assembling product please contact Customer Service at 1 800 328 1061 3 Leg Stabilizers 3 Power Domes...

Page 3: ...ightened use a Vice Grip or Wrench to compltely tighten the bolts See Image 2D Step 4 FastenthePowerStriptotheinsideof theframe B Insertthedrop innutsintotheframerailasshown D Fastenthedrop innuttotheframerailusingaphillipsheadscrewdriver Notes If you have damaged or missing components or hardware or need assistance in assembling product please contact Customer Service at 1 800 328 1061 4A 4B 4C 4...

Page 4: ... missing components or hardware or need assistance in assembling product please contact Customer Service at 1 800 328 1061 Step 5 With help over to the upright position and place the included power domes into the holes in the work surface using the provided instruction Once the domes are installed route the plugs through the UXL wire manager leg if desired Step 6 Using attached cable ties neatly t...

Reviews: