PAIRING YOUR CAMERA(S)
The system comes with a Camera that has already been paired to the Receiver. The
Camera will communicate with the Receiver once it is powered.
The pairing function assigns each camera to a different channel on the Wireless Receiver
(up to 4 cameras), and is necessary for adding additional cameras to your system.
NOTE: It is highly recommended to pair the camera(s) to the receiver before
permanently mounting them.
To Pair a Camera to the Receiver
1.
Power the Receiver and Camera by connecting its 9V DC Power Adaptor to the
mains power. (The camera should be next to the receiver when you pair it).
2.
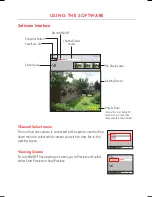
Press the
Menu button
on the receiver
or remote controller. Go to the
Pairing
submenu
using the navigation buttons on
the remote controller or Receiver. Press
Enter
or
OK
button to enter the Pairing submenu.
3.
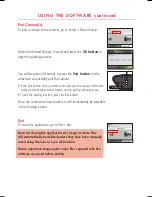
Use the UP or DOWN buttons to select the
desired Pairing Channel and press the
Enter
button
to begin the pairing process.
4.
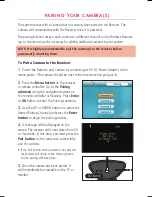
A message will be displayed on the
screen. The receiver will count down from 30
to 0 seconds, in this time, you must press the
Pair button
on the camera to successfully
pair the camera.
• If the Pair button on the camera is not pressed,
the receiver will return to the Viewing screen,
and no pairing will take place
.
5.
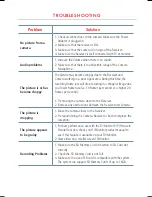
Once the camera has been paired, it
will immediately be viewable on the TV or
monitor.
Pair Button


