


2000i-DVX Installation Guide
33
2. Press and hold the
Volume Down
(
–
) button on the Control Panel to decrease the volume
for the current source.
To restore the default volume level (no sound)
Press and hold both
Volume
buttons simultaneously.
To fine-tune the projected image
When you first use the projector, you may need to fine-tune the projected image. To automatically
optimize the image in RGB mode, press the
Auto Adjust
button on the projector’s remote control (or
on the projector). This will eliminate vertical banding, flickering, video noise, dot interference and
cross talk, and may be necessary the when you connect the computer for the first time.
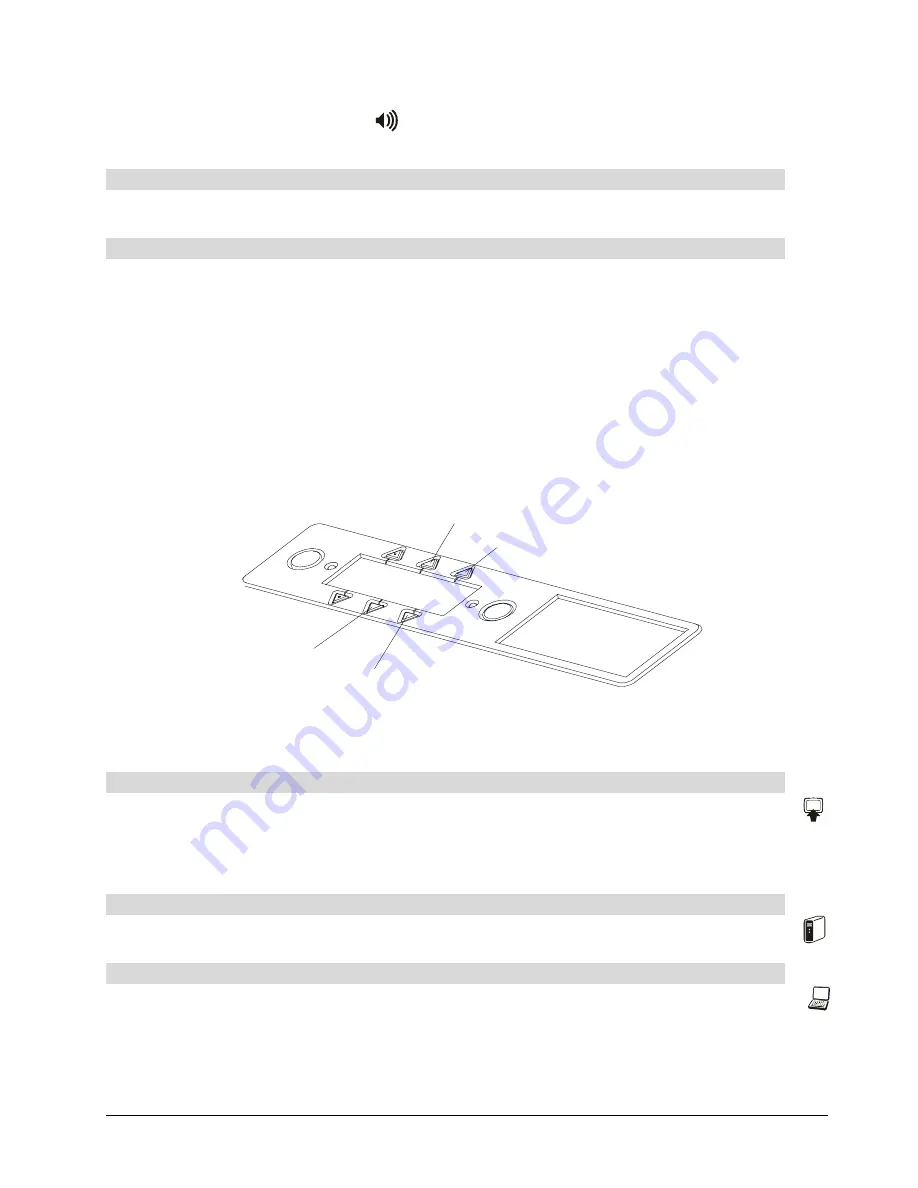
Changing the Display Source for the Internal Projector
You can change the video and audio input source for the internal projector and cabinet audio
amplifier using the three source buttons on the Control Panel. Choose from the host computer, a
connected guest laptop or external computer (X-Port 20 switch option only) and a VCR or DVD
player. When the internal computer source is active, you can also open Notebook software and the
SMART Board tools by pressing the Notebook software button on the Control Panel.
Internal (Host) Computer
Guest Laptop
VCR/DVD Player
Notebook
Software
NOTE:
Source switching takes a few seconds, and during that time all buttons on the Control Panel
are disabled.
To switch to the connected VCR or DVD player
Press the
VCR/DVD Player
button on the Control Panel.
NOTE:
You can't use the
VCR/DVD Player
button to switch to a VCR or DVD player that’s connected
by an S-video cable. You must use the projector remote control to switch to an S-video source.
To switch to the internal computer
Press the
Internal Computer
button on the Control Panel.
To switch to a guest computer (X-Port 20 switch option only)
Press the
Guest Laptop
button on the Control Panel.
Summary of Contents for SMART Board 2000i-DVX
Page 1: ...Interactive Whiteboard Guide Installation ...
Page 8: ......


