


-10-
Set Open
Position
Set Close
Position
Set Close
Position
Set Ped
Position
Set Up
Complete
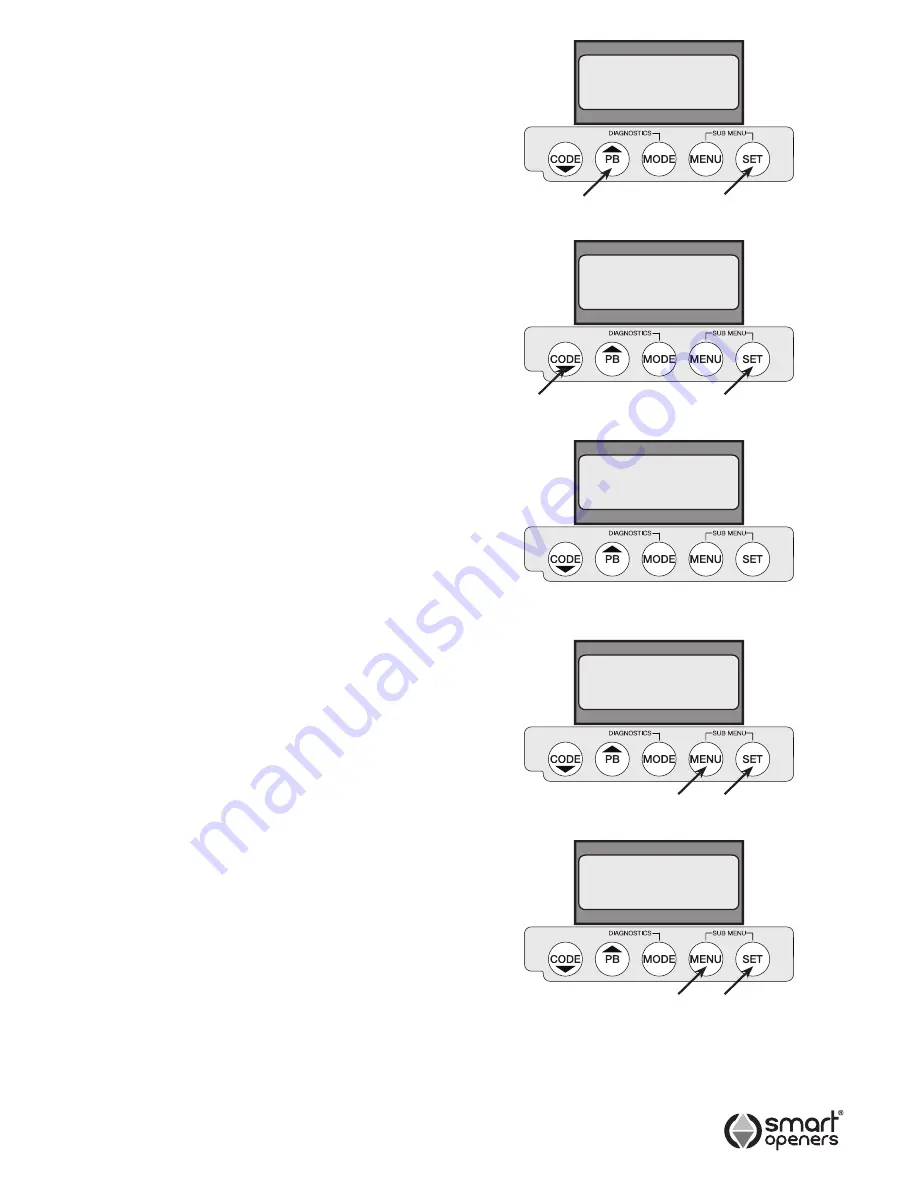
Setting Limits
1.
The display should show
Set Open Position
.
If not - to enter Limits Set Up Mode press
SET
for 3
secs.
2.
With the door open approximately half way, make
sure that the drive motor is engaged.
Note:
If the door starts closing instead of opening the
opener needs to be reset to the correct side (Left/
Right). Press
MENU
to abort limits set up then
press
SET
again and repeat initialising procedure
as per Page 9.
3.
Press and hold
PB
to move the door (at half speed)
to the desired open position. Release button when
the desired open position has been reached. If further
adjustment is required press
CODE
to move the door
down.
4.
Press
SET
to confirm. The display will show
Open
Position Set
for 2 secs then will show
Set
Close Position
.
5.
Press and hold
CODE
to move the door (at half
speed) to the desired closed position. If further
adjustment is required press
PB
to move the door up.
6.
Press
SET
to confirm. The display will show
Close
Position Set
for 2 secs.
7.
The drive motor will now run through a full cycle to
measure time, current and force margin required to
open and close.
Note:
If pedestrian mode is enabled the display will show
Set Ped Position
(Fig.16) indicating that the
Pedestrian Open Position can now be set. Otherwise the
display will show
Set Up Complete
.
Setting Pedestrian Mode
Pedestrian Mode allows the door to open partially to
allow a person to enter without the need to open the door
fully as for vehicular access (Factory Default = Off).
1.
Press
MENU
for 3 secs then press SET to cycle
through to
Pedestrian Mode
.
2.
Press
MENU
to choose
On
or
Off
as required.
3.
Press
SET
to confirm.
Note:
Pedestrian Mode is factory preset to TX Button 2.
Setting Pedestrian Open Limit
Note:
Setting pedestrian open limit follows in sequence
after full access limits. If Ped Mode was not activated
prior to limits set up, you will need to repeat limits set
up as above then follow steps below.
1.
After limits set up is complete the display should show
Set Ped Position
.
2.
Press and hold
PB
to move the door to the desired
pedestrian open position.
3.
Press
SET
to confirm. The door will now return to the
closed position.
Fig. 11
Fig. 12
Fig. 14
Fig. 13
Fig. 15
© June 2009 Smart Openers Pty Ltd