


Sunny Island Electrical Connection
SMA
Solar Technology AG
52
SI2012_2224-TEN082311
Technical Description
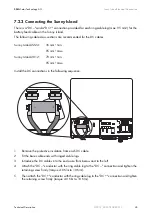
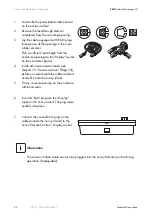
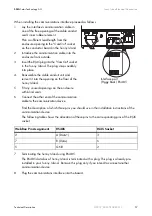
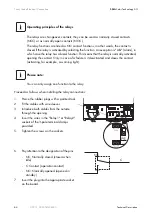
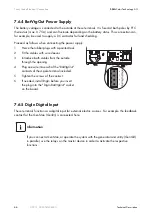
1.
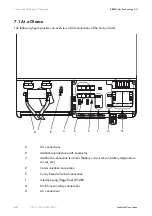
Dismantle the preinstalled cable conduit
on the enclosure floor.
2.
Remove the feed-through element
completely from the mounting opening.
3.
Lay the cable equipped with RJ45 plugs
through one of the openings in the inner
rubber element.
Plan a sufficient lead length from the
enclosure openings to the "Display" socket
on the conductor board.
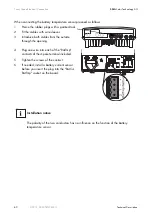
4.
Install all communication leads (see
chapter 7.5 "Communication" (Page 53)),
before you reassemble the rubber element
and refit it onto the Sunny Island.
5.
Fit any unused openings on the enclosure
with blind seals.
6.
Insert the RJ45 plug into the "Display"
socket in the Sunny Island. The plug snaps
audibly into place.
7.
Connect the second RJ45 plug on the
cable (outside the Sunny Island) to the
Sunny Remote Control 1 Display socket.
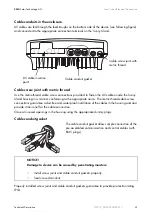
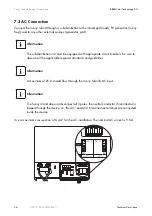
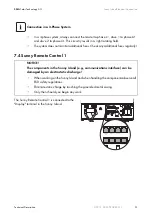
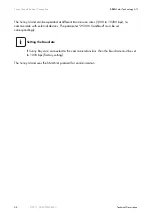
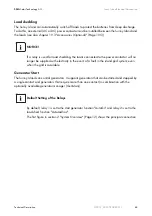
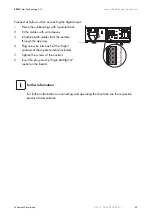
Information
The communication cable can also be plugged into the Sunny Remote Control during
operation (hotplug-able).


