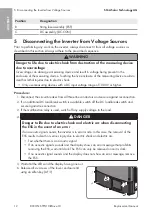
5 Disconnecting the Inverter from Voltage Sources
SMA Solar Technology AG
Replacement Manual
DCCON-STPTL10-RM-xx-10
13
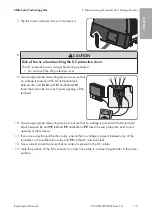
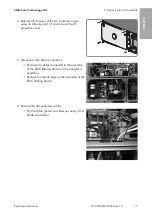
7. Flip the lower enclosure lid up and remove it.
8.
CAUTION
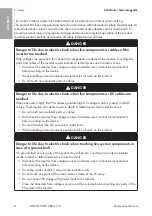
Risk of burns when touching the DC protective cover
The DC protective cover can get hot during operation.
• Do not touch the DC protective cover.
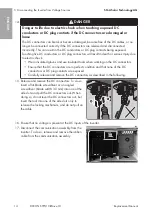
9. Use an appropriate measuring device to ensure that
no voltage is present at the AC terminal block
between
L1
and
N
,
L2
and
N
, and
L3
and
N
.
Insert the test probe into each round opening of the
terminal.
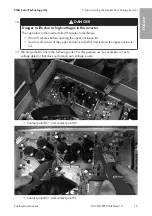
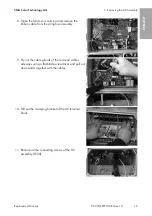
10. Use an appropriate measuring device to ensure that no voltage is present at the AC terminal
block between
L1
and
PE
,
L2
and
PE
, and
L3
and
PE
. Insert the test probe into each round
opening of the terminal.
11. If you are using the multifunction relay, ensure that no voltage is present between any of the
terminals on the multifunction relay and
PE
on the AC terminal block.
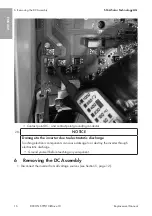
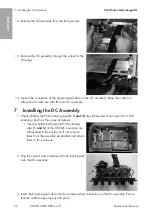
12. Use a current clamp to ensure that no current is present in the DC cables.
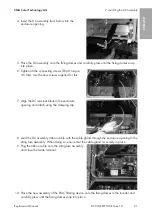
13. Note the position of the DC connector in order to be able to connect it again later in the same
position.
ENGLISH
Summary of Contents for NR-STP-DC-CON-1012
Page 77: ...1 SMA Solar Technology AG DCCON STPTL10 RM xx 10 77 1 5 1 6 X703 1 X703 6 10...
Page 80: ...2 SMA Solar Technology AG DCCON STPTL10 RM xx 10 80 DC DC DC DC 5...
Page 82: ...2 SMA Solar Technology AG DCCON STPTL10 RM xx 10 82 5 C v v SMA SMA...
Page 88: ...5 SMA Solar Technology AG DCCON STPTL10 RM xx 10 88 DC DC DC PE...
Page 89: ...6 DC SMA Solar Technology AG DCCON STPTL10 RM xx 10 89 DC PE 20 v v 6 DC 1 5 84...
Page 90: ...6 DC SMA Solar Technology AG DCCON STPTL10 RM xx 10 90 2 4 DC 3 DC 3 8 4...
Page 91: ...6 DC SMA Solar Technology AG DCCON STPTL10 RM xx 10 91 5 ESS ESS ESS 6 TX20 7 4...
Page 92: ...6 DC SMA Solar Technology AG DCCON STPTL10 RM xx 10 92 8 9 10 DC 11 DC TX20...
Page 94: ...7 DC SMA Solar Technology AG DCCON STPTL10 RM xx 10 94 4 DC 5 DC 6 TX20 3 5 Nm 7 DC 8 DC 9...
Page 269: ......
Page 270: ...www SMA Solar com...


