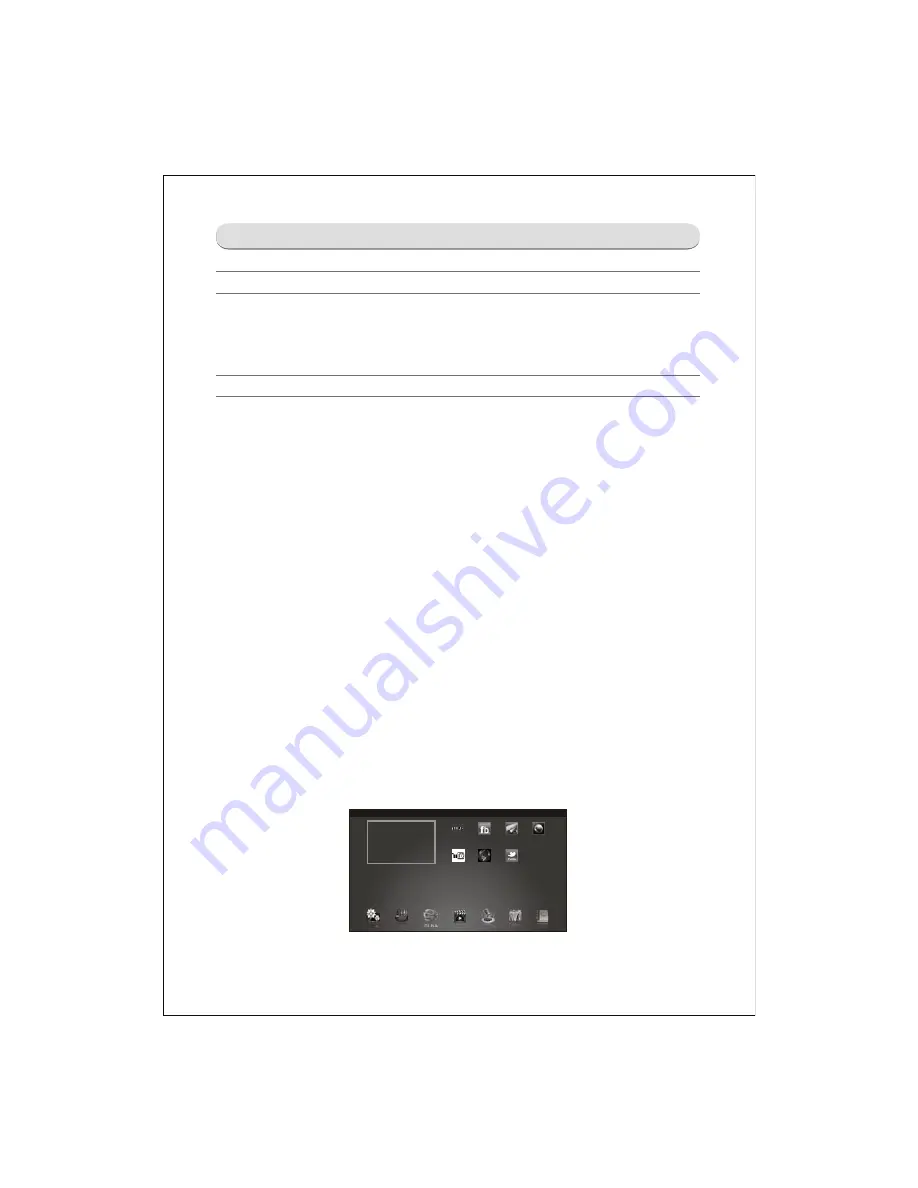
Welcome setting & Home
Initial setup
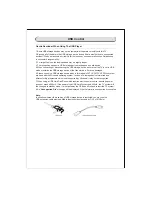
The first time you power on the TV, there will show a setup wizard, please follow the wizard:
Step 1.Select the language you need.
Step 2.Select the time zone of you place. (Note 1)
Step 3.Select the picture mode you like.
Step 4.Select the tuner mode. Press "OK" to scan the program.
Home
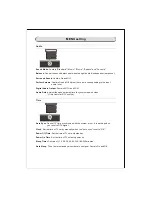
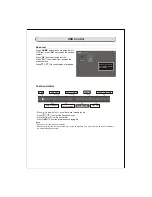
Presses "HOME" enter the home menu. There are some shortcuts in the desktop:
SETTING -
Change the TV setting, including:
Advanced Option
:
Menu Language - Change the menu language
Time Zone - Change the time zone of you place. (Note 1)
DivX Registration - Register TV set to play DivX video. (Note 1)
DivX Deactivation - Deactivate DivX. (Note 1)
Netflix Registration - Register Netflix. (Note 1)
Netflix Deactivation - Deactivate Netflix. (Note 1)
Network Setting
: Change the setting of wire and wireless net.
Info
: Show the information about the TV set.
SOURCE
- Open the source list, select and switch the TV source.
DLNA
- Begin the Digital Living Network Alliance application. (Note 1)
VIDEO
- Enter the USB state, play the video file.
MUSIC
- Enter the USB state, play the music file.
PHOTO
- Enter the USB state, view the photo file.
FILE
- Enter the USB state, view the text file.
Netflix
- Begin the Netflix application, connect to Netflix. (Note 1)
- Begin the Facebook application, connect to Facebook. (Note 1)
Picasa
- Begin the Picasa application, connect to Picasa. (Note 1)
Youtube
- Begin the Youtube application, connect to Youtube. (Note 1)
Terratv
- Begin the Terratv application, connect to Terratv.(Note 1)
- Begin the Twitter application, connect to Twitter.(Note 1)
Web Browser
- Open the web browser.
Note 1, Option item, no visibility to some TV set.
Note 2, Web Browser only supports the HTML5 video file format.
(Note 2)
Picasa
Netflix
Web Browser
Youtube
Terratv
SETTING
SOURCE
DLNA
VIDEO
MUSIC
PHOTO
FILE
A I R
Summary of Contents for 8M51B
Page 2: ...Content 2 11 17 18 19 20 21 28 29 45 46 49 50 57...
Page 3: ...LED 8M51B...
Page 5: ...65 120 140 For 32 LED For 42 LED For 47 LED...
Page 6: ...8 8 6...
Page 7: ...40 40 3 2 1 4 2 50 0 5 80 40 3 12000 26inches is 8 ohm 3 3 3 3 DC Voltage PANEL 12 12...
Page 8: ...40 YES 8 6 46 46 NO NO Standard Spanish Standard 20...
Page 9: ...4 2 4 0 40 70 0 40 70 0 40 40 85 Y0 50 30000...
Page 23: ......
Page 24: ...U16 64M X 16 BIT G DIE DDR3 1333 SDRAM FBGA 96...
Page 25: ...U17 128M X 16 BIT G DIE DDR3 1333 SDRAM FBGA 96...
Page 26: ...U8 16MB SPI FLASH SOP 8 U21 2G BIT CMOS NAND EEPROM TSOPI48...
Page 27: ......
Page 28: ...Main PCB Top Bottom Layer...
Page 29: ...Main PCB Top Bottom Layer...
Page 30: ...8M51B Service Adjustment V0 1...


