


GB 16
11. Recorder – Menu
The receiver can store TV and radio broadcastings and fixed images on the installed hard disc. If your
receiver does not have a built-in hard disc, you can install any commercially available IDE hard disc in
your device. Please disconnect the device from the power supply prior to installing the hard disc!
Unscrew the four screws on top of the device. The hard disc is equipped with a jumper, which places
the hard disc into Master Mode (MA). The settings Slave (SL) and Cable Select (CS) are not suitable!
Connect the 40-pin connector and the 4-pin connector to the hard disc. The hard disc will
automatically be formatted after switching on the receiver; thereafter, the hard disc is operational.
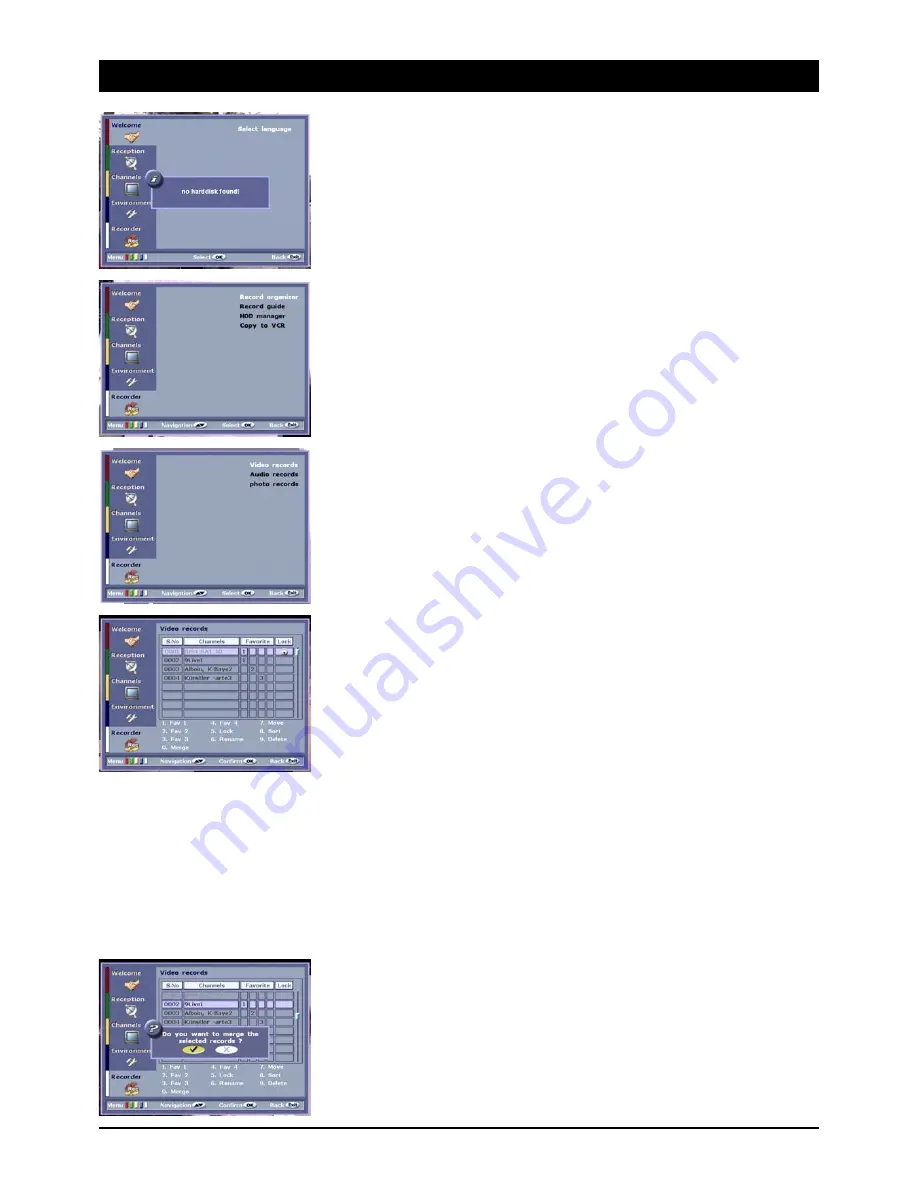
Recording manager
With the recording manager video, sound, and image recordings can be managed.
To run and manage recorded TV programmes, select the option “Video recordings”.
1.-4. FAV:
All video and audio recordings can be sorted in four favourite lists. Press button [ 1 ] - [ 4 ] to
categorize certain recordings (e.g.: 1 = sports, 2 = thrillers…)
5. Lock:
Playback of certain recordings can be prevented. Select the recording you would like to lock and
press button [ 5 ]. After you have entered the password, a little padlock symbol will be displayed on
the right-hand column.
6. Renaming
If you would like to rename a certain recording, press button [ 6 ]. An input field with the current
name will appear on the screen. To change positions, press the navigation button VOL (+/-).
Additional letters can be found on the numerical key pad of the remote control unit. Press the buttons
until the desired character is displayed.
Note: You can create a space by pressing the button [ 1 ]. Press button [ i ] to change from upper to
lower case characters.
7. Moving
To move a selected recording to a new position, press button [ 7 ] the colour of the selected line will
change. Subsequently, use the buttons CHANNEL (Up/Down) to select the new position within the list
of recordings. Finally, press button [ 7 ] again. The recording is now locked in its new position.
8. Sorting:
All recordings can be sorted alphabetically by pressing button [ 8 ].
9. Deleting
To delete individual recordings, press button [ 9 ].
0. Combining:
You can combine two recordings. First, select the recording, which you would like to be placed first
in line, by pressing button [ 0 ]. Select the next recording and press button [ 0 ] again. After the
security questions have been correctly answered, both recordings will be combined.


