4. MENU OPTONS
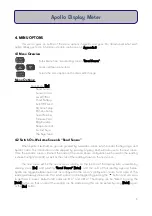
This section gives an outline of the menu options in Apollo, and goes into detail about what each
option allows you to do. A full menu structure can be seen in Appendix 3..
4.1 Menu Overview
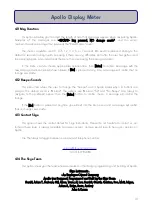
Menu Options:
Main Menu
[Esc]
Read Sensor
Sensor to Use
Level Offset
Check Battery
AutoOff Period
Rd Sensr Setup
Wr Sensr Setup
Serial Number
Firmware Versn
Msg Duration
Beeper Sounds
Contact Skye
The Skye Team
4.2 Switch On, Welcome Screen & “Read Sensor”
When Apollo is switched on, you are greeted by a welcome screen, which includes the Skye logo, and
Apollo's name. This introduction can be skipped by pressing any key, which will take you to the next screen.
Once the welcome screen is finished, the name of the sensor whose configuration will be used in the reading
is shown briefly (2 seconds), as well as the units of the reading shown on the next screen.
The next screen will be the actual sensor reading on the top line of the display (also accessible by
entering menu [Esc], and selecting "Read Sensor" [Enter]), and the units of that reading appears below.
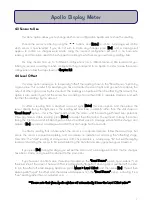
Apollo can toggle between two units, as configured in the sensor's configuration (scale 1 and scale 2). The
reading will always show scale 1 first, whilst scale 2 can be toggled by pressing the
u
button, and vice versa
to get back to scale 1. Default units/scales are W m
-2
and mW m
-2
. The display can be "frozen" by using the
[Hold] button, so that a note of the reading can be made easily. this can be exited by using [Hold] again,
or the [Esc] button.
6
Apollo Display Meter
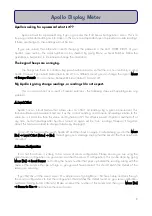
Enters Menu from “live reading” screen (“Read Sensor”)
Scrolls up/down menu items
Selects the menu option and confirms edit/change


