15
Press the
USER
key or select
USER DEFINED
under the object catalogue. Press
ENTER
.
Choose
RECALL OBJECT
and press
ENTER
to confirm.
Select the number representing the object you wish to view, using the scroll keys. Pressing
ENTER
will show its coordinate. Press
ENTER
again to choose the object.
The EQ6 SkyScan
TM
will display "View Object?". Pressing
ENTER
will cause the telescope
to slew to the coordinate. Press
ESC
to exit.
1.
2.
3.
4.
Selecting an user defined object
I
dentifying an Unknown Object
EQ6 SkyScan
TM
has the ability to identify the unknown object the
telescope is currently pointing at. To do so, simply:
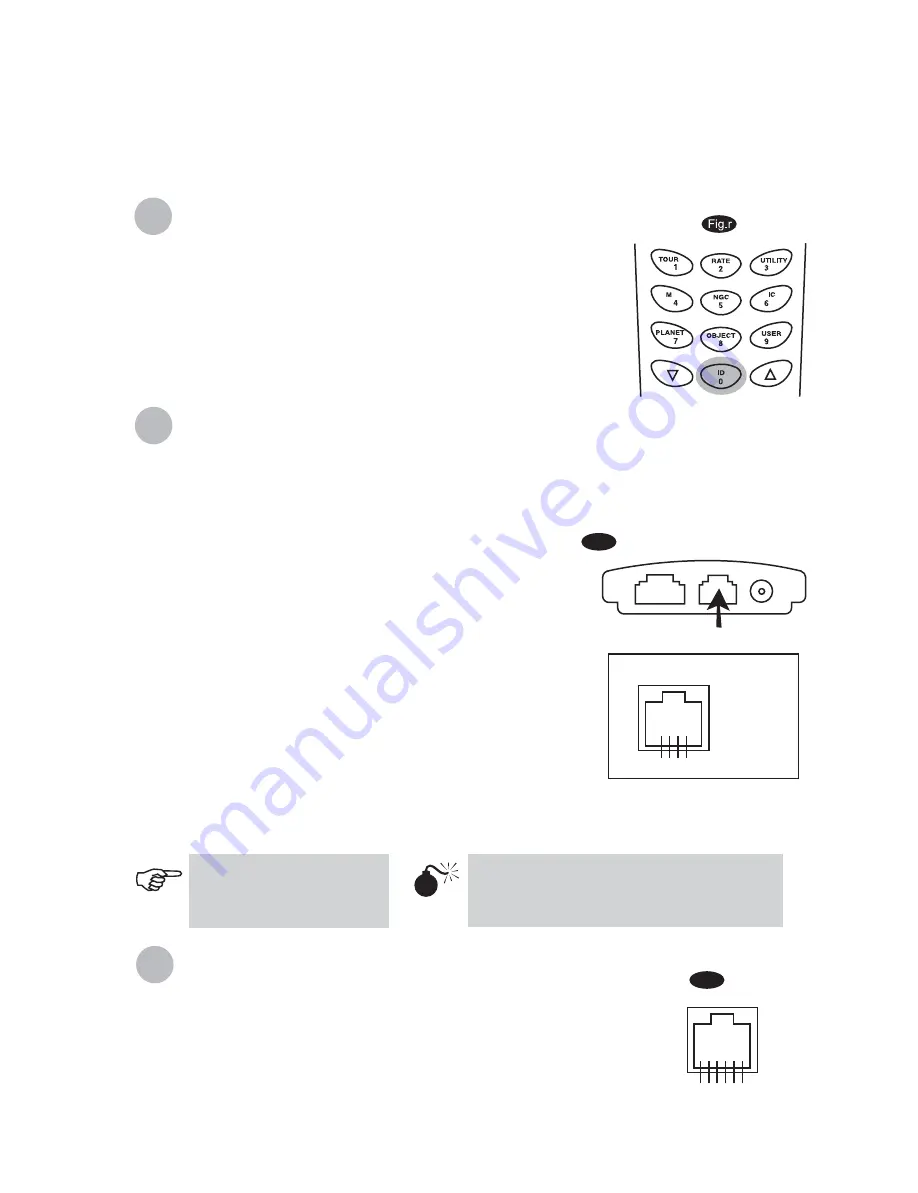
Press the
ID
key (Fig.r) or scroll down to
IDENTIFY
in the
main menu and press
ENTER
to identify the object.
If it is a truly unknown object, the hand control will take you
back to the
IDENTIFY
menu.
Press
ESC
to exit from this function.
1.
2.
3.
L
inking with A Computer
Another feature of the EQ6 SkyScan
TM
is the ability to connect to a computer via a serial cable.
Many commercially available planetarium softwares can be used to control the EQ6 SkyScan
TM
.
Look for softwares compatible with NexStar5. Below describes the procedure on how to connect
and disconnect the EQ6 SkyScan
TM
to a computer:
Make sure that the telescope has been aligned.
Connect the RS-232 cable to the RJ-11 connector on the
hand control and to the COM-port of your computer (Fig.s).
On your EQ6 SkyScan
TM
hand control, select RS232 under
the
UTILITIES
menu. Press
ENTER
to go to RS-232
mode.
In the planetarium software of your choice, choose
"Celestron NexStar5" in the driver setup and follow the
instructions provided by your program to establish the
connection to the telescope. The EQ6 SkyScan
TM
should
be under the full control of your computer once the
connection is successfully established.
1.
2.
3.
4.
Fig.s
RJ- 11
Hand Control
Follow the instructions provided by your software to close the connection to the telescope.
On the EQ6 SkyScan
TM
hand control, press
ESC
to resume normal hand control operations.
1.
2.
Do not disengage the EQ6
SkyScan
TM
unit
before you disengage the program. Doing
so may cause some programs to freeze.
Disconnecting from the computer
A
uto Guiding
The EQ6 SkyScan
TM
has a designated auto guiding port on the side of the mount
for use with an auto guider (see Fig.f). The pin-outs on the 6 pin modular
connector is fully compatible with most autoguiders on the market. Refer to Fig.t
when connecting the autoguider cable to the EQ6 SkyScan
TM
and calibrating the
autoguider. Relay box can be added for extra protection. Note that the four inputs
are active-low, with internal pull-ups. Guiding speed can be adjusted using the
Auto Guide Speed function in the Setup Menu.
Fig.t
See Appendix C for more
information on RS-232
connection.
6 5 4 3 2 1
1= NC
2= Ground
3= +RA (right)
4= +DEC (up)
5= -DEC (down)
6= -RA (left)
1= NC
2= TD
3= GND
4= GND
5= RD
6= NC
RJ-11 Pin-outs
6 5 4 3 2 1
Summary of Contents for EQ6
Page 24: ...VI...


