


Chameleon CoaXPress Camera Simulator User Guide
13
Installation instructions
6.1
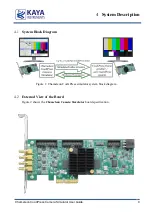
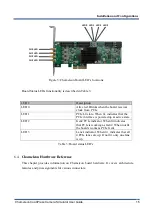
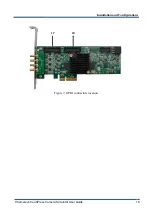
Chameleon board is standard PCIe card with 4 lanes connector.
It can be installed in any PCIe Gen2 connector of the motherboard with 4 lanes and up.
Note:
Board should be installed before you install your software.
1.
Before installing, turn off the power of the computer and its peripherals.
2.
Firmly insert the Chameleon board to PCIe connector of the motherboard.
3.
Anchor the PCIe bracket to the computer chassis using M3 screw.
4.
Verify the Chameleon board inserted correctly to the PCIe slot.
5.
Power on the computer.
6.
After OS is up, you will be asked to install a driver for new Multimedia Device.
At this stage, you should Cancel the installation.
Under Windows and Linux the compatible drivers for Chameleon board will be installed
during installation of Chameleon App software.
You can install and use multiple Chameleon boards in a single computer.
The number of Chameleon boards that can be installed in a computer depends on the
number of available PCIe slots.
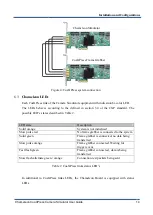
Connecting to CoaXPress output connectors
6.2
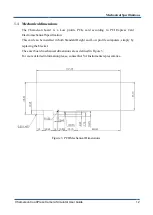
Chameleon board implements CoaXPress standard Din 1.0/2.3 connectors for CoaXPress
interface. When attaching cables to your Chameleon Camera Simulator, you must use 75 Ω
coaxial cables. For best performance, it’s recommended to use high quality cables, such as
Belden 1694A.
Note: If you are using more than single cable to connect to the same frame grabber, the
cables you use must be of the same type and length.
Installation and Configurations
6