11
OPERATING INSTRUCTIONS
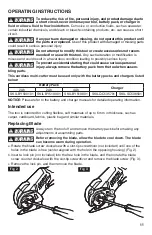
WARNING
To reduce the risk of fire, personal injury, and product damage due to
a short circuit, never immerse your tool, battery pack, or charger in
fluid or allow a fluid to flow inside them. Corrosive or conductive fluids, such as seawater,
certain industrial chemicals, and bleach or bleach-containing products, etc. can cause a short
circuit.
WARNING
If any parts are damaged or missing, do not operate this product until
the parts are replaced . Use of this product with damaged or missing parts
could result in serious personal injury.
WARNING
Do not attempt to modify this tool or create accessories not recom-
mended for use with this tool . Any such alteration or modification is
misuse and could result in a hazardous condition leading to possibly serious injury.
WARNING
To prevent accidental starting that could cause serious personal
injury, always remove the battery pack from the tool when assem-
bling parts .
This cordless multi-cutter must be used only with the battery packs and chargers listed
below:
Battery Pack
Charger
2Ah
2Ah
4Ah
SKIL BY500101 SKIL BY519901 SKIL BY519801 SKIL QC535701 SKIL SC536501
NOTICE: Please refer to the battery and charger manuals for detailed operating information.
Intended use
The tool is intended for cutting flexible, soft materials of up to 6 mm in thickness, such as
carpet, cardboard, fabrics, plastic bag and similar materials.
Replacing Blade
WARNING
Always turn the tool off and remove the battery pack before making any
adjustments or assembling parts.
WARNING
Before removing the blade, allow the blade to cool down . The blade
can become warm during operation .
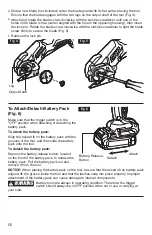
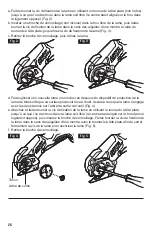
a.
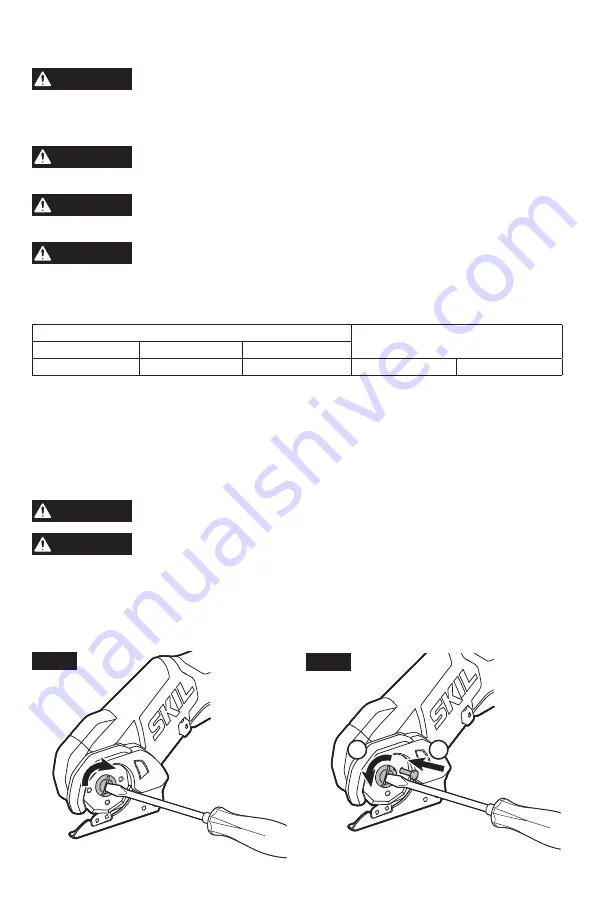
Rotate the blade screw clockwise with a slot-tip screwdriver (not included) until one of the
holes in the blade is free (center aligned with the hole in the opposing housing)
(Fig. 2).
b.
Insert a lock pin (not included) into the free hole in the blade, and then rotate the blade
screw counter clockwise with the slot-tip screwdriver and remove the blade screw (Fig. 3).
c.
Remove the lock pin, and then remove the blade.
Fig. 2
1
2
Fig. 3


