Operation
Man_user_AI80_r2
43
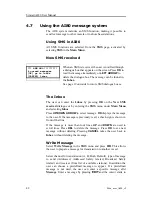
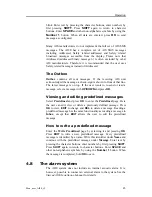
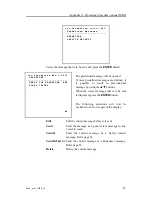
blink. Enter text by pressing the character buttons, enter numbers by
first pressing
SHIFT
. Press
SHIFT
again to return to character
buttons. Enter
SPACE
and other non-alphabetic symbols by using the
Number 1
button. When all data are entered, press
OK
to send
message as configured.
Many AIS manufacturers do not implement the full set of AIS SMS
messages. The AI80 has a complete set of AIS SMS messages
including Addressed, Safety related addressed and Safety related
broadcast messages accessible from the display. Please note that
Addressed (addressed binary message 6) is often excluded by other
AIS manufacturers. Therefore it is recommended that the user uses
Safety related messages instead of Addressed.
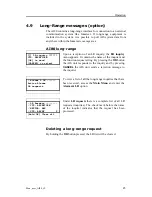
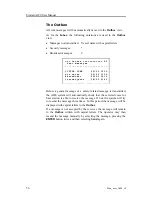
The Outbox
Outbox
contains all sent messages. If the receiving AIS unit
acknowledged the message, a check-sign is shown in front of that line.
The latest message is on top. If the user wants to re-send or read a
message, select a message with
UP/DOWN
and press
OK
.
Viewing and editing predefined messages
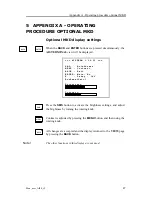
Select
Predefined
and press
OK
to enter the
Predefined
page. Here
the user can edit, view or delete a previously defined message. Press
OK
to view,
EDIT
to change and
DEL
to delete a message. Reading a
predefined message has the same functionality as reading a message in
Inbox
, except that
EDIT
allows the user to edit the predefined
message.
How to write a predefined message
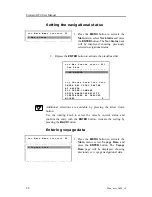
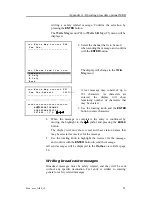
Enter the
Write Predefined
page by selecting it and pressing
OK
.
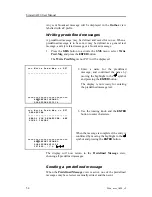
Press
EDIT
to write a new predefined message. Every predefined
message is identified by a name. Write this identifier under
Name
and
continue with the predefined message under
Message
. Enter text by
pressing the character buttons, enter numbers by first pressing
SHIFT
.
Press
SHIFT
again to return to character buttons. Enter
SPACE
and
other non-alphabetic symbols by using the
Number 1
button. When
the message is completed, hold
OK
to save.
4.8
The alarm system
The AI80 system does not include an internal acoustic alarm. It is,
however, possible to connect an external alarm to the system. See the
Simrad AI80 Installation Manual
for details.
Summary of Contents for AI80
Page 10: ...Simrad AI80 User Manual x Man_user_AI80_r2 THIS PAGE INTENTIALLY LEFT BLANK...
Page 16: ...Simrad AI80 User Manual 6 Man_user_AI80_r2 THIS PAGE INTENTIALLY LEFT BLANK...
Page 42: ...Simrad AI80 User Manual 32 Man_user_AI80_r2 THIS PAGE INTENTIALLY LEFT BLANK...
Page 48: ...Simrad AI80 User Manual 38 Man_user_AI80_r2 THIS PAGE INTENTIALLY LEFT BLANK...
Page 56: ...Simrad AI80 User Manual 46 Man_user_AI80_r2 THIS PAGE INTENTIALLY LEFT BLANK...
Page 81: ...Appendix C Type approval certificate Man_user_AI80_r2 71 7 TYPE APPROVAL CERTIFICATE...
Page 82: ...Simrad AI80 User Manual 72 Man_user_AI80_r2...
Page 83: ...Appendix C Type approval certificate Man_user_AI80_r2 73...
Page 84: ...Simrad AI80 User Manual 74 Man_user_AI80_r2 THIS PAGE INTENTIALLY LEFT BLANK...
Page 85: ...Appendix D Declaration of conformity Man_user_AI80_r2 75 8 DECLARATION OF CONFORMITY...
Page 86: ...Simrad AI80 User Manual 76 Man_user_AI80_r2 THIS PAGE INTENTIALLY LEFT BLANK...

