Getting Started
DKIT-02 Lamp Starter Kit
5 Simply Automated, Incorporated
6108 Avenida Encinas, Suite B, Carlsbad, CA 92011 USA
Technical Support:
www.simply-automated.com
or
800-630-9234
452-0002-1001 Rev. D Revised: September 13, 2011
Important Note: If it is not possible to individually change the lamp module dim level with button 1 or 2
(as described above) because multiple lamp modules or other devices are being controlled by those
buttons, then refer to Section 3.d.
Section 3.b. Adding a Lamp Module
Button 1
. Button 1 is pre-programmed from the factory to turn on/off lamp module
#4. To add lamp module #5 to button 1:
•
Go to the Tabletop Controller, press button 1 to activate the scene. Lamp Module
#4 should be on. If the lamp light is not lit, turn the lamp’s on/off switch on.
•
Go to the lamp connected to module #5. Turn on using the lamps on/off switch.
•
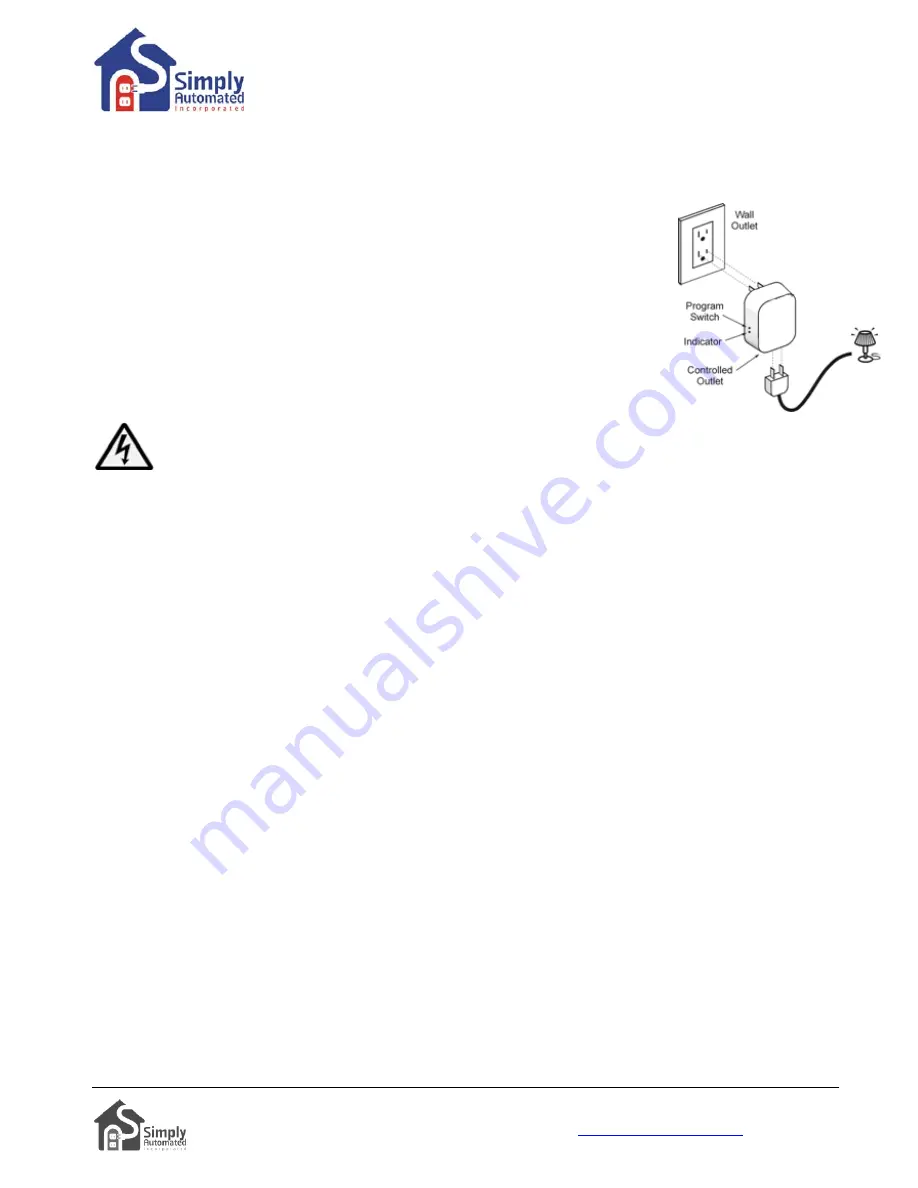
Go to lamp module #5, press (quickly tap) the program switch (see illustration) 5
times using a non-metallic toothpick to place in the program mode. The indicator
will continuously blink green to confirm the lamp module is in the program mode.
CAUTION:
When programming the lamp module, do not insert any metal object (paperclip) into the
module while it is connected to power.
•
Go back to the Tabletop Controller, press (quickly tap) button 1 seven times. You have created a new
scene by re-programming lamp module #5 from the factory pre-set dimming level.
Helpful Hint: If tapping button 1 does not turn on lamp module #5, the lamp's switch may be in the off position.
Go to the lamp and turn on using the lamp's on/off switch, repeat the three steps outlined above. Tapping
should be done quickly ensuring contact is made from the button to the base sensor.
Helpful Hint: The Tabletop Controller can inadvertently be placed in the program mode by tapping button 1 five
times. The indicator above button 1 will continuously blink green for five minutes. To exit the programming
mode, quickly tap the lamp module’s program switch two times.
Button 2
. Button 2 is pre-programmed from the factory to turn on/off lamp module #5. To add lamp module #4
to button 2:
•
Go to the Tabletop Controller, press button 2 to activate the scene. Lamp Module #5 should be on. If the
lamp light is not lit, turn the lamp’s on/off switch on.
•
Go to the lamp connected to module #4. Turn on using the lamps on/off switch.
•
Go to lamp module #4, press (quickly tap) the program switch (see illustration) 5 times using a non-metallic
toothpick to place in the program mode. The indicator will continuously blink green to confirm the lamp
module is in the program mode.
•
Go back to the Tabletop Controller, press (quickly tap) button 2 seven times. You have created a new
scene by re-programming button 2 from the factory pre-set dimming level.
Important Note: To change the dimming level for one lamp module, refer to Section 3.a., or for multiple
devices refer to section 3.d.
Helpful Hint: After tapping lamp module program switch five times, the lamp module will stay in the program
mode for approximately 5 minutes. You can always confirm if the lamp module is in the program mode by
checking for a blinking green indicator next to the program switch. If the lamp module indicator is not flashing
green, to place in the program mode, quickly tap the program switch five times. To exit the program mode,
quickly tap the program switch two times.


