SimpliFire • SF-ALL40-BK, SF-ALL48-BK, SF-ALL60-BK, SF-ALL84-BK • 2040-981 Rev. M • 7/21
14
Masonry Wall
• Locate the mounting bracket on the wall in the
desired location of the appliance. Level the bracket,
then mark its location on the wall, including a mark-
ing for each of the fastener holes in the bracket.
NOTICE:
Minimum six (6) anchored screws are required
for wall mounting the SF-ALL40-BK, SF-ALL48-BK, and
SF-ALL60-BK. Minimum of eight (8) anchored screws
are required for wall mounting the SF-ALL84-BK.
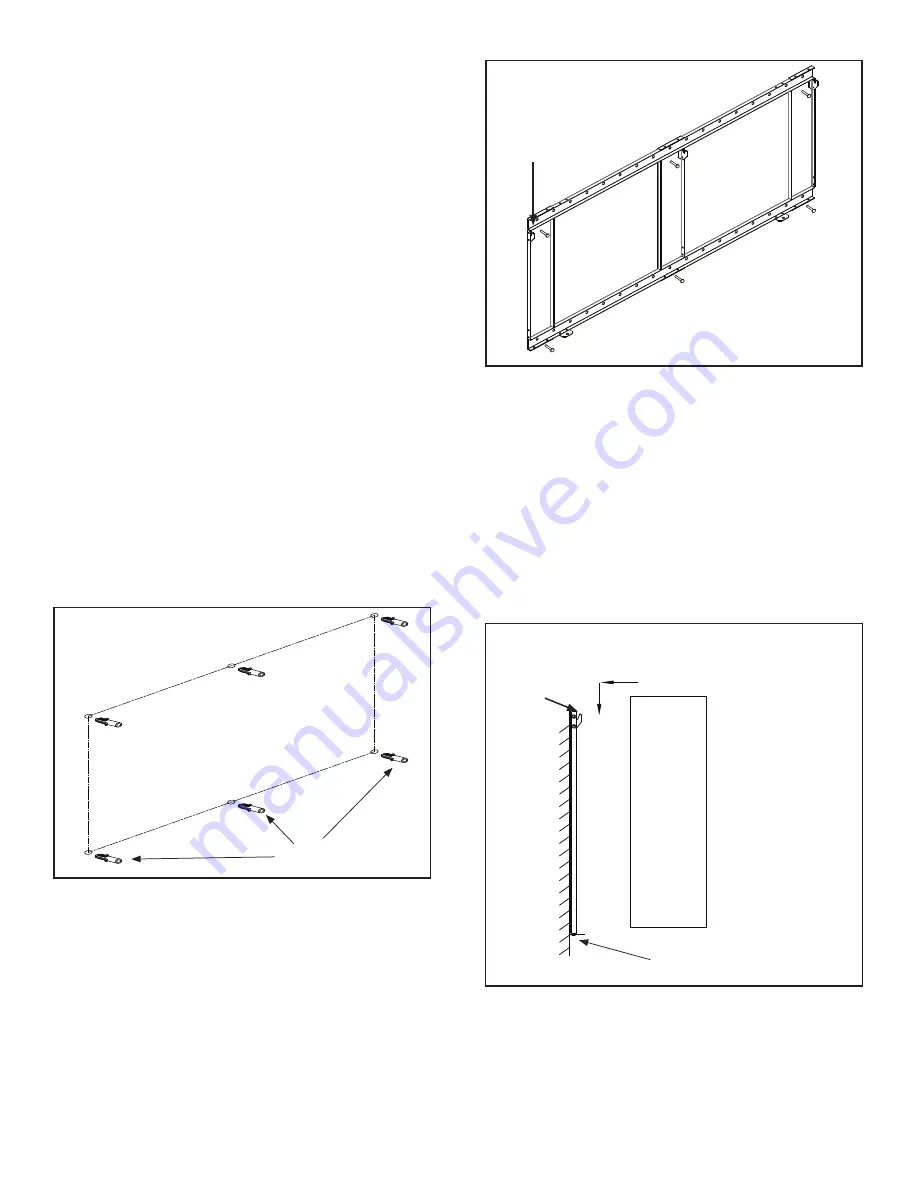
• In the marked locations, drill 5/16 in. diameter x
1-1/2 in. deep holes. See Figure 4.12.
NOTICE:
The supplied wall anchors are designed for
solid masonry wall such as brick or poured concrete.
Do not use the supplied wall anchors when mounting
this product to hollow concrete block walls. If mount-
ing this product to concrete block, contact your local
building supply retailer to source a fastener system that
is compatible with concrete block and rated minimum
120 lbs. load capacity at each required anchor point.
• Insert the provided wall anchors into the holes.
• Gently tap the anchors with a hammer until they are
flush with the wall surface.
• With mounting hooks pointed up, attach the bracket
to the masonry anchors with ST6X50 screws. See
Figure 4.13.
Wall
Masonry Anchors
Figure 4.12 Masonry Anchor Placement
WARNING! Risk of Damage or Personal Injury!
Do
not use supplied masonry anchors on concrete block
walls or hollow walls sheathed with wood, gypsum wall-
board, drywall, or other materials.
Figure 4.13 Bracket Attachment
Mounting Hooks
Point Up
Note:
For non-masonry walls,
at least
two
mounting points
(screws ST6X50) must align
with structural framing member.
Appliance Installation
• Hang appliance on the mounting bracket.
• Align the slots on the back of the appliance with the
hooks on the top two corners of the bracket.
• Hang the appliance and pull down to ensure the hooks
are fully engaged. See Figure 4.14.
• Secure the appliance to the bracket with two M5X10
screws. See Figure 4.14.
1
2
Secure with screw on each
side of appliance.
Figure 4.14 Attaching Appliance to Bracket
Mounting Hooks
Point Up


