9
ABOUT THE SETUP MENU
Slide the power switch to the
On
position. You’ll see “WAIT” on the display,
then the setup menu screen. Before you start using the camera, you’ll no
doubt want to set the date/time so they are imprinted correctly on your
photos, and maybe change the trigger delay time and image resolution
to your preferences. This is done by editing the settings of an item listed
in the Setup Menu.
To enter the Setup Menu at any time, press the
SETUP
button (to left of
the power switch).
USING THE SETUP MENU
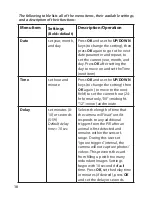
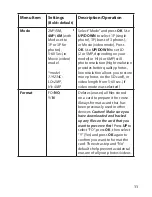
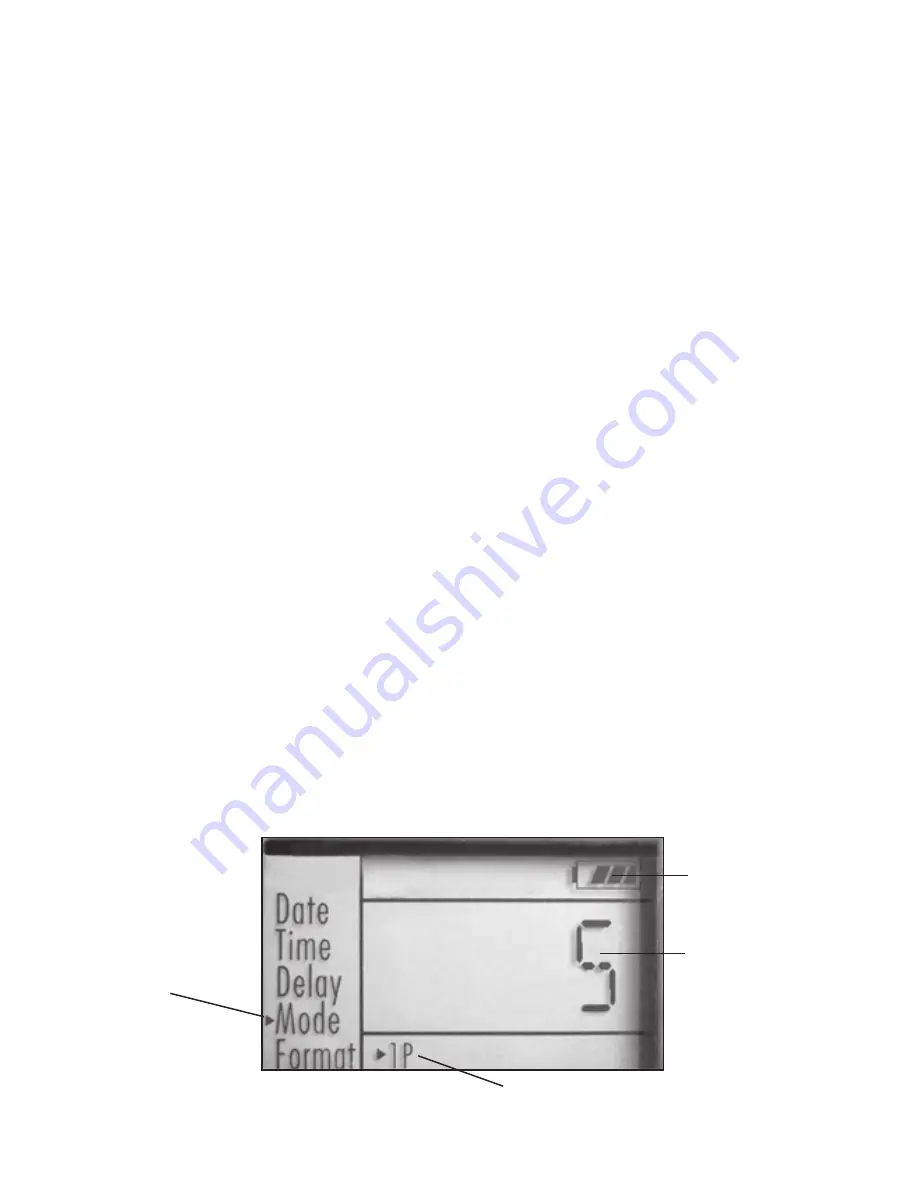
The Setup Menu has 5 different items, which appear on a list in the left
frame of the display. Here’s how to edit (change) the setting of a menu
item:
1. Select the menu item you want to edit by pressing the
UP
or
DOWN
button until the item is blinking.
Note: you can see the current/
default setting for each item (without changing it) in the main center
frame as you move up and down the list of items.
2. Press the
OK
button.
3. You can now select the setting you prefer for the selected item by
pressing the
UP
or
DOWN
button. The setting displayed in the
center frame will blink until you press
OK
to confirm it is the setting
you want to save.
4. To exit the Setup menu at any time, simply press the Setup button.
SETUP MENU DISPLAY
SELECTED
MENU
ITEM
CURRENT
SETTING OF
SELECTED ITEM
Indicates Photo (1P or 3P) or Movie Mode
Battery Level


