


8
5.
Once connected you’ll get a menu
‘
Added successfully
’
and
the light turns solid GREEN(See right figure). You can click on
the pen to change the device name then press ‘
Done
’
.
Pair sensor with controller
BEFORE INSTALLATION SENSOR, Please check if the sensor is working or
not. Open the Smart Life app and select the Garage door opener.
1.
Pair the sensor with controller.
Confirm the sensor indicator LED is
solid yellow after paring. See “
How
to pair the controller with the door
sensor?
”
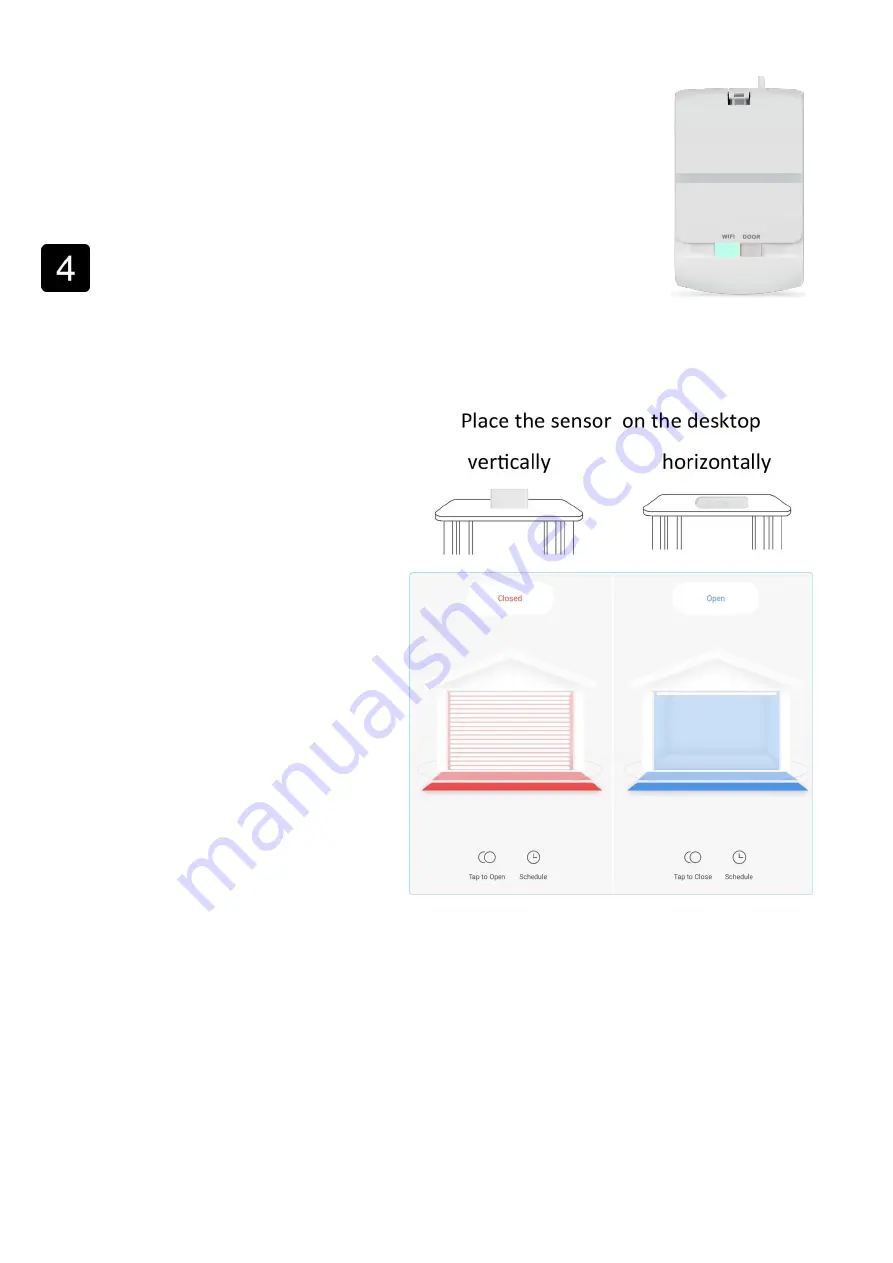
2.
Move the sensor 90 degrees and
after approx 15-20 seconds, the app
should show the correct state
according to the direction of the door
sensor. See the right figure:
Note:
When device is online, it can be controlled.
When device is offline, it displays "Offline" and cannot be remotely powered on.
The garage door opener does not support 5GHz networks, ensure your Wi-Fi is
2.4GHz.
If the sensor is not working properly or you cannot connect the controller to the
Smart Life app, please contact with us for troubleshooting and for full instructions.


