3
3
.
.
1
1
C
C
o
o
n
n
n
n
e
e
c
c
t
t
i
i
n
n
g
g
t
t
h
h
e
e
c
c
a
a
m
m
e
e
r
r
a
a
t
t
o
o
y
y
o
o
u
u
r
r
c
c
o
o
m
m
p
p
u
u
t
t
e
e
r
r
When using SIGMA Photo Pro, only one SIGMA SD9 or SD10 camera may be connected. In the case
of SD14 and DP1 cameras, more than one camera can be connected.
Disconnect any other digital cameras to ensure that the software operates correctly.
Connecting the cables
Before connecting the camera to your computer using either the USB cable or IEEE 1394 (FireWire™)
(SD9/S10 only) cable, verify that the camera is turned off. Plug the cable into the computer and camera.
Never connect the camera to the computer with both USB and IEEE 1394 (FireWire™) at the same
time.
Turning on the camera
Turn the camera on as illustrated in your camera manual. SIGMA Photo Pro will not detect the camera
unless it is turned on after being connected to the computer.
Connecting the camera (SD14/DP1)
Connect your SD14 or DP1 to computer and turn the camera on, The SD14/DP1 is indicated as a
Removable Disk (Volume). (SD14/DP1 is mounted to desktop as Removable Disk (Volume) icon.
To display the images in CF/SD card of the camera body on the Thumbnail Pane, click the folder in the
Volume of the Thumbnail Pane.
If the images are not displayed in the Thumbnail pane, images are not stored in the CF/SD card.
Notice: SD14 or DP1 is indicated as Removable Disk (Volume). Therefore, the status of battery and
CF card is not displayed.
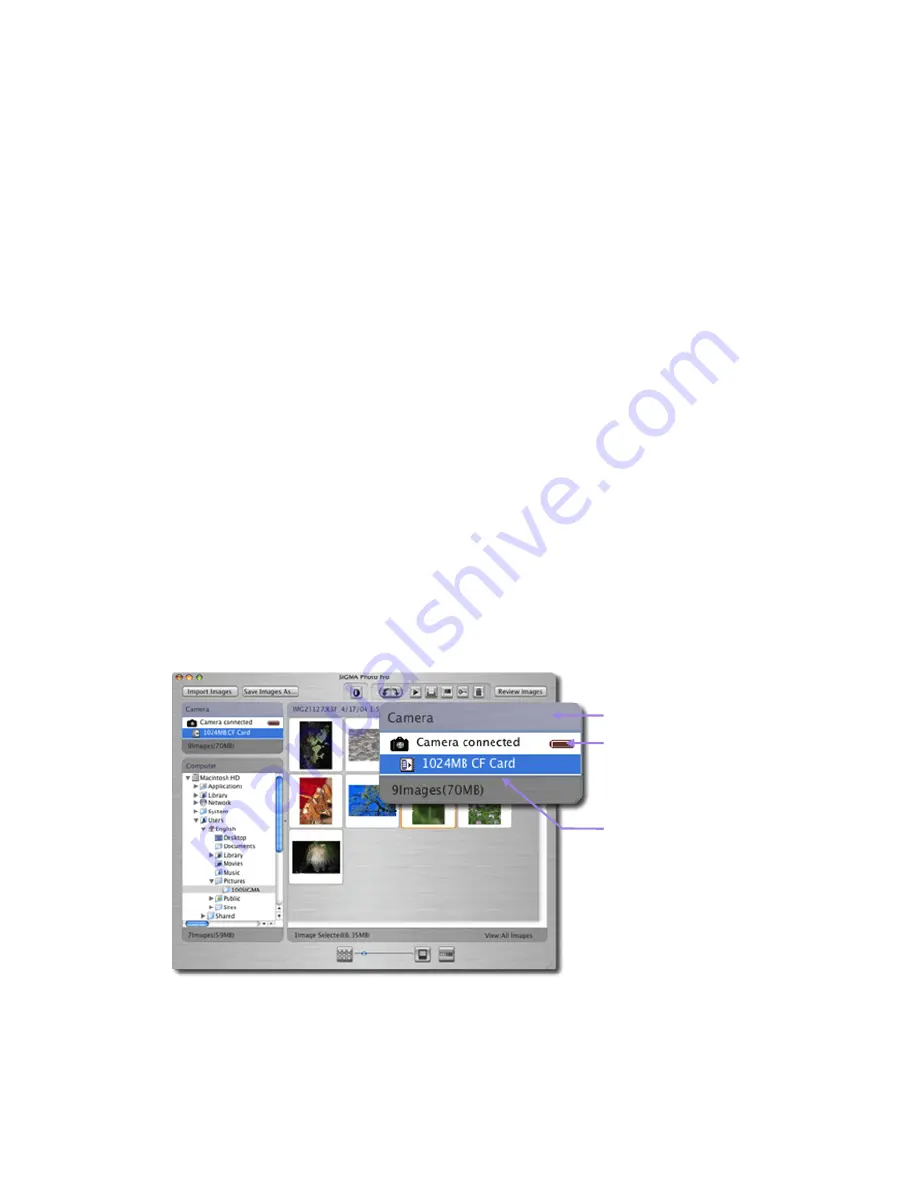
Connecting the camera (SD9/SD10)
SIGMA Photo Pro works automatically, when a camera body is connected to the computer and turned
on. Image which are stored in the CF card are displayed in the Thumbnail Pane.
The blue title bar
indicates that the
images on the camera
are displayed in the
Thumbnail Pane
The battery / AC icons
indicate power source
for the camera
The camera and CF
Card icons indicate
connectivity
SIGMA Photo Pro User Guide
10


