background image

7

SWITCH OPERATION 

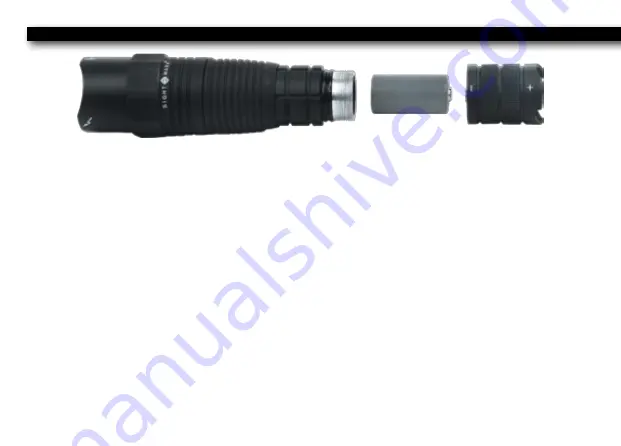
After inserting the batteries, install the desired battery cap/switch. 

Push button switch: 

1)  For momentary operation, press lightly on the rubber button on the back of the switch. 

2)  For permanent operation, press the rubber button until you hear or feel a “click”, then release.  

3)  To turn the laser off, press the rubber button a second time until you hear or feel a “click”, then release. 

Pressure switch: 

1)  For momentary operation, press firmly on the pressure pad. 

2)  To turn the laser off, release the pressure on the pressure pad. 

MOUNTING 

The AT5R and AT5G include an offset mount. 

Before mounting the laser designator onto your firearm, be sure 

Summary of Contents for Triple Duty AT5G

Page 1: ...USER MANUAL USER MANUAL Triple Duty AT5R Triple Duty AT5G LASER DESIGNATORS...

Page 2: ...riflescopes laser sights night vision and award winning flashlights and boresights Sightmark products are inspired by military and law enforcement applications All products are designed to be the most...

Page 3: ...Triple Duty AT5R and AT5G laser designators 1 10 ENGLISH...

Page 4: ...ight Has up to 70yds visibility in daylight Has up to 1 mile visibility at night Has up to 100yds visibility in daylight Windage and elevation adjustable Anti tamper windage and elevation Aircraft gra...

Page 5: ...t mount Calibration tools 1 CR 123A battery Limited Lifetime Warranty Material aluminum Color matte black Finish type II mil spec anodizing Effective range yd 1000 Laser type visible red Wavelength nm...

Page 6: ...3 1 Bezel head cap 2 Laser body 3 Battery compartment 4 Battery cap push button switch 5 Offset mount 6 Battery cap pressure switch DIAGRAM AT5R 1 2 3 4 4 5 6...

Page 7: ...t mount Calibration tools 1 CR 123A battery Limited Lifetime Warranty Material aluminum Color matte black Finish type II mil spec anodizing Effective range yd 1600 Laser type visible red Wavelength nm...

Page 8: ...5 1 Bezel head cap 2 Laser body 3 Battery compartment 4 Battery cap push button switch 5 Offset mount 6 Battery cap pressure switch DIAGRAM AT5G 4 5 6 1 2 3 4...

Page 9: ...laser designators are quality shooting accessories for any tactical hunting or competition shooting function BATTERIES Both the AT5R and AT5G laser designators are powered by 1 CR 123A battery To ins...

Page 10: ...s the rubber button until you hear or feel a click then release 3 To turn the laser off press the rubber button a second time until you hear or feel a click then release Pressure switch 1 For momentar...

Page 11: ...sure to align the notches on the scope ring with the notches on the laser 7 Tighten the ring screws Do not over tighten 8 Replace the battery cap switch by following step 3 in the BATTERIES section ZE...

Page 12: ...ely attached to your firearm before storing and be sure the unit is turned off Remove the battery if the designator will be stored for an extended period of time 3 While following necessary firearm sa...

Page 13: ...rs or other reflective surfaces Avoid hitting or dropping the unit ALWAYS check that the chamber of your weapon is clear before mounting or dismounting the laser designator ALWAYS remove the laser des...

Page 14: ...www sightmark com...

Reviews: