4
Caution:
Trying to remove the wrinkles by hastily going over
them with a heat gun can lead to more problems. You should
take your time to carefully go over the entire model with a
covering iron, as we will describe.
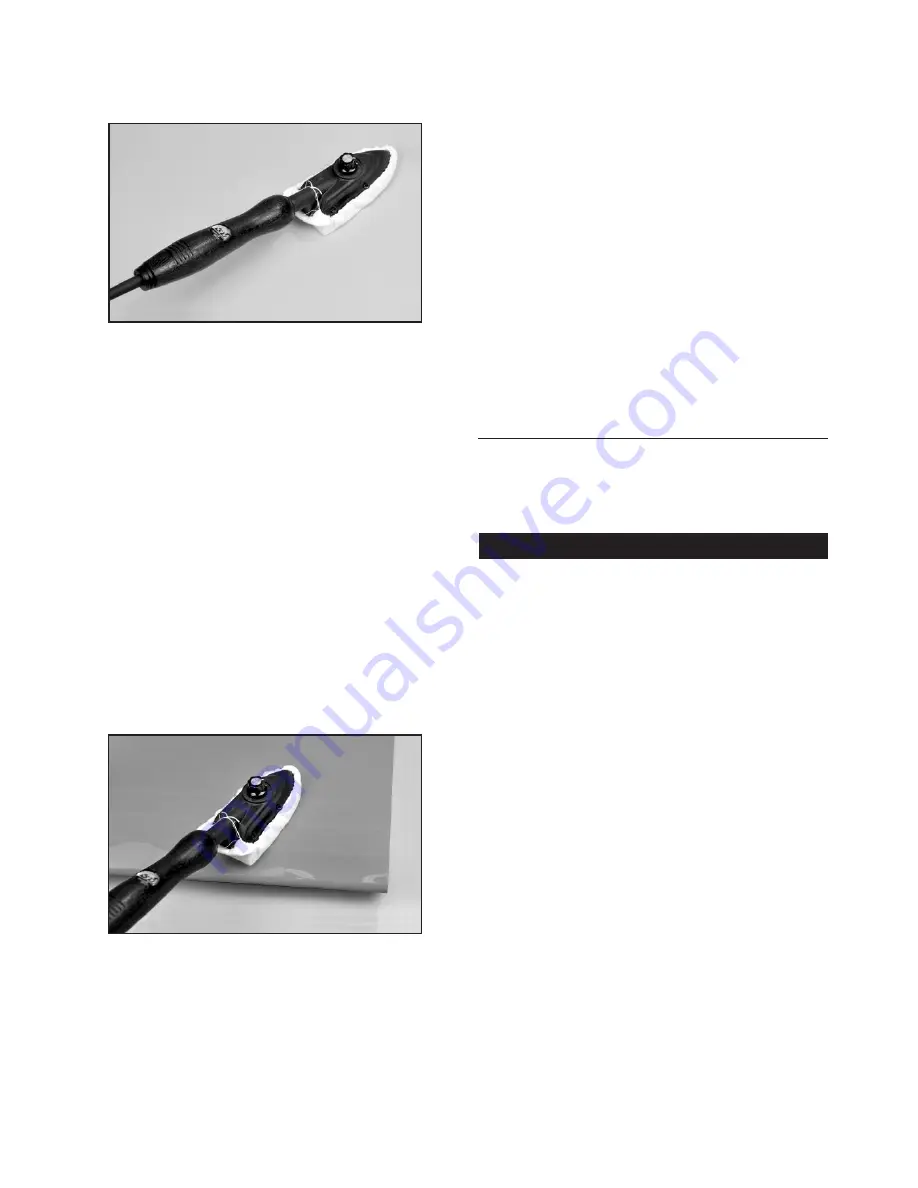
We suggest using a model airplane covering iron for this
process. Cover the iron's shoe with a thin cotton cloth, such as
an old t-shirt, to prevent scratching the covering as you work.
After covering your iron, the next step is to set the iron to the
correct temperature. This is critical for achieving a good result!
The iron should be set to about
220
O
F - 250
O
F (104
O
C - 121
O
C)
as measured on the bottom of the iron using a thermometer.
If you do not have a thermometer, you can find the correct tem-
perature by trial and error. Set your iron to a medium
setting. Glide the iron over some of the covering that is over
solid wood, such as the sheeted wing center section. Observe
the covering to see if any bubbles appear. If bubbles appear,
the covering is getting too hot! Turn down the temperature of
the iron and repeat the test. If no bubbles appear, turn up the
heat slightly and repeat the test. Keep adjusting until you "zero
in" on the correct temperature. Find the temperature that will
get the covering to stick down without forming bubbles or
causing the seams to pull away.
Once your iron is set to the correct temperature, go over the
entire framework of the airplane, making sure that the covering
is securely bonded to the structure everywhere the covering
comes in contact with the wood underneath. This takes some
time, but is worth the effort.
After you have all the covering secured onto the solid areas,
turn the temperature of the iron up to approximately
300
O
F -
320
O
F (149
O
C - 160
O
C)
. This is the correct temperature for
shrinking the covering material.
Use the iron to tighten up any wrinkles in the "open" areas of
the model (no wood underneath the covering). Glide the iron
over the wrinkle for a few seconds, then remove. Repeat until
the covering is tight with no wrinkles.
If wrinkles keep coming back on the tail surfaces, you may
need to "ventilate" the areas between the ribs. Otherwise the
air that is sealed in those relatively small areas will expand
when the heat is applied and actually cause the covering to
stretch instead of shrink. Use a pin to poke a tiny hole in the
covering between each rib, on the bottom of the part. That will
let the expanding air escape and the covering to shrink
properly.
Note that the black checkerboard sections of the model are
done with adhesive backed vinyl and care should be taken
when shrinking covering around them. The vinyl will shrink
and melt with too much heat. A heat gun is preferred for these
areas of the Sbach.
Caution When Using Heat Guns:
You can also use a hobby-
type heat gun to shrink the covering, but you must be careful
around seams or color joints. Getting too much heat on the
seams may cause them to "creep" or come loose. You must
also be careful when using a heat gun when working around
the windshield and side windows - heat will distort the clear
plastic material.
Recommended Temperatures:
To adhere the covering - 220
O
F - 250
O
F (104
O
C - 121
O
C)
To shrink the covering - 300
O
F - 320
O
F (149
O
C - 160
O
C)
NOTE:
In this manual, any references to right or left, refer to
your right or left as if you were seated in the cockpit of the
airplane.
WING ASSEMBLY
The wings are designed as a 2-piece system, with separate
right and left wing panels that mount to the side of the Sbach
XA-41. The aluminum tube spar maintains the structural
integrity of the wing through the fuselage and a hardwood
locating pin at the rear help keep the wings in alignment. The
obvious benefit of the removable wing panels is the fact that
they can be easily transported or stored, requiring a minimum
of space.
To help protect your wings during the following steps, we
recommend that you cover your work surface with a soft cloth
or piece of foam.
I
NSTALLING THE AILERON SERVOS
For the following steps you will need:
(1) Right Wing Panel
(1) Left Wing Panel
(2) Servos with Mounting Screws (not furnished)
(1) Optional Servo Y- Harness (not furnished)
❑
1) Mount aileron servos in the bottom of each wing panel.
a) The servo bays are precut for you but you’ll want to
double check the covering around the cutout to make
sure it is sealed down tight.
b) Install the rubber grommets and brass eyelets (supplied
with your radio system) into each aileron servo.
c) Install the control arms on the two aileron servos. The
arms should be at 90 degrees to the servo when the
aileron control stick on the transmitter is in neutral and
the transmitter trims are in neutral as well.
d) Before installing the aileron servos in the wing panels,
you must attach a servo extension chord to the aileron servo
wire. The typical combined length required is approximately
18”. A 6” extension chord will usually provide sufficient length.
Plug the servo plug into the extension chord and tape the
plugs together for added security.


