


Step 3
>
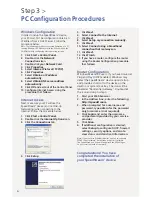
PC Configuration Procedures
Windows Configuration
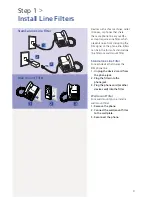
In order to setup the SpeedStream
®
device,
your PC must first be configured to obtain an
IP address from a DHCP server. Follow the
procedure below:
Note: The following procedures cover configuration of a PC
running Windows XP. Please refer to the User Guide on the
CD-ROM for help configuring other operating systems.
1. Click
Start > Control Panel
.
2. Double-click the
Network
Connections
icon.
3. Double-click your
Network Card
.
4. Click
Properties
.
5. Select
Internet Protocol (TCP/IP)
.
6. Click
Properties
.
7. Select
Obtain an IP address
automatically
.
8. Select
Obtain DNS server address
automatically
.
9. Click
OK
and exit out of the Control Panel.
10. Configure Internet Access using the
procedure that follows.
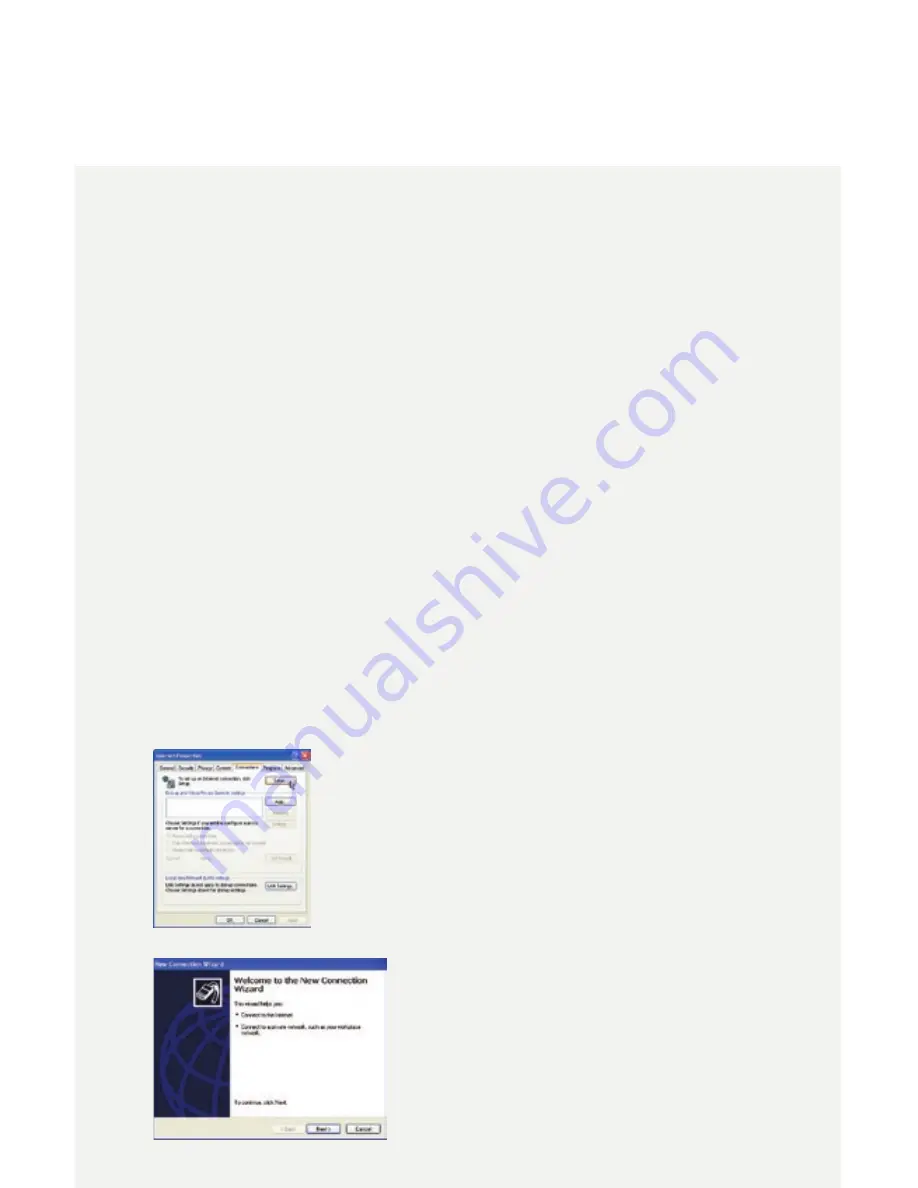
Internet Access
Next, make sure your PC will use the
SpeedStream
®
device (and not Dial-Up
Networking) when connecting to the
Internet. Follow the procedure below:
1. Click
Start > Control Panel
.
2. Double-click the
Internet Options
icon.
3. Click the
Connections
tab.
4. Click
Setup
.
5. Click
Next
.
6. Select
Connect to the Internet
.
7. Click
Next
.
8. Select
Setup my connection manually
.
9. Click
Next
.
10. Select
Connect using a broadband
connection that is always on
.
11. Click
Next
.
12. Click
Finish
.
13. If you have a router, configure the router
using the Router Configuration procedure
that follows.
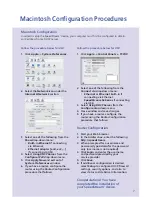
Router Configuration
Windows Me and XP users: If you have Universal
Plug and Play (UPnP) enabled, Windows may
detect the SpeedStream
®
device upon startup
and provide a shortcut to the device on the
desktop or system task tray. The icon will be
labeled as “Residential Gateway.” Double-click
the icon and skip to step 3.
1. Start your Web browser.
2. In the Address box, enter the following:
http://speedstream
3. When prompted for a username and
password, type
admin
for the password
only (username is not required).
4. Click
Login
and enter the username
and password provided by your service
provider.
5. Click
Save
.
6. If additional configuration is desired,
select
Setup
to configure DHCP, firewall
settings, security options, and also to
view status and statistical information.
Note: If your Service Provider requires you to use separate
PPPoE client software, discontinue use of this software.
The SpeedStream
®
device will negotiate the PPPoE logon
to your service provider’s network.
Congratulations! You have
completed the installation of
your SpeedStream
®
device.
6