


Installation and replacement of hard disk drives
33
Siemens Building Technologies
Fire Safety & Security Products
03.2009
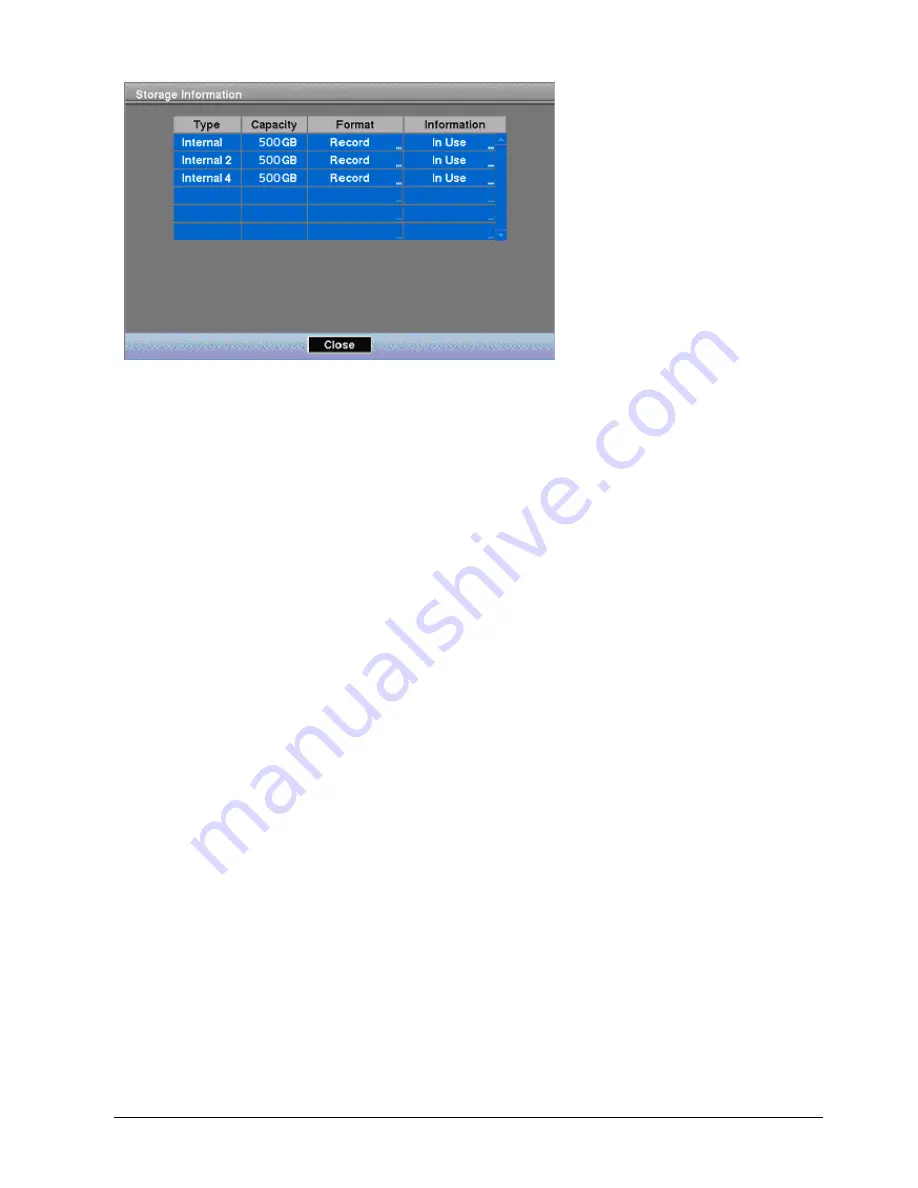
The new hard disk capacity will be
displayed in the OSD menu "Storage
information". Before you can start
recording data, the use needs to be
defined and the hard disk to be formatted
(see SISTORE AX8/AX16 500/200 User
Manual). In case the device is operated in
the Recycle mode, first the Stop mode
needs to be configured before switched
back to the recycle mode.


