


Description of controls
10
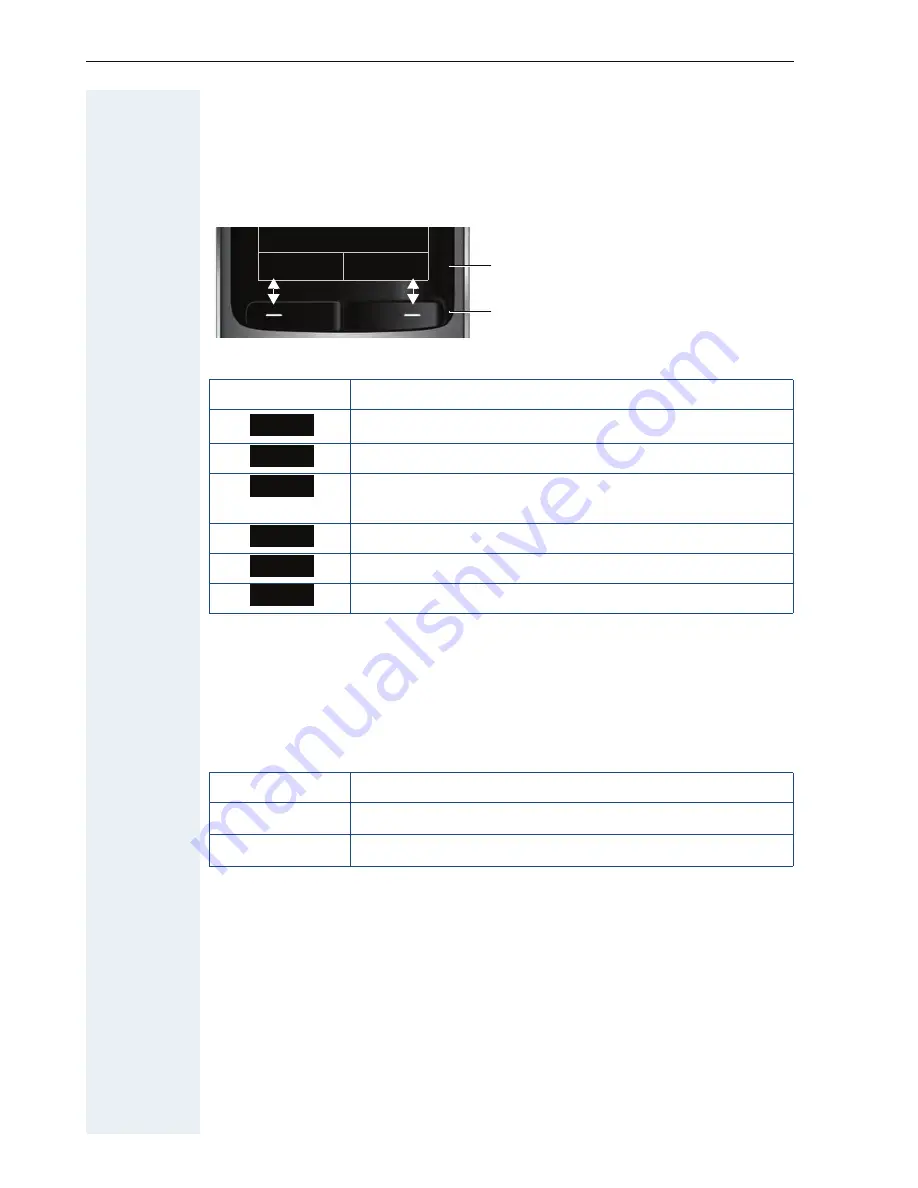
Display keys
The handset has two display keys, each with one or two functions. When
the key is allocated two functions, press the right or left side of the key to
select the corresponding function. Display key assignment depends on the
operating status.
Some important display keys are:
Side keys
Press the keys on the right of the handset to set the volume for earpiece,
ringtone, speakerphone mode, alarm, appointment signaling and the head-
set depending on the situation.
Icon
Use
Open menu (varies depending on the situation).
Confirm your selection
Move character-by-character/word-by-word from right
to left
Go back one menu level/cancel action
Save input
Open the redial list
Back
Save
Current functions of
the display keys.
Display keys
Options
OK
Û
Back
Save
Þ
key
Use
ø
Increase volume
÷
Lower volume


