background image


FlexGlass In

-

Wall Gen 2 


6


www.screeninnovations.com                 Installation Questions: 512

-

832

-

6939


                   FGIWG2

-

C


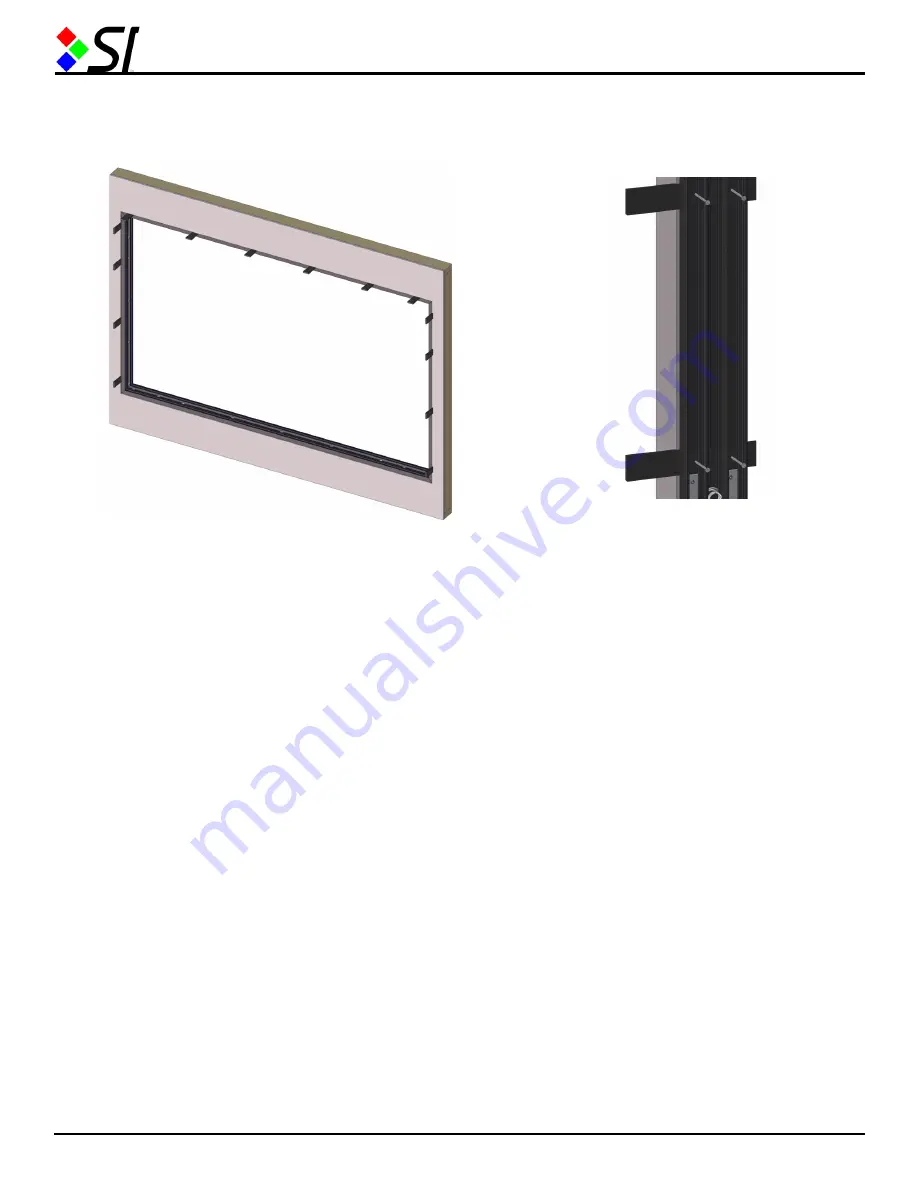
5) Use the shims to fill the gaps around the sides and top of the frame. Then Secure the side and top 

frame pieces to the rough opening with the wood screws drilled directly through the shims. Make sure 

the frame components are secured to the wall and 

straight 

before proceeding. 


6) Once the frame is secured to the rough opening around all four sides, then bend the shims to snap 

off the excess material that sticks out of the back and front of the opening.


Install the Flex Glass Material in the Frame


7) Unroll the Flex Glass material onto a clean floor keeping the packaging foam in between the ma-

terial and the floor.


Note: Shiny Side of FlexGlass faces the projector and Matte side faces the audience.


Summary of Contents for FlexGlass In-Wall Gen 2

Page 1: ...Owner s Manual FlexGlass In Wall...

Page 2: ...ninnovations com Installation Questions 512 832 6939 FGIWG2 C FlexGlass Screen Material Ships in separate package 2X Horizontal Frame 2X Vertical Frame 3X Flat Horizontal Trim 4X Flat Vertical Trim 1X...

Page 3: ...screeninnovations com Installation Questions 512 832 6939 FGIWG2 C Hardware Box contents 8 x Corner Brackets Gloves Wood Screws 9 64 Ball Point Hex Driver Shims 11 32 Nut Driver 8 32 Hex Nuts Driver B...

Page 4: ...in the shorter vertical frame pieces 2 Make sure that the viewing sides stickers and posts in the tensioners are pointing the same direction a then slide the corner brackets into the horizontal frame...

Page 5: ...l 3 Make sure the rough opening in the wall has been prepared such that it is 1 4 to 1 2 larger than the assembled frame 4 Slide the frame into the rough opening and secure the bottom frame piece to t...

Page 6: ...the frame components are secured to the wall and straight before proceeding 6 Once the frame is secured to the rough opening around all four sides then bend the shims to snap off the excess material t...

Page 7: ...paced along the top and bottom frame Then carefully lift the screen material up into the frame and onto the threaded posts on the tensioners Secure the screen material to the tensioners with the hex n...

Page 8: ...the screws on the tensioners as shown below 11 Continue applying tension to the screen all the way around until the FlexGlass is tight and flat You will need to make at least 2 passes around the scree...

Page 9: ...in the vertical trim pieces first as shown 13 Snap in the remaining trim pieces Note that the single 45 trim piece goes on the projector side along the bottom if the projector is mounted on the floor...

Page 10: ...to and from Screen Innovations are payable by the purchaser and Screen Innovations is not responsible for damage in shipment To protect yourself against damage or loss in transit insure the product an...

Page 11: ...FlexGlass In Wall Gen 2 11 www screeninnovations com Installation Questions 512 832 6939 FGIWG2 C NOTES...

Page 12: ...FlexGlass In Wall Gen 2 12 www screeninnovations com Installation Questions 512 832 6939 FGIWG2 C NOTES...

Reviews: