SHOWTEC LED Commander User Manual Download Page 13


11 


Record a Chase 

1)

 Enter Record Mode by pressing the Record button (

15

). 

2)

 Select the proper Page by pressing the Page button (

14

). 

3)

 Select the desired chase by pressing Chase button 1-8 (

3

). 

4)

 Select the desired fixture by pressing Fixture 1-8 (

1

). 

5)

 Set the faders to the desired values. 

6)

 Press the Record button (

15

). All LEDs will flash 3 times, indicating your operation has been successful. 
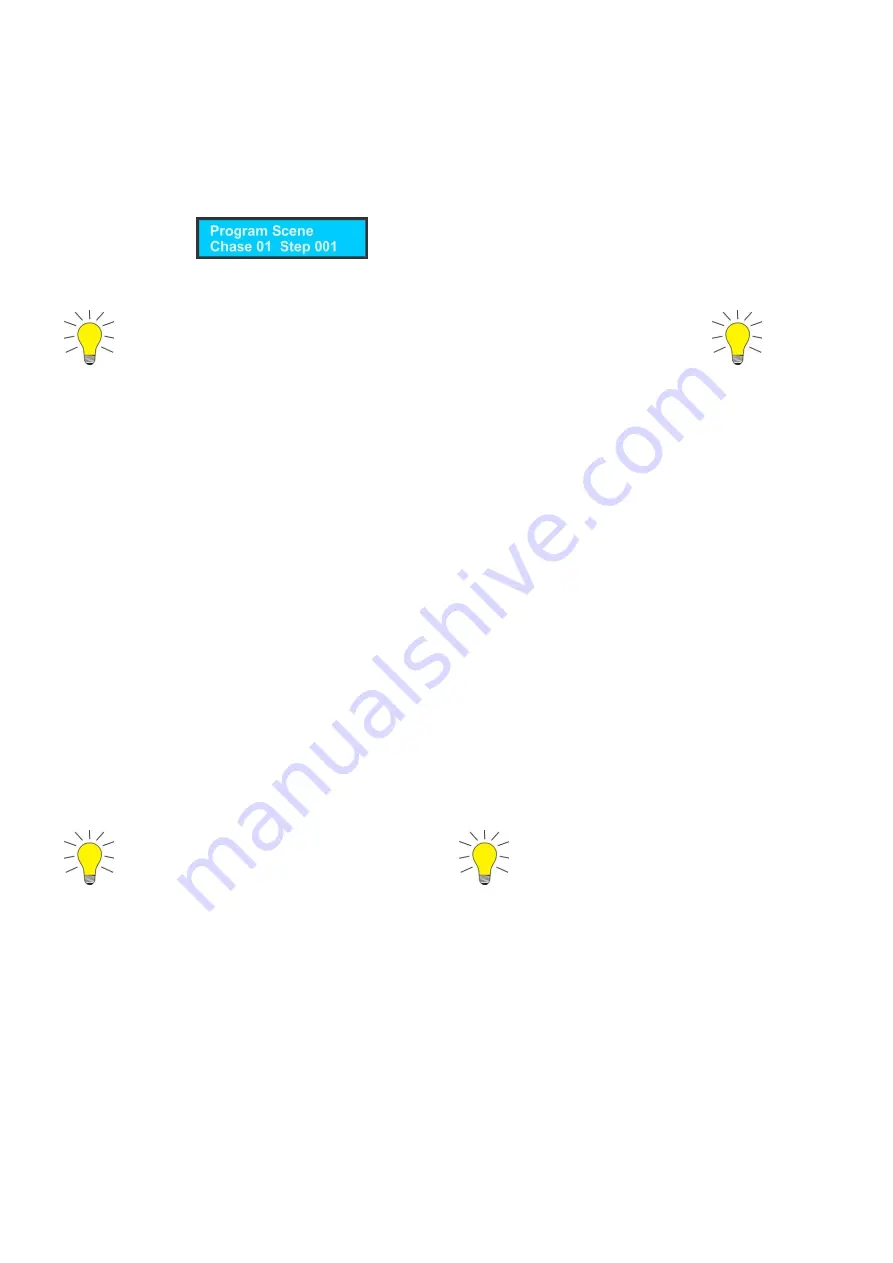
 

7)

 The display will                                             , meaning Step 1 in your chase has been recorded. 

 
8)

 For further steps repeat 5, 6 and 7, until you have completed all the desired steps in your entire chase.  

9)

 Exit Record Mode. 


              More than 1 fixture can be programmed/selected when creating steps in chases 
 

Play a Chase 

1)

 Deselect all fixtures. All LEDs next to the 8 fixture buttons must be OFF. 

2)

 Select your desired chase by pressing the Chase button. 


Delete a Chase 

1)

 Deselect all fixtures, scenes and chases.


2)

 Enter Record Mode by pressing the Record button (

15

). 

3)

 Select the proper Page by pressing the Page button (

14

). 

4)

 Press and hold the Tap Sync button (

16

). Now press the corresponding Chase button (

3

), that you want  

    to delete. 

5)

 Exit Record Mode by pressing the Record button (

15

). 


Add an extra Step to an existing Chase 

1)

 Enter Record Mode by pressing the Record button (

15

). 

2)

 Select the chase you want to add a step to. 

3)

 Use the Mode/Up and Patch/Down buttons to scroll through the chase. The display will show the  

    current step. 

4)

 Select the fixture you want to program by pressing the desired Fixture button (

1

). 

5)

 Set the faders to the desired values. 

6)

 Press the Record button (

15

) to save a new step. All LEDs will flash 3 times, indicating your operation  

    has been successful. The new step will be added 

after

 the selected one. 

7)

 If you want to add additional steps repeat 4, 5 and 6, until you have added all the desired steps in your  

    entire chase.  

8)

 Exit Record Mode by pressing the Record button (

15

). 


  One Chase can contain a max. of 1740 steps 
  16 chases can contain a total of 1740 steps 


Delete a Step from an existing Chase  

1)

 Enter Record Mode by pressing the Record button (

15

). 

2)

 Select the chase from which you want to delete a step. 

3)

 Use the Mode/Up (

19

) and Patch/Down buttons (

21

) to scroll through the chase and select the step  

    you want to delete. 

4)

 Push the Tap Sync button (

16

) to delete the step. 

    All LEDs will flash 3 times, indicating the step has been successfully deleted. 

5)

 Continue this procedure (steps 2, 3 and 4) if you want to delete multiple steps. 

     If you are finished deleting the steps, press the Record button (

15

) to exit Record Mode. 


Summary of Contents for LED Commander

Page 1: ...LED Commander ORDERCODE 50717...

Page 2: ...n Showtec for more excellent lighting products We design and manufacture professional light equipment for the entertainment industry New products are being launched regularly We work hard to keep you...

Page 3: ...on Set Up and Operation Operation Channel Assignment Factory Reset Unpatch Channels Enter Program Mode Exit Program Mode Record a Scene Play a Scene Delete a Scene Overwrite a Scene Patch more than on...

Page 4: ...sed by transportation Should there be any consult your dealer and do not use the device To maintain perfect condition and to ensure a safe operation it is absolutely necessary for the user to follow t...

Page 5: ...it has reached room temperature If your Showtec device fails to work properly discontinue use immediately Pack the unit securely preferably in the original packing material and return it to your Show...

Page 6: ...description of the symptoms Claims The client has the obligation to check the delivered goods immediately upon delivery for any short comings and or visible defects or perform this check after our ann...

Page 7: ...hases 2 Auxiliary channels Bright LCD display 3 and 5 pole XLR output Auto program Music Control 19 rackmounting One Chase can contain a max of 1740 steps 16 chases can contain a total of 1740 steps T...

Page 8: ...r Fader 12 MASTER Fader Use the Master fader to manually control overall intensity 13 Flash buttons 1 8 14 Page button Page 1 2 LED indicators When the Page 1 indicator is lit scenes 1 8 and chases 1...

Page 9: ...encer or MIDI device 32 DC power DC 9 12V 800mA 33 ON OFF Installation Remove all packing materials from the LED Commander Check that all foam and plastic padding is removed Connect all cables Always...

Page 10: ...MX channel 49 is patched to the RED fader 5 of fixture 1 6 Press Patch button for 3 seconds to exit Patch mode Factory Reset 1 First turn off the device 2 Now press and hold the Record 15 button Tap S...

Page 11: ...tton 15 for 3 seconds to enter Program Mode 2 Select the fixture you want to program by pressing the desired Fixture button 1 3 Set the faders to the desired values 4 Set the proper page by pressing t...

Page 12: ...t the DMX channel you want to patch 3 Assign the DMX Channel by pressing the channel flash button 13 4 Now select the next DMX channel and push the same flash button to also assign this channel to tha...

Page 13: ...tep to an existing Chase 1 Enter Record Mode by pressing the Record button 15 2 Select the chase you want to add a step to 3 Use the Mode Up and Patch Down buttons to scroll through the chase The disp...

Page 14: ...c LED Commander requires almost no maintenance However you should keep the unit clean Disconnect the mains power supply and then wipe the cover with a damp cloth Do not immerse in liquid Do not use al...

Page 15: ...es One Chase can contain a max of 1740 steps 16 chases can contain a total of 1740 steps Total DMX Channels 512 16 individual DMX channels per fixture 128 individual DMX total 16 Scenes 2 Auxiliary ch...

Page 16: ......

Reviews: