-13-
W1747 20" Planer
SE
T
U
P
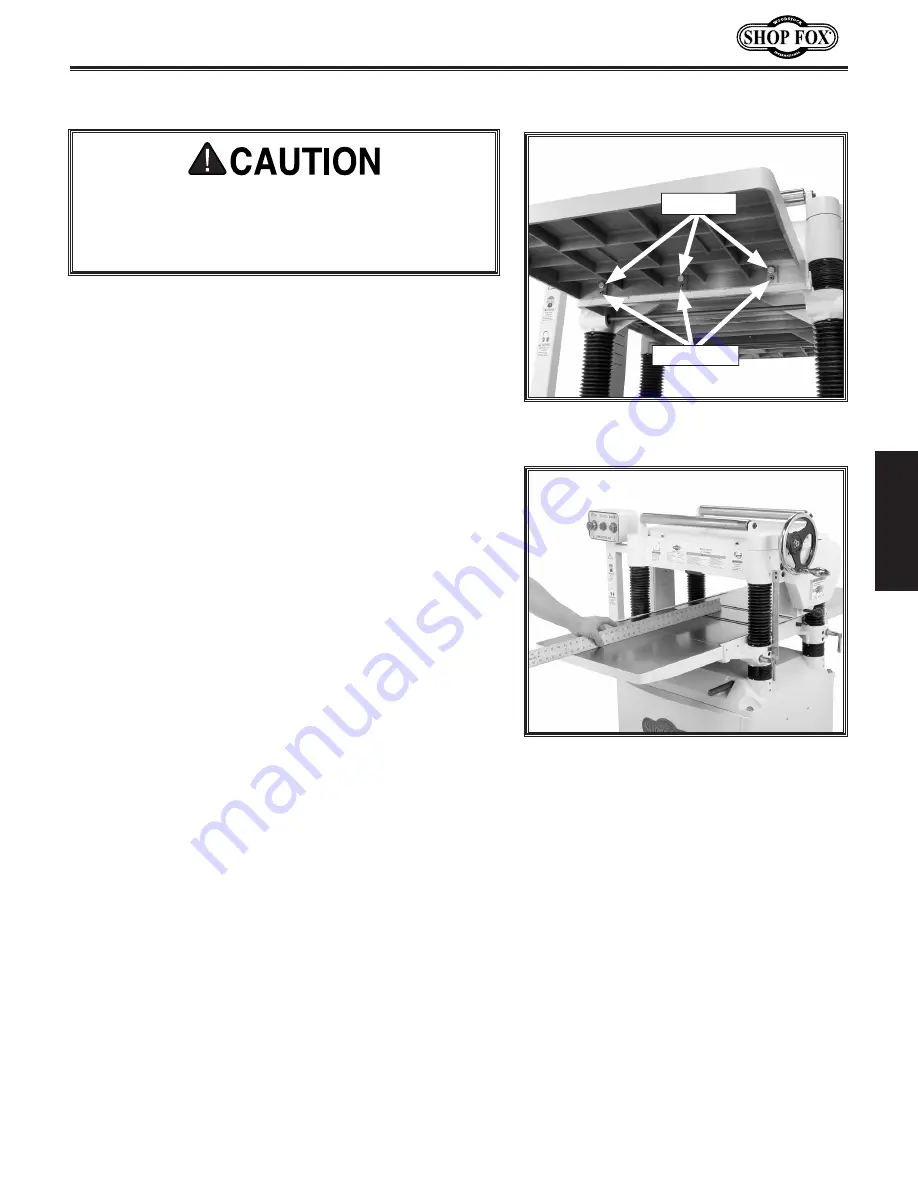
To attach the table extension wings, do these steps:
1.
With the help of an assistant, attach the table
extension wings to the planer table (
Figure 4
) with
the M8-1.25 x 25 hex bolts. Finger tighten the bolts
for now.
2.
Install the M8-1.25 x 20 set screws (
Figure 4
) in the
holes in the bottom of the wings.
3.
Check table-to-extension wing alignment (
Figure
5
) with a straightedge and adjust the leveling set
screws until the table and wings are flush.
4. Tighten the hex bolts.
Figure 4
. Extension wing fasteners and
leveling controls.
Figure 5
. Leveling extension wings and
table.
Extension Wings
Extension wings are heavy and could cause per-
sonal injury if dropped during installation. Have an
assistant hold the table while you fasten it to the
planer.
Hex Bolts
Set Screws
Summary of Contents for SHOP FOX W1747
Page 2: ......
Page 41: ...39 W1747 20 Planer SERVICE W1747 Wiring Diagram...
Page 44: ...42 W1747 20 Planer PARTS Headstock Assembly Parts Breakdown...
Page 47: ...45 W1747 20 Planer PARTS Table Base and Columns Parts Breakdown...
Page 49: ...47 W1747 20 Planer PARTS Stand Motor Assembly Parts Breakdown...
Page 55: ......
Page 56: ......


