FreeScan UE Pro_ User Manual _V1.2.2 9
Accuracy
of calibration directly affects the scanning
accuracy
. Re-calibration is required
Under the following
conditions:
-
When the scanner is used for the first time, or when it is reused after being laid idle for a long period
of time (1-2 weeks).
-
The scanner was severely shaken or shocked during transportation.
-
Severe accuracy reduction, such as frequent errors in alignment or unrecognized markers, is
observed during the scanning.
-
Incomplete data is acquired during the scanning or serious deterioration of the quality of scanned
data.
⚫
Always make sure that the working side of the calibration board is clean and free of scratches.
⚫
Do not place heavy objects or sundries on the calibration board to avoid damage of the calibration board.
⚫
Keep the calibration board away from corrosives, metals and sharp objects to avoid corrosion or damage.
⚫
It is not recommended to wipe the calibration board. When cleaning the board becomes very necessary,
gently wipe it with a piece of a clean damp cloth. Do not use a cloth with chemicals or alcohols to wipe
the calibration board.
⚫
After using the calibration board, put it in a flannel bag.
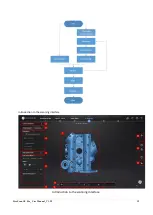
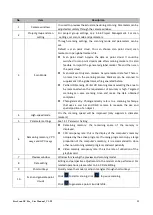
3.2.2 Introduction to the Calibration Interface
Calibration shall be performed when it is the first time to use the device.
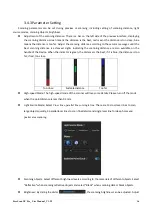
Three dimensions shall be taken into consideration during calibration: tilt leftward and rightward, tilt upward
and downward, and height. When the height requirement is met, the blue bordered box becomes green;
when tilting leftward/rightward or upward and downward all meet the requirements, the sliders in the bar
box overlap and become green.
Refer to the steps and diagram shown on the right.
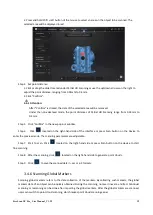
3.2.3 Quick Calibration
The system directly enters the calibration interface when it is used for the first time. Alternatively, users can


