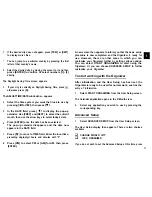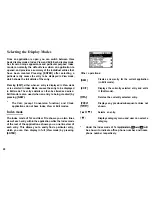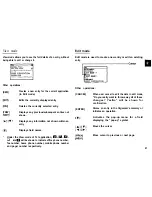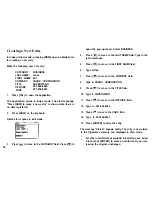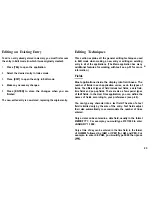
1. If the desired city does not appear, press [PREV] or [NEXT]
to display more cities.
l
You can jump to a particular country by pressing the first
letter of that country’s name.
2. Select the desired city by moving the cursor to it and then
press [ENTER] to confirm. Or select numbers [l] [4]
directly.
The Daylight Saving Time screen appears.
3. If your city is currently on Daylight Saving Time, press [y],
otherwise press [N].
TheADJUSTTIME/DATEwindowthen appears.
4.
5.
6.
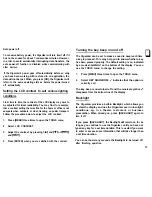
Select the time system you want the Clock to use by
pressing
or
then press
In the DATE field, press [
to display the pop-up
calendar. Use [PREV] and [NEXT] to select the current
month, then use the arrow keys to select today’s date.
Press [ENTER] once the date has been selected.
The pop-up calendar disappears and the date now
appears in the DATE field.
Press [ to move to TIME field. Enter the local time,
preceding single-digit hours and minutes with “0”.
Press [PM] to select PM or [AM] for AM, then press
[ENTER].
A new screen then appears to inform you that the basic setup
procedure is now completed, and the Organizer is ready for
use. However, there are other areas in which you can
customize your Organizer further by setting various options.
You can select START ORGANIZING to start using the
Organizer. Or you can choose ADVANCED SETUP to further
customize your Organizer.
To start working with the Organizer
After initialization and the User Setup has been set, the
Organizer is ready to be used for normal work, such as the
entry of information.
1. Select START ORGANIZING from the User Setup screen.
The Calendar application opens in the P-Month view.
2. Select any application you wish to use by pressing the
corresponding key.
Advanced Setup
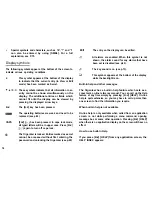
1. Select ADVANCED SETUP from the User Setup screen.
The User Setup display then appears. There are two choices
available.
q
CHANGE WORLD CITY
q
LOCK ORGANIZER
If you do not wish to set the Advanced Setup at this time, press
11


