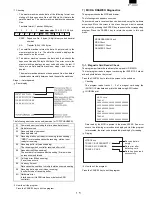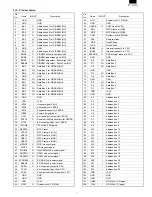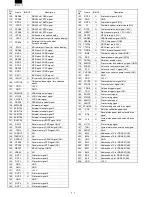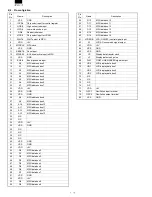
How to exit the program.
You can exit the program by pressing the ENTER key when the
final test pattern is shown on the screen or by pressing the CAN-
CEL key during checking.
5)-2. Pole Display Check
Checking
The screen shows the following test patterns in the order given
below. Press the ENTER key to move to the next pattern.
i. The following test patterns are displayed.
ii. The test pattern where all digits are turned ON is displayed.
Display
How to exit the program.
You can return to the Diag. submenu by pressing the ENTER key
after the 2nd test pattern where all digits are turned ON and are
displayed. Or press the CANCEL key to erase the screen to exit
the program.
5)-3. Popup Display Check
Checking
The screen shows the following test patterns in the order given
below. Press ENTER to move to the next pattern.
i. The following test patterns are displayed.
ii. The test pattern where all digits are turned ON is displayed.
Display
How to exit the program
You can return to the Diag. submenu by pressing the ENTER key
after the 2nd test pattern where all digits are turned ON and are
displayed. Or press the CANCEL key to erase the screen to exit
the program.
5)-4. PRINTER Check
Checking
The printer prints on the RECEIPT/JOURNAL PRINTER.
Display
JOURNAL/RECEIPT print
"Z" 24 digits are printed in 5 lines.
How to exit the program
One second after printing is completed, the screen returns to the
PRINTER Check of the DISPLAY & PRINTER MENU.
5)-5. PRINTER CG Check
Checking
The printer prints the built-in CG onto the RECEIPT/JOURNAL
PRINTER.
Standard characters are printed in 16 characters/line and ex-
tended ASCII characters (enlarged characters) are printed in 8
characters/line.
The standard characters are printed first, followed by the ex-
tended ASCII characters.
Check the outputted print to see if CG is correctly printed.
Display
How to exit the program.
Press the CANCEL key to exit the program after 1 cycle of printing
is completed.
DOT DISPLAY
7SEG DISPLAY
:
:
0 1 2 3 4 5 6 7 8 9 ; A a B b C
0 . 1 . 2 . 3 . 4 . 5 . 6 . 7 . 8 . 9 . - .
POLE Display Check
POPUP Display Check
PRINTER Check
RECEIPT
ZZZZZZZZZZZZZZZZZZZZZZZZ
ZZZZZZZZZZZZZZZZZZZZZZZZ
ZZZZZZZZZZZZZZZZZZZZZZZZ
ZZZZZZZZZZZZZZZZZZZZZZZZ
ZZZZZZZZZZZZZZZZZZZZZZZZ
LOGO
JOURNAL
ZZZZZZZZZZZZZZZZZZZZZZZZ
ZZZZZZZZZZZZZZZZZZZZZZZZ
ZZZZZZZZZZZZZZZZZZZZZZZZ
ZZZZZZZZZZZZZZZZZZZZZZZZ
ZZZZZZZZZZZZZZZZZZZZZZZZ
PRINTER CG Check
Summary of Contents for UP-600
Page 8: ......
Page 77: ...CHAPTER 9 PWB LAYOUT 1 MAIN PWB 1 A side R VRD RC2EY103J is added IC1 94pin R71 ...
Page 78: ...2 B side Symbol PartsCod ...
Page 79: ...2 CKDC PWB 3 DISPLY MCR PWB 1 A side 2 B side 4 RS232 RELAY PWB 1 A side 2 B side ...
Page 80: ...5 IPL ROM PWB 1 A side 8 POP UP DISPLY 9 LCD I F PWB 2 B side 6 TCP IP RELAY PWB 7 VR PWB ...


