ENGLISH
35
E
Adjustments for PC screen display (ANALOG)
When you use the PC analog RGB input terminal to display a PC screen for the first time, or when you
change the setting of the PC, you need to perform the automatic adjustment from the ADJUSTMENT
menu. (See page 27.)
Before making adjustments in the ADJUSTMENT menu or GAIN CONTROL menu, display an image to
brighten the entire screen.
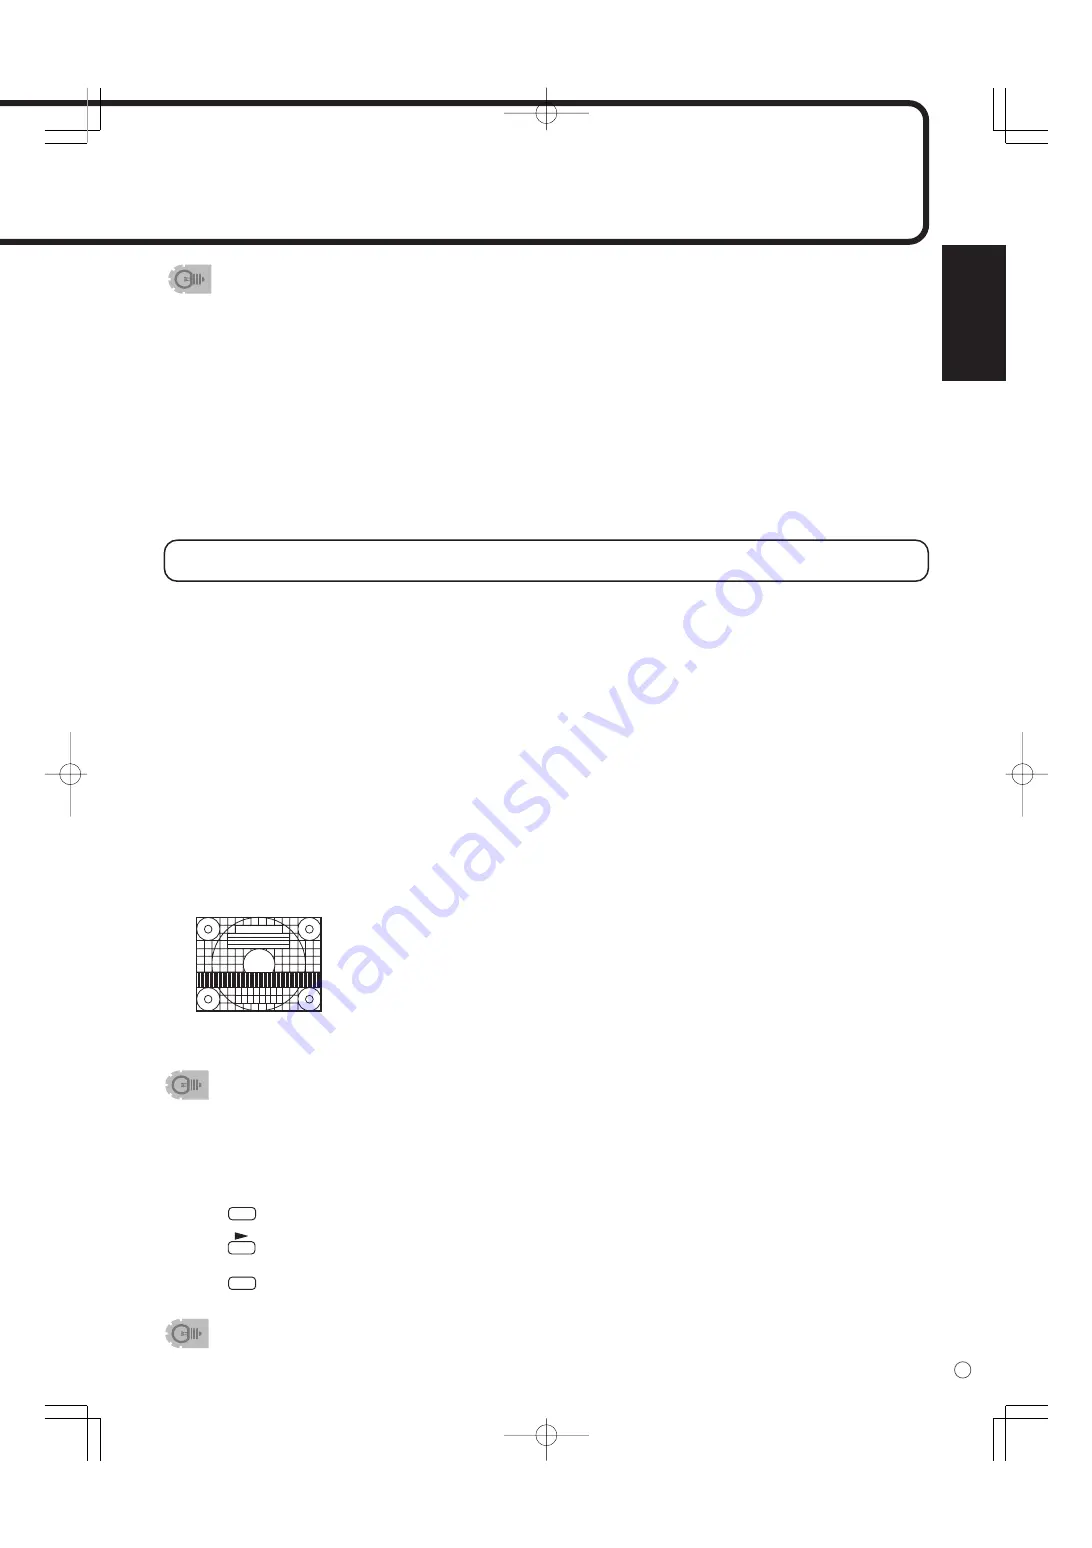
If you are using a Windows PC, use the adjustment pattern on the supplied CD-ROM.
Retrieving the adjustment pattern
This explanation assumes you are using Windows 2000/XP.
1. Connect the monitor and computer (see page 13).
2. Load the supplied CD-ROM into the computer’s CD-ROM drive.
3. Open the CD-ROM in [My Computer].
4. Double-click [Adj_uty.exe] to start the adjustment program.
The adjustment pattern will appear. Adjust the screen automatically or manually.
5. When adjustment is finished, press the [Esc] on the computer’s keyboard to quit the adjustment program.
• If the display mode on the computer you are using is 65,000 colors, the color levels in the color pattern
may appear differently or grayscale may appear to be colored. (This is due to the specifications of the
input signal and is not a malfunction.)
• Using this monitor’s screen-size switching or dual-screen display functions to compress or expand the
screen for commercial or public viewing in establishments like cafes or hotels may infringe on the rights
of the creators, as protected by Copyright Law, so please be careful.
• When using the screen-size switching function of this monitor, the appearance of the original video may
change if you select a screen size with a different aspect ratio than the original image (e.g. TV broadcast or
video input from external equipment). Please consider this point when selecting the screen size.
• When an ordinary non-wide image (4:3) is viewed with the whole screen using the screen-size switching
function of this monitor, the edge of the image may be lost or appear distorted. If you wish to respect the
creator’s intentions, set the screen size to “NORMAL”.
• When playing commercial software, parts of the image (like subtitles) may be cropped. In this case
select the optimal screen size using the screen-size switching function of this monitor. With some
software, there may be noise or distortion at the edges or top of the screen. This is due to the
characteristics of the software, and is not a malfunction.
• Depending on the original image size (e.g. CinemaScope size), black bands may remain at the top and
bottom of the screen.
Automatic adjustment procedure
1. Set the input mode to “ANALOG” and display the adjustment pattern above.
2. Press
MENU
and display the ADJUSTMENT menu.
3. Press
and select “AUTO”. The automatic adjustment is complete in several seconds.
4. Press
MENU
six times to close the menu screen.
• If the screen cannot be adjusted properly with one automatic adjustment, repeat the automatic
adjustment two or three times. Try manual adjustment if necessary. (See page 27.)
<Adjustment pattern>


