-48
Anti-Theft
(Setting the Anti-Theft)
The anti-theft function prevents unauthorized use
of the projector. You can choose to use this func-
tion or not. If you do not want to use this function,
just do not enter the keycode. Once the anti-theft
function is activated, users will need to enter the
correct keycode each time the projector is turned
on. Failure to enter the correct keycode will cause
images to not be projected. The following proce-
dures explain how to use this function.
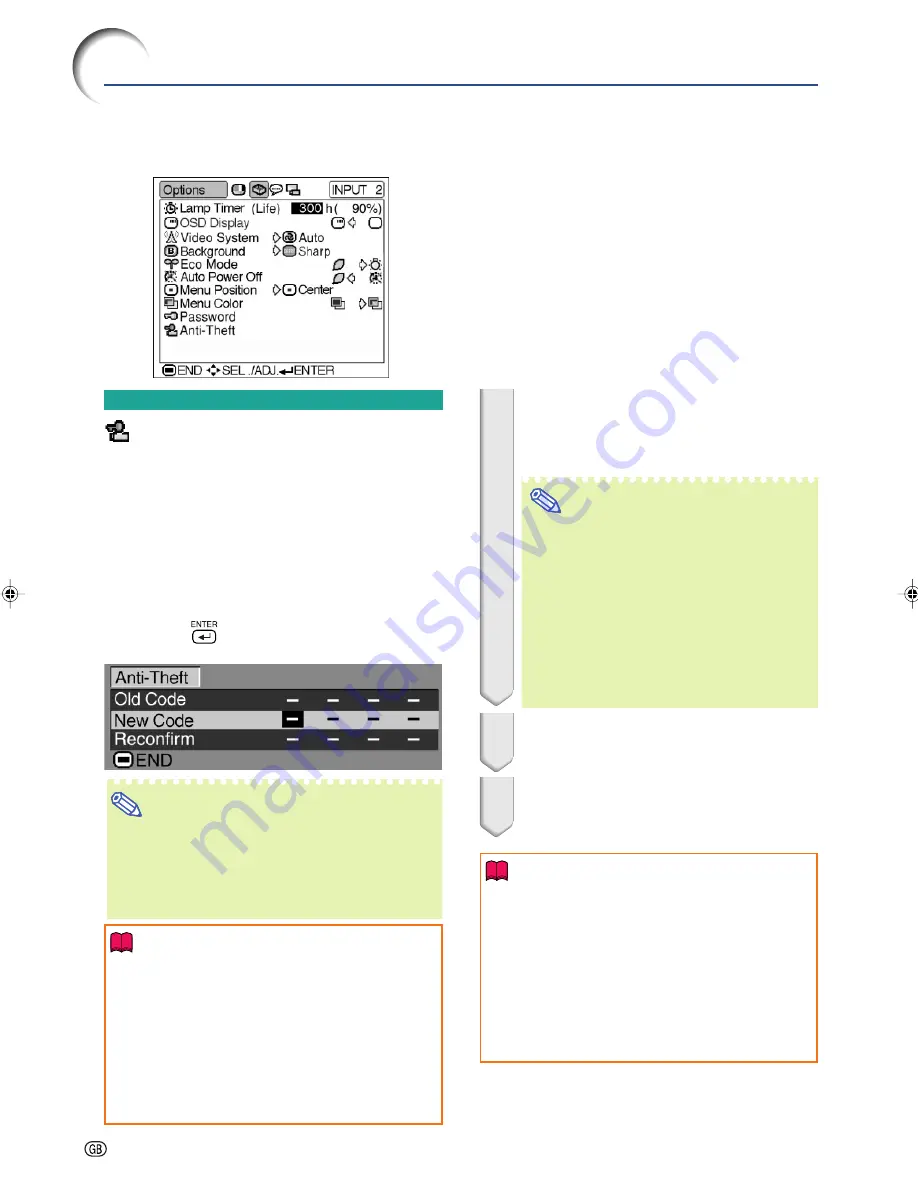
Select “Anti-Theft” on the “Options” menu,
then press
and follow the procedure be-
low to enter the keycode.
Note
•
“Anti-Theft” cannot be selected unless
“Password” is set. (See page
47
.)
•
When “Anti-Theft” is selected, the password in-
put box will appear. Enter the keycode after the
right password is entered.
Info
•
Once the function is activated, you must remem-
ber the correct keycode. We suggest you record
the keycode in a safe place where only authorized
users have access. If you lose or forget your
keycode, you will need to contact your nearest
Sharp Authorized Projector Dealer or Service Cen-
ter (see page
65
). You may need to bring your pro-
jector to them to restore the projector to original
factory condition (password and keycode reset).
Using the “Options” Menu
1
Press any button you like on the re-
mote control or projector to set the
first digit in “New Code”.
Note
•
The following buttons on the remote con-
trol and projector cannot be set as
keycodes:
•
ON button
•
STANDBY button
•
ENTER button
•
UNDO button
•
MENU button
•
FORWARD button
•
BACK button
2
Enter the remaining 3 digits by
pressing any buttons you like.
3
Enter the same keycode once more
in “Reconfirm”.
Info
When “Anti-Theft” is set, the keycode in-
putting box appears after the power is
turned on. When it appears, enter the right
keycode.
•
Press the buttons on the remote control if the
buttons on the remote control are used for set-
ting the keycode. In the same manner, press
the buttons on the projector if the buttons on
the projector are used for setting the keycode.
Example: “Options” menu screen for
INPUT 2 (S-Video) mode
PG-A15X_E_PDF_P40_50.p65
10/17/04, 11:42 AM
48
Summary of Contents for PG-A10X-A
Page 74: ...SHARP CORPORATION ...


