Useful Features
40
Selecting a
Background
Image
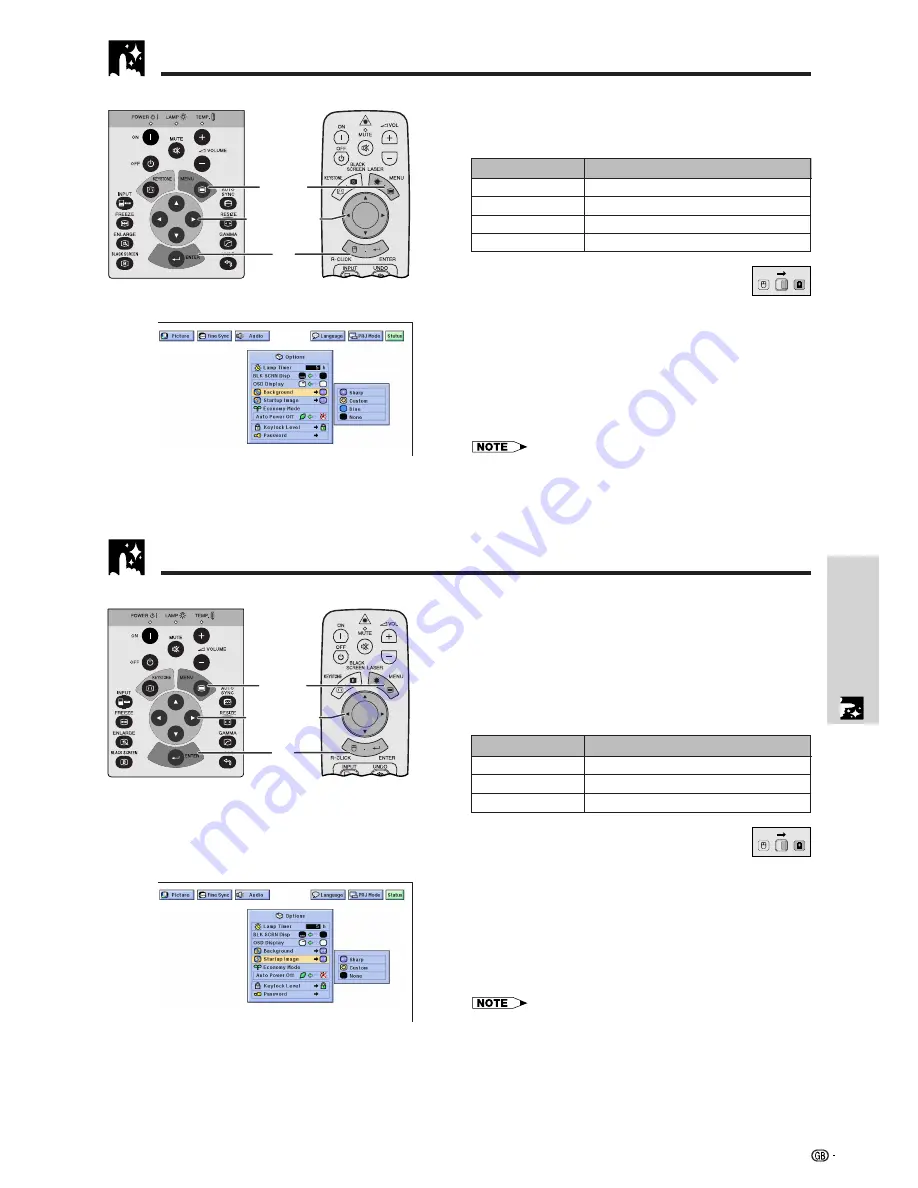
This function allows you to select the image displayed
when no signal is being sent to the projector.
Description of Background Images
(Slide the
MOUSE/ADJUSTMENT
switch
on the remote control to the ADJ. position.)
1
Press
MENU
.
2
Press
ß
/
©
to select “Options”.
3
Press
∂
/
ƒ
to select “Background”, and then press
©
.
4
Press
∂
/
ƒ
to select the background image you want
to display on the screen.
5
Press
ENTER
to save the setting.
6
To exit from the GUI, press
MENU
.
• By selecting “Custom”, the projector can display a custom image
(i.e. your company logo) as the background image. The custom
image must be a 256-colour BMP file with a picture size no larger
than 1,024
768 pixels. Please see the Sharp Advanced
Presentation Software operation manual for how to save (or change)
a custom image.
Selected item
Sharp
Custom
Blue
None
Background image
SHARP default image
User customised image (i.e. company logo)
Blue screen
Black screen
5
2
,
3
,
4
1
,
6
Projector
MOUSE
ADJ.
• This function allows you to specify the image to be
displayed upon the projector’s startup.
• A custom image (i.e. your company logo) can be
uploaded to the projector via an RS-232C cable. See
page 16 in this operation manual, and also the
supplied Sharp Advanced Presentation Software
operation manual for detailed instructions.
Description of Startup Images
(Slide the
MOUSE/ADJUSTMENT
switch
on the remote control to the ADJ. position.)
1
Press
MENU
.
2
Press
ß
/
©
to select “Options”.
3
Press
∂
/
ƒ
to select “Startup Image”, and then press
©
.
4
Press
∂
/
ƒ
to select the startup image you want to
display on the screen.
5
Press
ENTER
to save the setting.
6
To exit from the GUI, press
MENU
.
• By selecting “Custom”, the projector can display a custom image
(i.e. your company logo) as the startup image. The custom image
must be a 256-colour BMP file with a picture size no larger than
1,024
768 pixels. Please see the Sharp Advanced Presentation
Software operation manual for how to save (or change) a custom
image.
Selected item
Sharp
Custom
None
Startup image
SHARP default image
User customised image (i.e. company logo)
Black screen
5
2
,
3
,
4
1
,
6
Projector
(GUI) On-screen Display
Selecting a
Startup Image
MOUSE
ADJ.
Remote control
Remote control
(GUI) On-screen Display
Summary of Contents for Notevision XG-C40XE
Page 14: ...Setup Connections 11 Setup Connections ...
Page 65: ...SHARP CORPORATION ...


