92
FAX FUNCTIONS
HOW TO SELECT THE RESOLUTION
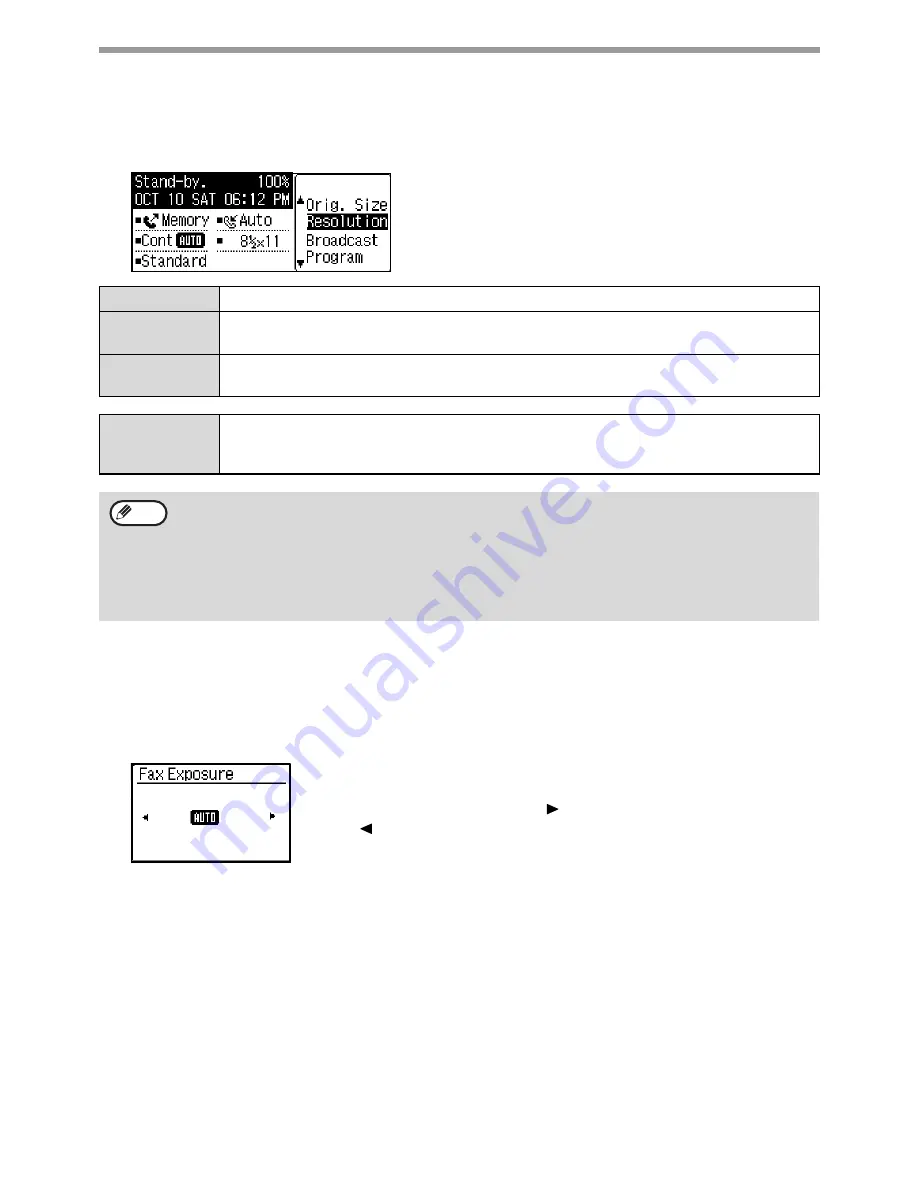
The resolution can be changed to match the text size of the original, and the original type, such as a photo. Select
"Resolution" in the right menu of the base screen of fax mode and press the [OK] key.
CHANGING THE EXPOSURE
The exposure can be changed to match the darkness of the original.
1
Select the [Exposure] key.
2
Adjust the exposure.
(1) Select the item.
(2) Adjust the exposure.
To dark the exposure , select the [
] key, and to lighten the exposure, select the
[
] key.
(3) Select the [OK] key.
Standard
Select for an original with normal size text.
Fine
Select for an original with small text or detailed diagrams. The original will be scanned at twice
the density of "Standard".
Super Fine
Select for an original with intricate pictures or diagrams. A higher-quality image will be produced
than with the "Fine" setting
Fine / Halftone
Super Fine /
Halftone
Use for photo or shaded color originals (color documents, etc.). Transmits a clearer image than
with "Fine" or "Super Fine" alone.
The transmission time is slightly longer when halftone is selected.
• The factory default settings for the resolution and contrast are "Standard" and "Auto", respectively.
The default settings for the resolution and contrast can be changed in the system settings "Set Res. Con."
(p.186). When using the document glass to scan multiple original pages, you can change the resolution and
contrast each time you change pages. When using the auto document feeder, you cannot change the
resolution and contrast after scanning has started.
• Even if you send a fax at "Fine" or "Super Fine", the receiving fax may not be capable of receiving and printing
the fax at that resolution.
• To cancel a resolution setting, press the "Reset" key.
Note


