


5-74
4
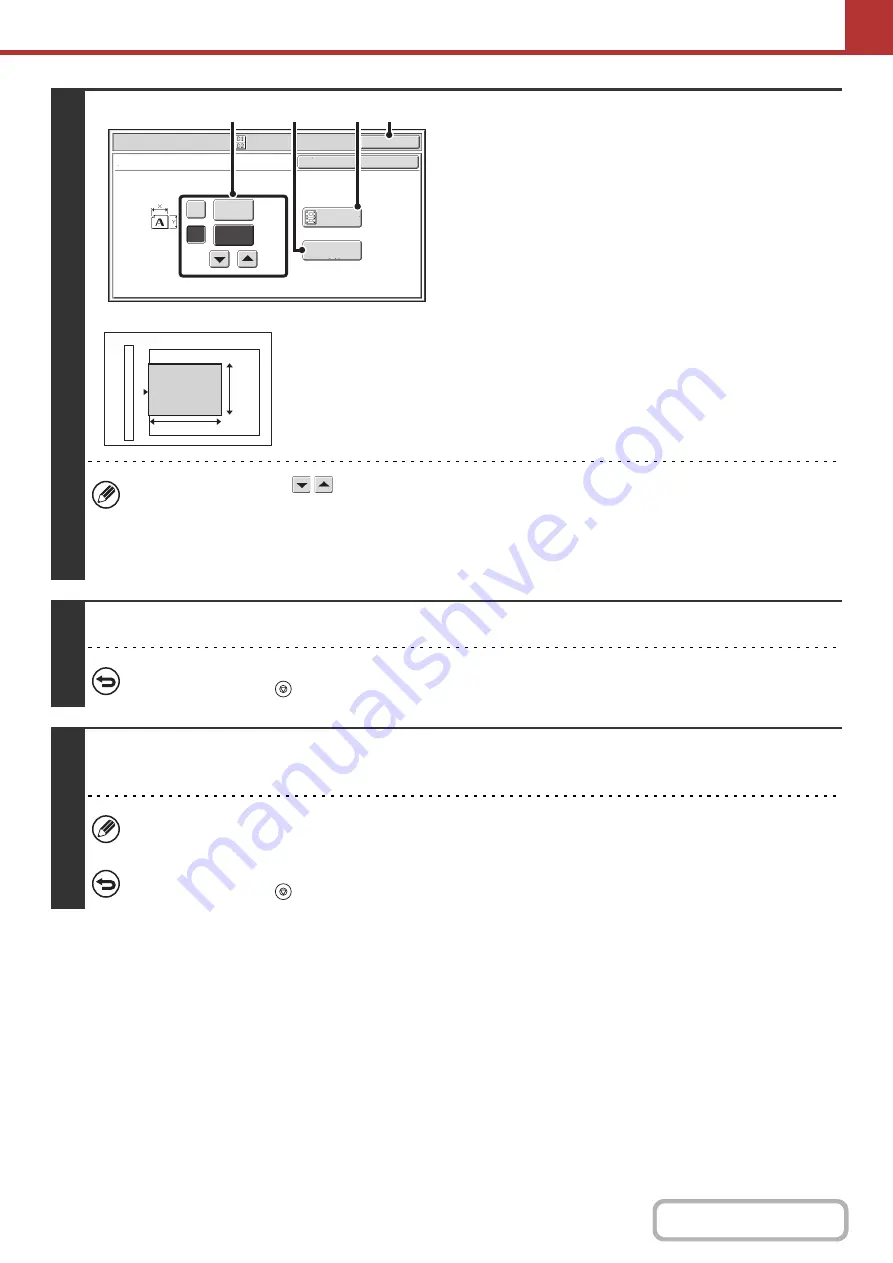
Specify the original size.
(1) Enter the original size.
• Touch the X (width) numeric value display key and
enter the width.
• Touch the Y (height) numeric value display key and
enter the height.
(A) To return the original size to the default size, touch the
[Size Reset] key.
(B) To automatically enlarge or reduce the image to fit the
send size, touch the [Fit to Send Size] key. If you wish
to scan the original at the entered original size, there
is no need to touch this key.
(2) Touch the [OK] key.
• You can also touch the
keys to change the number.
• The send size will be selected automatically based on the entered original size.
• After selecting Card Shot, you can touch the [Original] key in the base screen to change the original scan size or the
send size. In this case, the screen of this step appears when you touch the scan size key. For the procedure for
setting the send size, see "
Specifying the send size of the image
5
Press the [START] key to scan the front side of the card.
To cancel scanning...
Press the [STOP] key (
) to cancel the operation.
6
Turn the card over and press the [START] key to scan the reverse side of the card.
The back of the card will be scanned using the same colour mode as the front.
Before scanning the back of the card, you can touch the [Configure] key in the touch panel to change the exposure.
To cancel scanning...
Press the [STOP] key (
) to cancel the operation.
Scan/Special Modes
OK
X
Y
Card Shot
OK
Cancel
Fit to
Send Size
Size Reset
(25~210)
mm
(25~210)
mm
86
54
(2)
(B)
(1)
(A)
X
Y
Summary of Contents for MX-B381
Page 4: ...Reduce copy mistakes Print one set of copies for proofing ...
Page 6: ...Make a copy on this type of paper Envelopes and other special media Transparency film ...
Page 11: ...Conserve Print on both sides of the paper Print multiple pages on one side of the paper ...
Page 35: ...Organize my files Delete a file Delete all files Periodically delete files Change the folder ...
Page 202: ...3 18 PRINTER Contents 4 Click the Print button Printing begins ...


