MAX
-
PRO Operator Manual
Original Printed in English
3
-
8
Before attempting to operate the machine, read all
information under
, page 1
-
2 and
, page 3
-
1.
Load film material as illustrated in Web Threading Dia-
gram on machine. See
page 2
-
5.
1.
Make sure machine is plugged into the properly
grounded outlet. See
, page 2
-
2. and connected to clean dry air regulated to 80
psi. See
Air Pressure Regulator Adjustment
, page
2
-
3.
2.
Release the E
-
Stop Button on bagger. Release E
-
Stop Buttons on any connected conveyors, if ap-
plicable.
3.
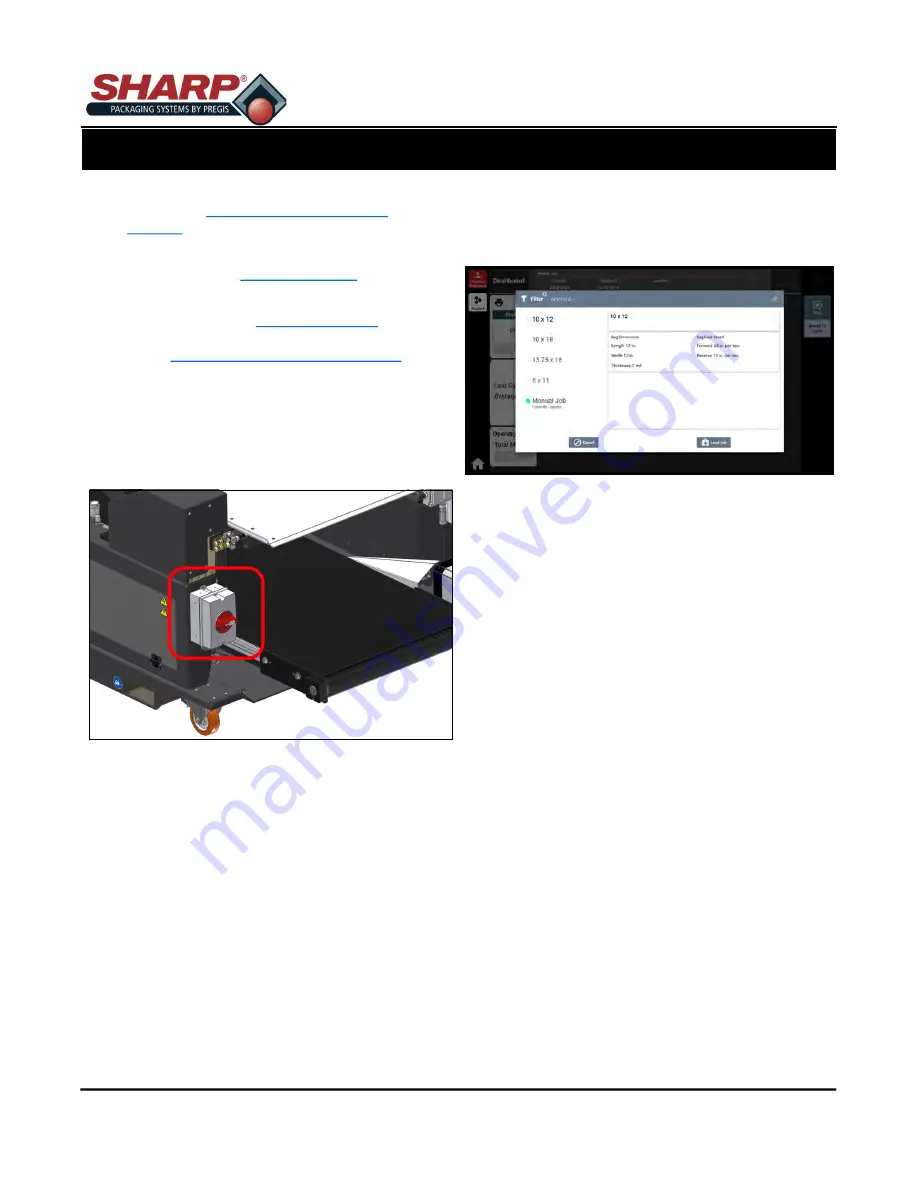
Turn Main Power Switch to ON position.
4.
Components on the Un
-
switched circuit will turn
ON.
5.
The PC will start to boot automatically. The HMI
program will auto
-
load.
6.
Push the green Power Pushbutton, this will turn
on the entire bagger.
NOTE: The machine will display several faults and
warnings when HMI program and Power Button
have been pressed.
7.
Press the Enable Bagger Button. This will estab-
lish communication and clear faults of Home Pres-
sure Bar, Seal Flattener and Bag Feed.
8.
The ‘Seal Bar Not At Temperature’ warning will
remain until Seal Bar reaches loaded job tempera-
ture setting.
9.
Press the ‘Operator’ button to open Operator
Screen.
10.
Press the ‘Job Search’ and select job to be load-
ed.
11.
Press Load Job.
12.
Press Dual Palm Buttons or press Cycle on HMI
Screen to feed bag.
13.
Load product into bag.
14.
Press Dual Palm Buttons or press Cycle on HMI
Screen to seal bag and feed next one out.
NOTE:
When HMI program is closed and Main Power
Switch is turned OFF, the bagger cannot be turned
back on until the UPS (Uninterruptible Power Supply)
has cleared. This may take several minutes. This is
completed when the red indicator light on HMI turns
off.
NOTE: To stop the machine for any reason, press
the Emergency Stop Button.
SECTION 3 - SET-UP & OPERATION


