20
AQUOS LINK
Controlling HDMI devices using AQUOS LINK
E
What is AQUOS LINK?
Using the HDMI CEC protocol, with AQUOS LINK you can interactively operate compatible system devices (AV
amplifier, DVD player/recorder, Blu-ray player/recorder) using a single remote control unit.
By connecting AQUOS LINK-compatible devices with HDMI-certified cables to the TV, you can control a recorder or AV
amplifier using the remote control of the TV.
NOTE
• Check the availability of AQUOS LINK-compatible AQUOS BD Players and AQUOS LINK-compatible audio systems in your
country.
E
What you can do with AQUOS LINK
✔
One touch play
When the TV is in standby mode, it will automatically turn
on and play back the image from the HDMI source.
✔
Operating title list of external devices
You can also call up the external player’s top menu or
AQUOS BD player’s/AQUOS recorder’s title list provided
that the devices support AQUOS LINK.
✔
Controlling the AQUOS LINK-
compatible audio system
You can adjust the volume and select the sound mode of
the AQUOS LINK-compatible audio system.
✔
Multiple control of HDMI devices
You can select which HDMI device to operate using the
“Link operation” menu.
✔
Single remote control operation
AQUOS LINK automatically recognises connected HDMI
devices and you can control the TV and the devices as if
using a universal remote control unit.
NOTE
• When you use AQUOS LINK, make sure to use a certified HDMI cable.
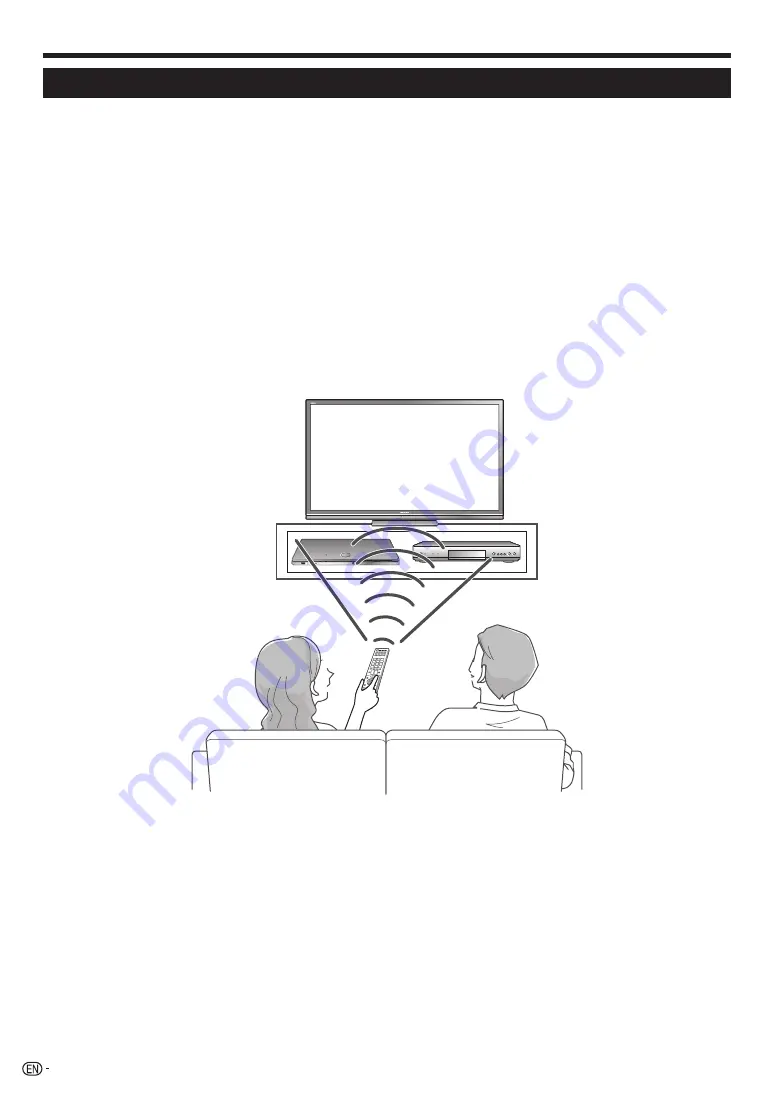
• Point the remote control unit toward the TV, not to the connected HDMI device.
• Video noise may occur depending on the type of HDMI cable used. Make sure to use a certified HDMI cable.
• Up to three HDMI recording devices, one AV amplifier and three players can be connected using this system.
• These operations affect the HDMI device selected as the current external source. If the device does not operate, turn on the device
and select the appropriate external source using
#
.
• When you insert/remove HDMI cables or change connections, turn on all connected HDMI devices before turning on the TV.
Confirm that picture and audio are correctly displayed/output by selecting “HDMI1”, “HDMI2”, “HDMI3” or “HDMI4” from the
“INPUT” menu.


