


11
12
Option menu
H
Input Select
For setting the signal type of external equipment.
Input source
Selectable item
INPUT3
COMPONENT, VIDEO
H
Audio Output Select
You can select which device is used for outputting
audio.
Option
Description
Headphone
Output audio through headphones.
Audio Out
Output audio through an A/V receiver or
surround audio controller.
NOTE
• If you select “Headphone” when a cable is inserted in
the OUTPUT terminal, the TV speakers are muted and all
Audio menu items cannot be adjusted.
• If you select “Audio Out”, sound via the OUTPUT terminal
is not adjustable and constantly outputs.
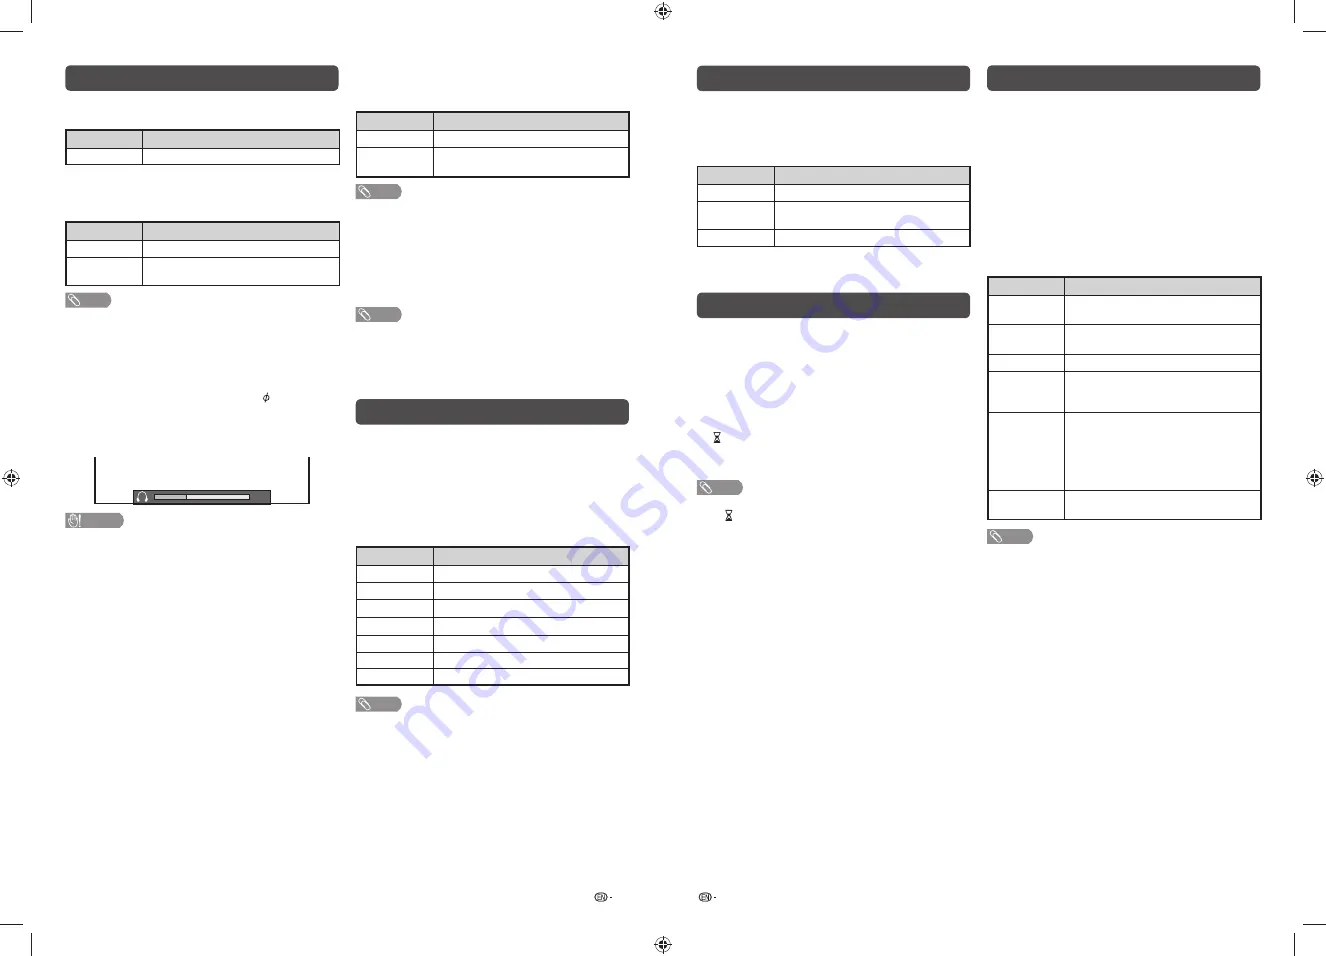
Regarding the headphone jack
• Use headphones with a stereo mini plug (
3.5 mm).
• Be sure to unplug headphones from the jack when they
are not in use.
Volume display when headphones are plugged in
30
CAUTION
• OUTPUT terminal is also used for headphones. Reduce
the volume before using headphones. Overwhelming
sound may damage your hearing.
H
Auto Volume
Different sound sources, fairly often do not have the
same volume level, for example the changing from
movie to the advertisements. Auto Volume solves this
problem and equalises the volume levels. (On, Off)
H
Audio Only
When listening to music from a music programme,
you can set the display off and enjoy audio only.
Selected item
Description
On
Audio is output without screen image.
Off
Both screen images and audio are
output.
NOTE
• When you make operations that change the picture on the
TV such as by changing the input source, the Audio Only
function is set to “Off”.
H
Colour System (AV input mode only)
You can change the colour system to one that is
compatible with the image on the screen. (Auto,
PAL, SECAM, NTSC 3.58, NTSC 4.43, PAL-60)
NOTE
• If “Auto” is selected, colour system is automatically set.
If an image does not display clearly, select another colour
system (e.g. PAL, NTSC 4.43).
• “Colour System” is selectable only when inputting a
composite signal.
Colour adjustment
Allows you to adjust the colour tone of the image
displayed on the screen.
1
Press
COLOUR ADJ.
, the colour adjustment
screen will display.
2
Press
a
/
b
/
c
/
d
to adjust the colour to your
desired setting.
Button
Description
a
White with greenish tone.
b
White with reddish tone.
c
White with bluish tone.
d
White with yellowish tone.
G
Reset setting.
B
Exit the setting screen.
ENTER
Save setting.
NOTE
• The colour adjustment screen will automatically goes out
after 30 minutes.
Wide mode
You can select different picture sizes that account for
the kind of each pictures manually.
1
Press
MENU
and the MENU screen displays.
2
Press
c
/
d
to select “Picture”
.
3
Press
a
/
b
to select “Wide mode”, and then
p
ress
ENTER
.
4
Press
a
/
b
while the WIDE MODE menu
displays on the screen.
• As you toggle down the options, each mode is
immediately refl ected on the TV.
Selected item
Description
Normal
For 4:3 “standard” pictures. A side bar
appears on each side.
Panorama
In this mode the picture is progressively
stretched toward each side of the screen.
Full
For 16:9 squeeze pictures.
Cinema16:9
For 16:9 letterbox pictures. Bars may
appear on the top and bottom with some
programmes.
Underscan
Display with an Underscan image only
when receiving a 720p/1080p/1080i
signal. Display with the High-Defi nition
image adjusted optimally. Noise may
appear on the edge of the screen with
some programmes.
Dot by Dot
Display an image with the same number
of pixels on the screen.
NOTE
• You can also select an item by pressing
WIDE
on the
remote control unit.
• Some picture sizes may not be displayable depending on
the input signal.
ECO mode
This function enables you to reduce the backlight
brightness in order to decrease the power
consumption and increase the backlight life span as
shown in the following table.
Selected item
Description
ECO 1
Reduces the backlight brightness.
ECO 2
Reduces the backlight brightness more
than “ECO 1”.
ECO off
Normal setting of backlight brightness.
ECO status will be displayed on the channel
information window.
Timer
Press
TIMER
to set the Sleep Timer or a Reminder
for an activity.
H
Sleep Timer
This function is conveniently used when, for instance,
going to bed while watching TV.
(Off, 0 hr. 30 min., ……, 2hr. 30 min.)
H
(Reminder)
This function is to set a reminder for an activity.
Press
a
/
b
or
ENTER
to set.
NOTE
• If you turn off the TV, the counter will be reset.
• The (Reminder) function does not work in USB mode.
LC-32LE260M_G236_EN.indd 6
LC-32LE260M_G236_EN.indd 6
7/2/2014 4:49:09 PM
7/2/2014 4:49:09 PM


