


19
1
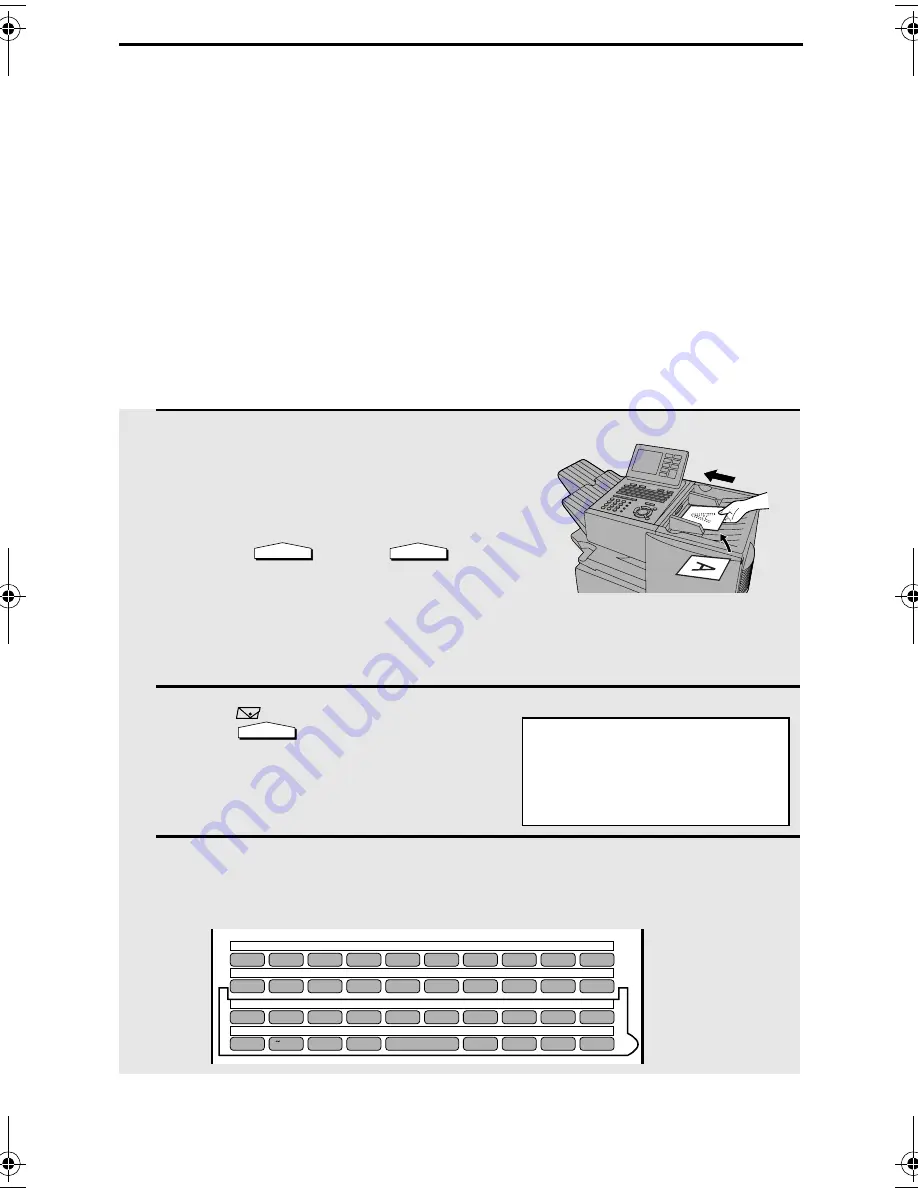
Load the document(s).
•
SEND READY will appear in the
display.
•
Press
and/or
to
set
the resolution and contrast if needed.
The default resolution is FINE. Note
that STANDARD and SUPER FINE
are primarily for faxing and are not
recommended for scanning.
2
Press .
3
Enter the e-mail address of the recipient by pressing the letter
entry keys (for details, see Step 5 on page 17; max. of 60
characters). (Make sure the Rapid Key overlay is flipped down.)
RESOLUTION
CONTRAST
Q / !
W / "
E / #
R / $
T / %
Y / &
U / '
I / (
O / )
P / =
SYMBOL
A / |
S
D
F
G / {
H / }
J / [
K / ]
L / +
Caps Lock
Z / <
X / >
C
V
B
N / *
M / ?
@
.com
SHIFT
/ ^
/ / \
; / :
Space
_
-
. / ,
DEL
01
02
03
04
05
06
07
08
09
10
11
12
13
14
15
16
17
18
19
20
21
22
23
24
25
26
27
28
29
30
31
32
33
34
35
36
37
38
39
Display:
SCAN TO E-MAIL
TO: [
6. Scan to E-mail Using the E-mail Key
Use the
key when you wish to manually enter the e-mail
address of a recipient for Scan to E-mail. The scanned image will be
sent as an e-mail attachment. A message can also be included as
explained in Steps 5 and 6.
Important:
To use Scan to E-mail, the setup procedures outlined on page 4 must
be completed. This includes setting a default sender as explained in
the procedure beginning on page 16 of this manual.
♦
If you need to change the e-mail subject, use the procedure on
page 16.
Note: The
markings above
some of the
Rapid Keys may
vary by country
and region.
allbook.book
Page 19
Wednesday, May 28, 2003
12:53 PM
Summary of Contents for FO-NS2
Page 41: ......


