Load
document
Lift telephone
handset
Dial using
telephone
Wait for
reception tone
Hang up
Load
document
Load
document
Load
document
Load
document
Dial (press
numeric keys)
Press Rapid
key
Wait for
reception tone
Enter Speed Dial number
(press numeric keys, - if less
than 3 digits, press START
to complete entry)
Using extension
telephone
Direct Keypad
Dialing
Rapid Key Dialing
Speed Dialing
Redialing
Transmitting documents
RESOLUTION
RESOLUTION
START
Press
SPEAKER
Load
document
Dial (press
numeric keys)
Wait for
reception tone
Using SPEAKER
key
RESOLUTION
START
RESOLUTION
RESOLUTION
RESOLUTION
START
SPEED DIAL
REDIAL
START
START
Listing Mode
Activity Report
Timer List
Telephone
Number List
Relay Group List
Passcode List
Option Setting
List
Program/Group
List
Batch
Transmission List
Department
Usage List
Confidential
Reception List
Anti Junk Fax
Number List
Entry Mode
Fax/Tel
Numbers for
Auto Dialing
Passcode Number
Own Number and
Name Set
Date and Time
Set
ID Number
System Number
Store Junk Fax
Number
Department
Code Mode
Optional Settings
Fine Resolution
Priority
Number of Rings
Auto Reception
Number of Rings
Manual Reception
Auto Listing
Transaction Report
Print Select
Recall Times
Recall Interval
Security Selection
ECM
Auto Cover Sheet
Memory Scanning
Copy Scanning
Copy Cut-off
Receive Reduce
Image Memory
Print
Cassette Selection
Cassette
Changeover
Program/Group
Mode
Program Entry
Mode
Group Entry
Mode
Serial Polling
Mode
Memory Polling
Mode
Memory Polling Set
Memory Polling
Clear
Reception
Mode
Retransmission
Times
Retransmission
Interval
Heater Mode
Junk Fax Check
Alarm Volume
Dial Mode
Quick on Line
Multi TTI
Beep Length
Department Code
Digits
PBX Recall
Mercury Function
Verification Stamp
PC-Interface Mode
Receive Unit
(Note: The last three
settings are only
available if activated
by your dealer.)
1
2
3
4
7
8
9
FUNCTION
[5] Quick reference guide
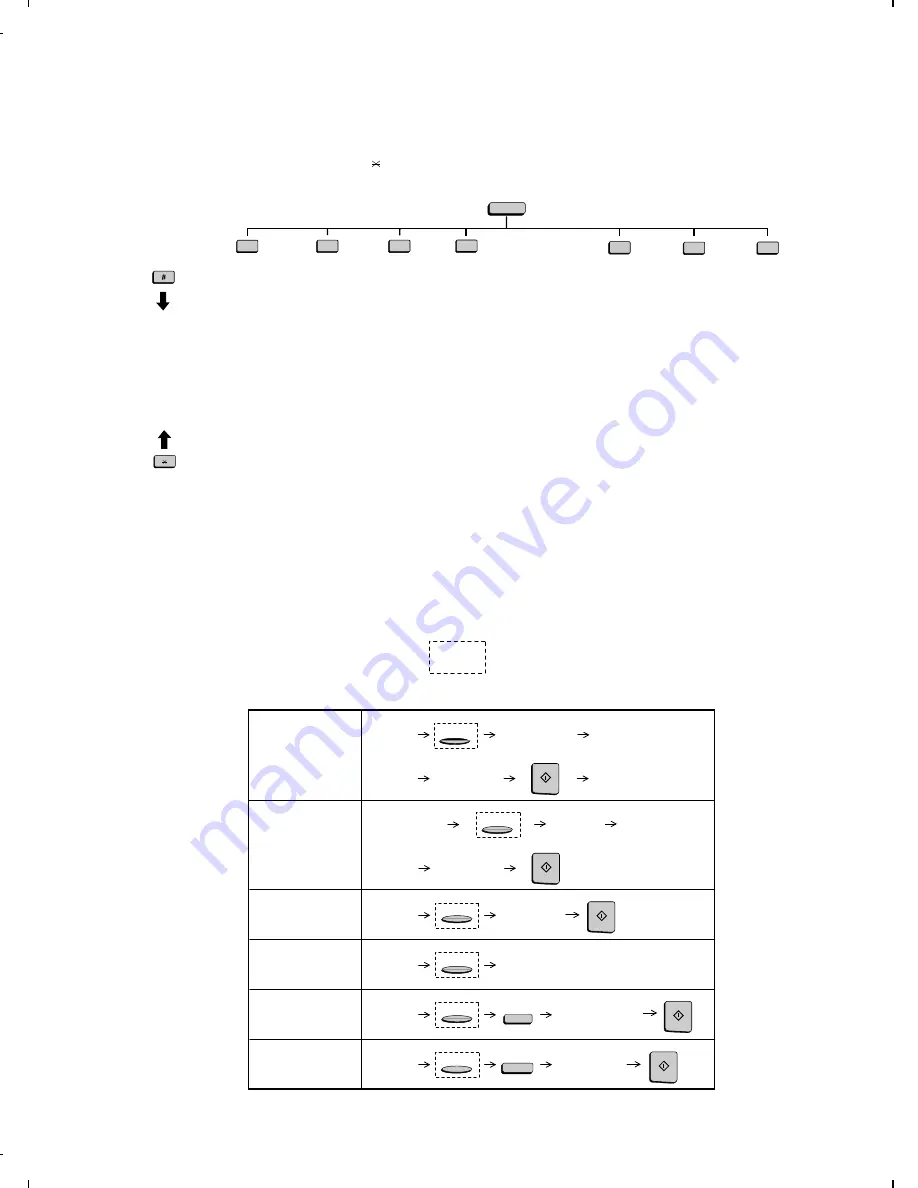
FUNCTION key menu
The following chart shows the layout of the functions and settings accessed by pressing the FUNCTION key. First press the FUNCTION key, the
appropriate numeric key as shown, and then "#" or " " until the desired item appears.
Instructions for making each setting appear in the display. Refer to the detailed instructions on the page shown below the setting.
Note: Steps which are optional are enclosed in a dotted frame:
FO-4500H
1 – 13
Summary of Contents for FO-4500
Page 16: ...M E M O FO 4500H 1 14 ...
Page 129: ...Control PWB parts layout Top side 6 11 FO 4500H ...
Page 130: ...Control PWB parts layout Bottom side 6 12 FO 4500H ...
Page 133: ...TEL LIU PWB parts layout 6 15 FO 4500H ...
Page 134: ...6 16 FO 4500H ...
Page 136: ...Power supply PWB parts layout 6 18 FO 4500H ...
Page 141: ...M E M O 6 23 FO 4500H ...
Page 149: ...Scanner unit Fig 6 Optical adjustment tool Fig 7 Fig 8 FO 4500H 8 6 ...


