10
Handset Memory & SD Card
Handset supports SD Card up to 128 GB. Some SD Cards may
not operate properly.
Handset memory can be used for saving data including system
data, applications, and video and photos taken with Camera.
Handset Memory/SD Card Usage Notes
Handset Memory/SD Card Files
Handset memory/SD Card files may be lost/altered due
to accidents, malfunctions, repairs, handset upgrade/
replacement, mishandling, etc. Back up important files
regularly. SoftBank Corp. is not liable for any damages
resulting from loss/alteration of files.
・Do not insert or remove SD Card forcefully.
・Do not touch terminals or expose them to metal objects.
・Never power off while files are being accessed.
・Make sure not to erase or overwrite files accidentally.
microSDXC Card
Handset supports microSDXC Cards (SDXC-compatible SD
Cards). microSDXC Cards are supported by SDXC-compatible
devices only.
Exchanging Files with Non-SDXC-Compatible
Devices
To exchange files between handset and non-SDXC-
compatible devices, use SD Cards (microSD/microSDHC
Cards) supported by handset and those devices. Inserting a
microSDXC Card used on handset in a non-SDXC-compatible
device may corrupt card files. In such cases, do not format
the microSDXC Card on that device even if prompted to do
so.
Formatting deletes all microSDXC Card files and changes
the file system. The original memory capacity may
be unavailable after formatting. To use a corrupted
microSDXC Card, format it on an SDXC-compatible device.
Save Location
By default, files, including videos and photos taken
with handset, are saved in handset memory. Even with
downloaded commercially-available apps described as saving
data on SD Card, files are saved in handset memory.
SD Card Caution
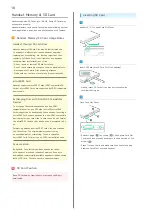
Keep SD Card away from infants; may cause choking if
swallowed.
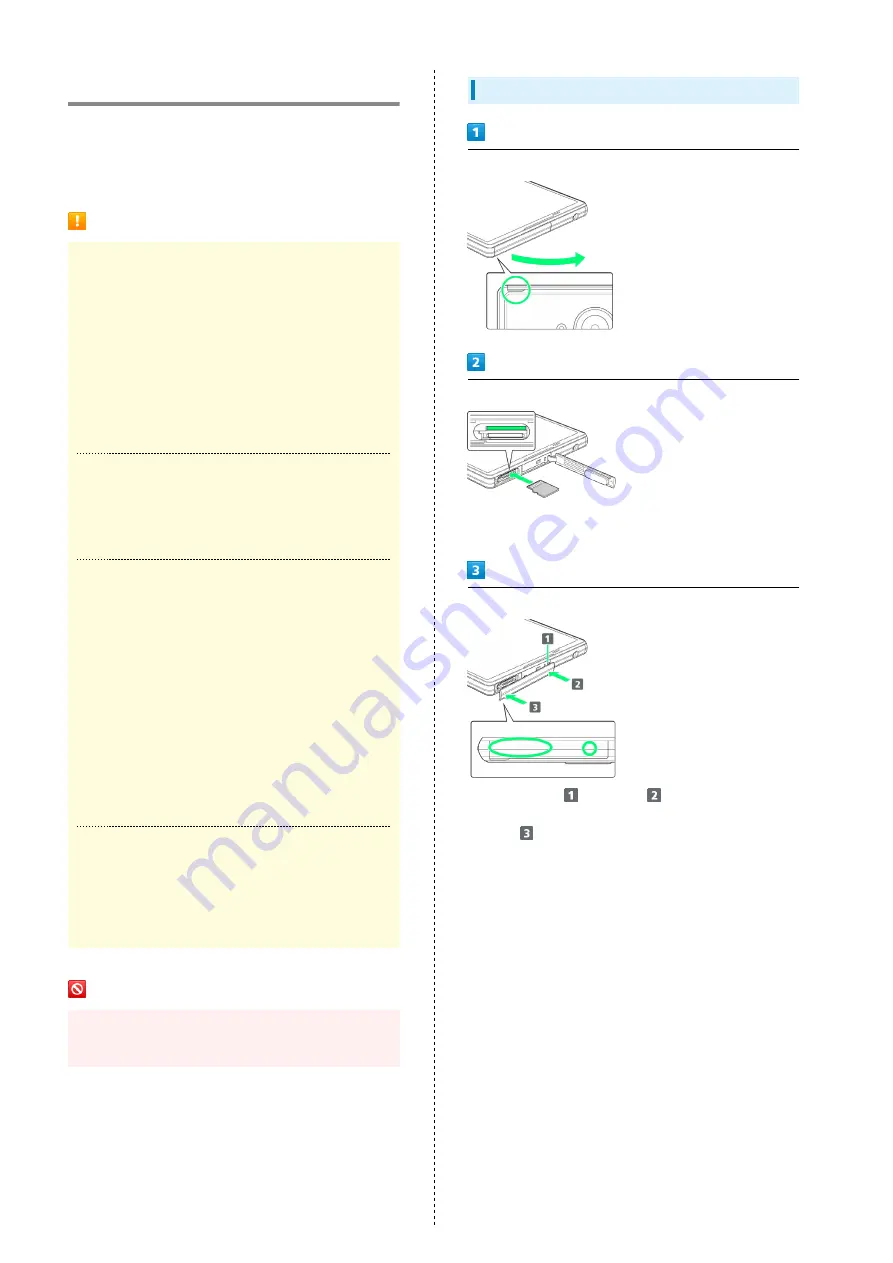
Inserting SD Card
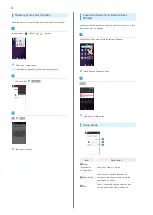
Use notch (○) to open Card Slot Cover
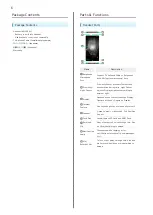
Insert SD Card into SD Card Slot (top opening)
・Gently insert SD Card all the way horizontally with
terminals facing up.
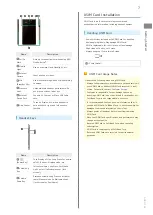
Close Card Slot Cover
・Reinsert hinge (
) as shown (
), then press Card Slot
Cover back into place by pushing it in the direction of the
arrow (
).
・Press ○ areas firmly and make sure that there is no gap
between Card Slot Cover and handset.
Summary of Contents for AQUOS Xx
Page 1: ...AQUOS Xx User Guide ...
Page 2: ......
Page 40: ...38 ...
Page 59: ...Phone Calling 58 Optional Services 61 Making Call Settings 66 Address Book 68 ...
Page 88: ...86 ...
Page 89: ...Camera Capturing Photos Videos 88 ...
Page 94: ...92 ...
Page 95: ...Music Images Music Files Music 94 Viewing Managing Photos Videos Album 95 ...
Page 100: ...98 ...
Page 101: ...Connectivity Wi Fi 100 Using Tethering Functions 103 Bluetooth 103 ...
Page 109: ...Global Services Global Roaming 108 Calling from Outside Japan 109 ...
Page 114: ...112 ...
Page 156: ...154 ...
Page 164: ...162 ...
Page 184: ...182 ...
Page 187: ......


