53
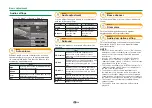
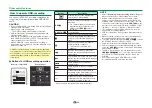
USB-recording
You can record the programme you are watching to
the registered USB HDD.
Starting USB-recording
Press
REC
E
.
• The TV starts USB-recording.
NOTE
• You can also operate from the control panel by pressing
CONTROL
.
• You cannot switch the channel or the input source
during USB-recording.
• During USB-recording, the TV cannot display photos
or play music from the internet, Home network, or USB
storages.
• You may not record programmes.
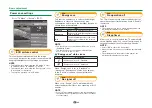
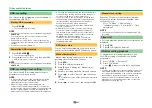
Completing USB-recording
1
Press
REC STOP
H
.
• The screen prompt pops up.
2
Press
c/d
to select “Yes”, and then press
;
.
• USB-recording has completed.
NOTE
• You can also operate from the control panel by pressing
CONTROL
.
USB-recording timer setting
You can set the USB-recording timer setting for
programmes you want to record.
NOTE
• To prevent the first part of the programme from being
cut, start recording the programme a few seconds
earlier than time set to start recording.
• When recording/viewing timer settings are set
continuously for multiple programmes, schedule the
recording of the previous programme to end earlier than
the end of the programme itself. Recording/viewing
timer setting of the next programme will start after that.
• A message will be displayed when the scheduled time
overlaps with an existing schedule. Make changes in
accordance with the on-screen instructions.
• It is not possible to newly schedule a recording that
overlaps with a timer setting that is currently running
(recording). When urgent setting of a schedule is
desired, stop recording before scheduling.
• A combined total of 16 timer settings (“Watch” and
“Record”) can be set.
• A CAM (CI Plus v1.3) PIN code may be necessary
to record broadcasts scrambled due to parental
rate settings. When a CAM PIN code is required for
recording a programme, it is necessary to enter the
CAM PIN code in advance (Page 12).
If a CAM PIN code is not entered or is entered
incorrectly, the programme will not be able to be
recorded/played back.
EPG timer setup
You can select the programme you want to record
and set the timer setting with EPG (Pages 23 and 24).
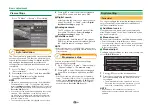
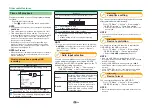
Manual timer setting
“Manual timer setting” enables you to set date,
recording start/stop time and channel.
1
Press
EPG
.
2
Press
B
to display the timer list.
3
Press
B
again to display the “Manual timer
setting” screen.
4
Set date, recording start/stop time and channel.
5
Press
c/d
to select “Record”, and then press
;
.
• A confirmation screen will be displayed for the timer
setting.
6
Press
c/d
to select “Yes”, and then press
;
.
Manual clock setting
When the TV cannot receive the time via digital
broadcast, perform “Manual timer setting” after
setting the clock.
Go to “TV Menu” > “View setting” >
“Individual setting” > “Clock setup” > “Time
adjustment”.
NOTE
• You cannot set the manual clock setting during USB-
recording.
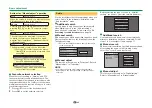
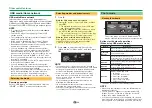
Timer list
A list of programmes scheduled for recording can be
displayed.
1
Press
EPG
.
2
Press
B
to display the timer list.
USB-recording playback
To playback the recorded programmes, open
the USB-recording list and select the desired
programme.
1
Go to “HOME” > “Record list”.
2
Press “OK” button.
• Press
H
to return the scene that is broadcasting.
NOTE
• You may not playback recorded programmes when the
programme provider restricts or completely prevents
recording or later watching of an encoded programme.
• Depending on the protection signal specified by a
broadcast station, recorded broadcasts can only be
played back for a certain period of time or cannot be
played back at all (Page 12).
Other useful features
Summary of Contents for AQUOS LC-80LE657KN
Page 94: ...13P05 PL NG ...

