


27
DTV menu operations
Child Lock
This function allows TV and Radio services to be
restricted. It prevents children from watching violent
or sexual scenes that may be harmful.
1
Press
c
/
d
to select “System Setup”.
2
Press
a
/
b
to select “Child Lock”, and then press
OK
.
3
If you have already set the PIN, enter it here. If
not, enter the factory preset PIN “1234”.
4
Press
c
/
d
to select the desired age/rating (4
...18/Universal/Parental/X-rated/None), and then
press
OK
.
NOTE
• “Universal” and “Parental” are the ratings used exclusively
in France.
• “X-rated” is the rating used exclusively in Spain.
• For details about ratings see page 34.
Auto upgrade
1
When you tune to the service that provides the
upgrade via Over Air Download, a confirmation
message displays.
2
Follow the screen prompts.
3
Check the new software version number to confirm
the successful upgrade.
NOTE
• To scan all carriers for upgrade availability, perform the
manual upgrade.
• The software upgrade may take about 30 minutes, but
may take longer (up to 1 hour) depending on the signal
status. While updating, you can switch to TV or external
input mode or enter standby mode using
B
B
B
B
B
on the remote
control unit.
CAUTION
•
Do not disconnect the AC cord when the software
upgrade is in progress, as this may cause the upgrade
to fail. If problem arises ask a qualified service
personnel before the software upgrade period expires.
Accessories
Check the version information of the digital module
and allow it to be upgraded (when available).
Software Version
1
Press
c
/
d
to select “Accessories”.
2
Press
OK
.
• The software version is displayed.
Software Upgrade
The software for controlling the built-in DTV decoder
can be upgraded when necessary. In Great Britain this
can be achieved via an Over Air Download.
Preparation
Confirm and make a note of the current software
version number as in step 2 of
Software Version
.
Manual upgrade
1
Press
c
/
d
to select “Accessories”.
2
Press
a
/
b
to select “Software Upgrade”, and
then press
OK
. The TV checks all carriers if there
is a new software available for upgrade.
1
If upgrade via Over Air Download is available at
the time:
A confirmation message appears asking you to
accept the upgrade or not.
To download now, press
c
/
d
to select “Yes”, and
then press
OK
. After the upgrade is completed,
the TV restarts automatically with the new software
version installed.
To postpone the download, press
c
/
d
to select
“No”, and then press
OK
. Enter the download time
for more convenient time as instructed.
The software upgrade will not be carried out if there
is no new software available at the specified
download time.
2
If upgrade via Over Air Download is NOT
available at the time:
A message tells you that there is no software
available to be downloaded.
3
Check the new software version number to confirm
the successful upgrade.
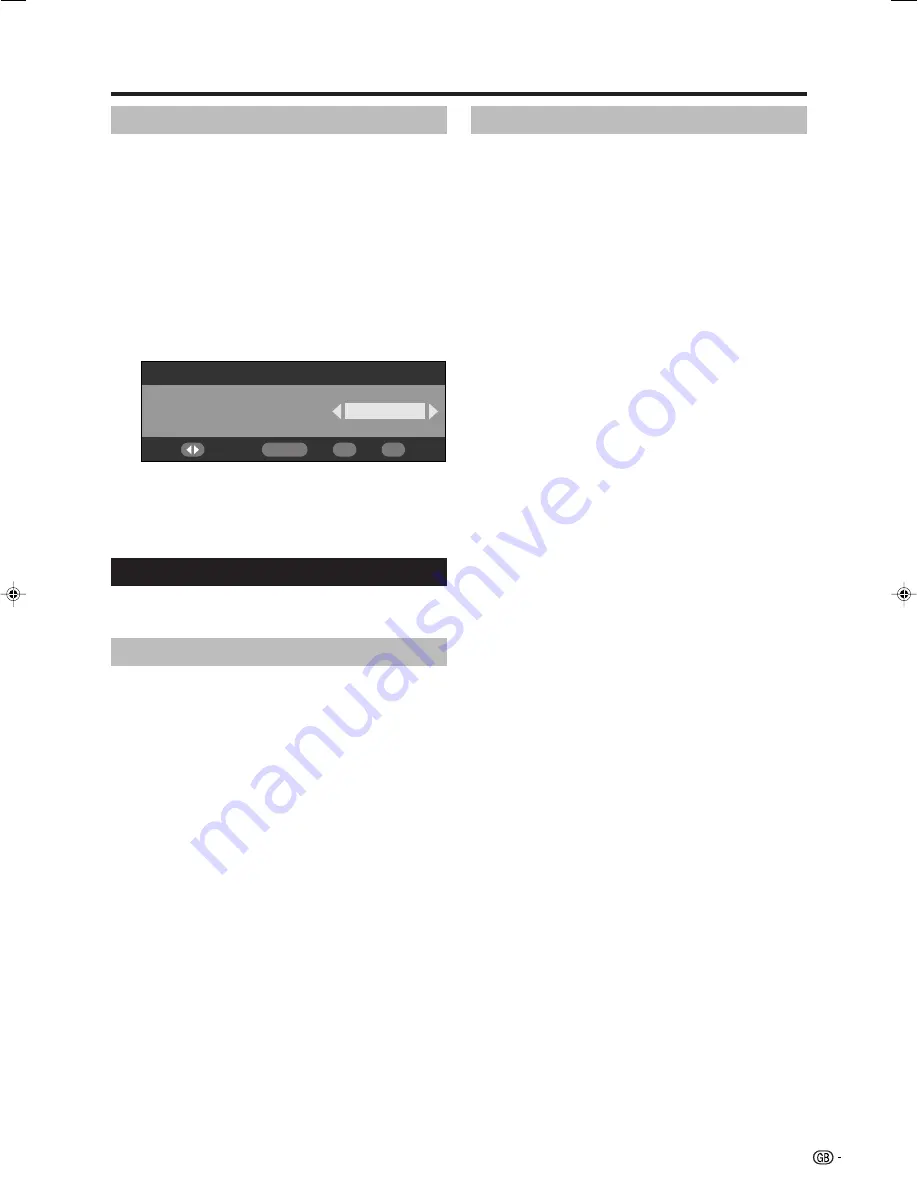
Child Lock
Select
7
Age/Rating
OK
END
DTV MENU
LC-32GD8E_GB_d
06.5.1, 0:09 PM
27


