E-5
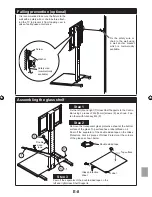
Assembling the Centre Bar and Metal Base (continued)
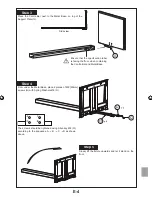
Step 6
Fasten another 4 pieces of M6 [16 mm]
screws (K) using M6 Allen key (P) to the
Support plate as shown.
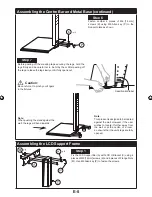
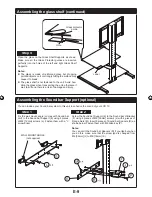
Step 7
Before peeling off the masking tape securing the legs, hold the
legs firmly and be careful not to be hit by them. After peeling off
the tape, release the leg slowly until it fully opens out.
Be careful not to pinch your fingers
in the fixtures.
Caution:
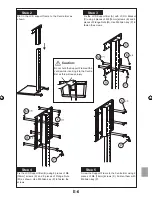
Note:
When pushing the stand against the
wall, the legs will bend inwards.
Note:
This product is designed to be located
against the wall. However, if the user
wishes to locate it further away from
the wall or at the centre of a room,
do ensure that the unit’s legs are fully
opened.
Specification label
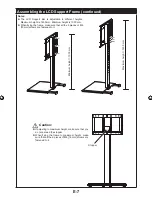
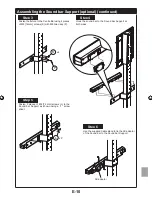
Assembling the LCD Support Frame
Step 1
Fix the LCD Support Bar (A) with LCD U Bracket (C) using 4
pieces of M6 [16mm] screws (K) and 4 pieces of Flange Nuts
(M). Use M6 Allen key (P) to fasten the screws.
AN-WS350_OM_EN.indd 5
2009-08-19 23:00:12

