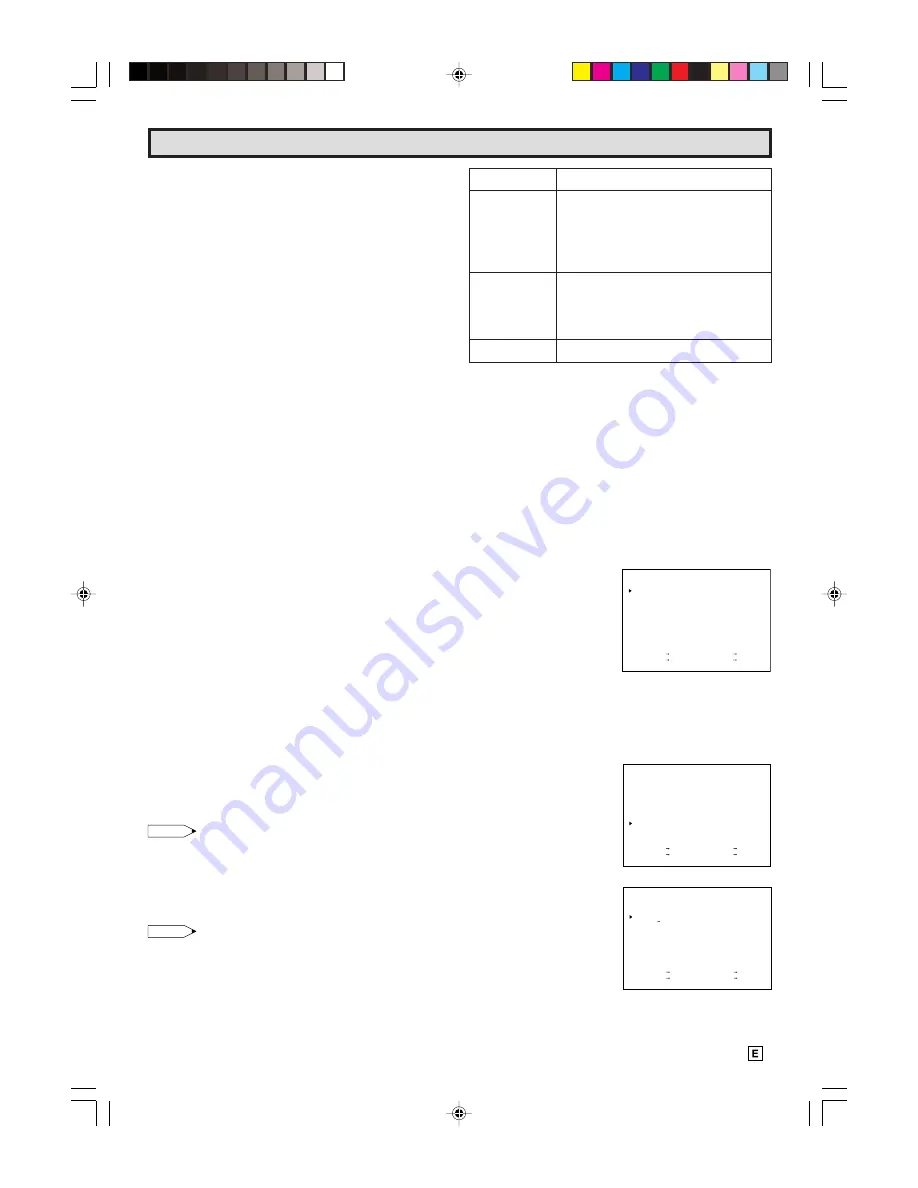
background image

9

Watching A TV Program

1

POWER

• Press the POWER button to turn on the TV.

(The POWER indicator will be lit in RED.)
Sound will start instantly and picture will appear 5 to 10
seconds later.

• Press the POWER button again to turn off the TV.

(The POWER indicator will be turned off.)

2

VOLUME

• Press the VOL UP (

8

) button to increase the sound to the

desired level, and then release.

• Press the VOL DOWN (

9

) button to decrease the sound

level.

L

To turn the sound off temporarily

• Press the MUTE button on the Remote Control to turn the

sound off.
“MUTE” will appear on the screen to confirm that this fea-
ture is in effect.

• Press the MUTE button again to restore the sound to its

previous level.

3

CHANNEL SELECTION

• The desired channel can be selected instantly by press-

ing the CHANNEL SELECT buttons (0 ~ 9, 100) on the
Remote Control, or CHANNEL UP (

8

)/DOWN (

9

) but-

tons on the Remote Control or on the TV.

• To select cable channel numbers greater than “ 99 ”. First

press “ 100 ” button on the Remote Control; then the two
other numbers buttons to complete your total channel
number selection.

• The selected channel number will appear on the screen.

Example:

(1) To select channel 2 :

Press the “ 0 ” and “ 2 ” buttons.

To select channel 69 :
Press the “ 6 ” and “ 9 ” buttons.

To select channel 125 (CATV mode only) :
Press the “ 100 ”, “ 2 ” and “ 5 ” buttons.

(2) The memorized channel selection will change in sequence

from the low preset channel to the high preset channel
when the CH UP (

8

) button is pressed, and vice versa

when the CH DOWN (

9

) button is pressed after you pre-

set the desired channels into the memory.

Note:

• For channel memory, please refer to page 13.

4

DISPLAY CALL

• Pressing the DISPLAY button on the Remote Control will

change the display on the screen in the following sequence.

Note:

• When CLOSED CAPTION is turned ON, the ON SCREEN

DISPLAY turns off automatically after about 3 seconds.

• For CLOSED CAPTION information, please refer to

pages 11 ~ 12.

Press Once*

• Time and Date
• Channel Number
• (Tape Operation Display)
• (Tape Speed Mode — SP, LP, EP)
• (Tape Counter)

After about 3

• Channel Number

seconds

• (Tape Operation Display)
• (Tape Speed Mode — SP, LP, EP)
• (Tape Counter)

Press Twice

• Cleans Display

DISPLAY

Items in (     ) will be displayed when a cassette is loaded in the
VCR.

5

MENU FUNCTIONS

L

Calling up the Functions

(1) Press the MENU button on the Remote Control to call the

MENU screen.

(2) Press the + or – button on the Remote Control to select

the desired function mode. Each time that you press the +
or – button, the “

:

” mark moves down or up.

(3) Press the SET button on the Remote Control to access

desired function mode.

• To leave the MENU screen, press the MENU button on

the Remote Control.

M E N U

T I M E R
V I D E O   A D J U S T
C L O S E D   C A P T I O N
F U N C T I O N
C L O C K
L A N G U A G E
C H   S E T T I N G
V - C H I P   B L O C K

S E L E C T         +   /   –     :   S E T       S E T
P R E V I O U S     R E T U R N   :   Q U I T     M E N U

(MENU screen)

6

TRILINGUAL ON SCREEN DISPLAY

L

The language for this unit’s ON SCREEN DISPLAY can
be set to ENGLISH, SPANISH or FRENCH.

L

Setting the ON SCREEN DISPLAY Language

(1) Select “LANGUAGE” from

the MENU screen by
pr or – button,
then press the SET
button.

(2) Press the + or – button

to select the language
(English, Spanish or
French) you wish to
display, then press the
SET button.

S E L E C T         +   /   –     :   S E T       S E T
P R E V I O U S     R E T U R N   :   Q U I T     M E N U

M E N U

T I M E R
V I D E O   A D J U S T
C L O S E D   C A P T I O N
F U N C T I O N
C L O C K
L A N G U A G E
C H   S E T T I N G
V - C H I P   B L O C K

L A N G U A G E

S E L E C T         +   /   —     :   S E T       S E T
P R E V I O U S     R E T U R N   :   Q U I T     M E N U

E N G L I S H
E S P A N O L
F R A N C A I S

07-09 13VT-R100/150[E].pm65e

12/4/01, 2:15 PM

9

Summary of Contents for 13VT-R100

Page 1: ...sette 20 22 ENERGY SAVE BLUE SCREEN AUTO REPEAT S PICTURE SUPER PICTURE INSERTING A VIDEO CASSETTE EJECTING THE CASSETTE TAPE PLAYBACK AUTOMATIC TRACKING CONTROL SYSTEM FULLY AUTOMATIC PLAYBACK FUNCTION STILL PICTURE VIDEO SEARCH FAST FORWARD AND REWIND DPSS DIGITAL PROGRAM SEARCH SYSTEM EZ PLAY Recording A TV Program 23 RECORDING SPEEDS CASSETTE ERASE PROTECTION RECORDING A TV PROGRAM TAPE COUNTE...

Page 2: ... sit for about 2 hours before attempting to play a tape This period will allow any dew formation to evaporate Failure to do so may result in tape and or video head damage After the 2 hours evaporation period you may witness a snowy picture for the first few minutes of VCR operation This picture noise will disappear shortly thereafter CAUTION TO REDUCE THE RISK OF ELECTRIC SHOCK DO NOT REMOVE COVER...

Page 3: ...rt combination should be moved with care Quick stops excessive force and uneven surfaces may cause the equipment and cart combination to overturn 7 Wall or shelf mounting should follow the manufacturer s instructions and should use a mounting kit approved by the manufacturer 8 Slots and opening in the cabinet and the back or bottom are provided for ventilation To insure reliable operation of the t...

Page 4: ...ny kind into this television equipment through cabinet slots as they may touch dangerous voltage points or short out parts that could result in a fire or electric shock Never spill liquid of any kind on the television equipment 19 Do not attempt to service this television equipment yourself as opening or removing covers may expose you to dangerous voltage or other hazards Refer all servicing to qu...

Page 5: ... used for a long period such as during a vacation unplug the set from the wall outlet to economize power If the TV set is plugged in a slight current still flows even with the POWER BUTTON in the OFF position Lines and other noise may appear in TV broadcast images when an FM tuner or radio is located near the TV and both radio and TV broadcasts are being received Should such noise appear turn off ...

Page 6: ...Please note RF switch equipped with position A B not provided is required A position on the RF switch not supplied You can view all unscrambled channels using the TV s channel keys B position on the RF switch not supplied You can view the scrambled channels via the converter descrambler using the converter s channel keys Note Consult your SHARP Dealer or Service Center for the type of splitter RF ...

Page 7: ...PROGRAM TIMER indicator TAMPER PROOF indicator CHANNEL UP DOWN buttons PLAY button SENSOR AREA FOR REMOTE CONTROL ANT CABLE TERMINAL 75 POWER WAKE UP TIMER REC PROGRAM TIMER TAMPER PROOF EZ PLAY button REC button STOP EJECT button FF Forward Video Search button REW Reverse Video Search button VOLUME UP DOWN buttons 07 09 13VT R100 150 E pm65e 12 4 01 2 15 PM 7 ...

Page 8: ...d e TR d RETURN CH Infrared Transmitter Window DISPLAY Used to change the On Screen Display MUTE Press Mutes sound Press again Restores sound to previous level Press the MUTE button to enter the CLOSED CAPTION mode automatically if the signal contains CC information VOLUME UP DOWN CHANNEL UP DOWN TRACKING e d Used to select the CHANNEL Used to adjust the TRACKING while playing the tape TAMPER PROO...

Page 9: ...er to page 13 4 DISPLAY CALL Pressing the DISPLAY button on the Remote Control will change the display on the screen in the following sequence Note When CLOSED CAPTION is turned ON the ON SCREEN DISPLAY turns off automatically after about 3 seconds For CLOSED CAPTION information please refer to pages 11 12 Press Once Time and Date Channel Number Tape Operation Display Tape Speed Mode SP LP EP Tape...

Page 10: ...T EZ SETUP mode PLEASE WAIT AIR 2 AUTO PROGRAMMING STOP SET SELECT SET SET PREVIOUS RETURN QUIT MENU CLOCK SET AUTO CLOCK EDS CH MONTH DAY YEAR TIME ON AUTO 8 WAKE UP TIMER L Setting the Wake up Timer automatically turns on the TV or VCR at a preset time 1 Press the MENU button on the Remote Control to call up the MENU screen 2 Press the or button on the Remote Control to select TIMER and press th...

Page 11: ...e SET button Pressing the or button moves the mark 3 Press the or button to adjust the brightness to a favorite picture 4 Press the SET button The screen will return to the 2 above To continue any additional adjustment repeat the steps from 2 to 4 above 5 Press the MENU button anytime to exit VIDEO ADJUST Description of Adjustment Items Selected button button Item PICTURE To increase contrast To d...

Page 12: ... QUIT MENU MENU TIMER VIDEO ADJUST CLOSED CAPTION FUNCTION CLOCK LANGUAGE CH SETTING V CHIP BLOCK SELECT SET SET PREVIOUS RETURN QUIT MENU CLOSED CAPTION MODE DATA CAPTION CH2 SELECT SET SET PREVIOUS RETURN QUIT MENU CLOSED CAPTION MODE DATA CAPTION CH2 PRESETTING THE CHANNELS L EZ SETUP By operating the channel preset functions you can preset your TV to the desired channels for viewing 1 Press th...

Page 13: ... CABLE AIR CABLE STD CABLE HRC CABLE IRC SELECT SET SET PREVIOUS RETURN QUIT MENU CH SETTING EZ SETUP AIR CABLE CH SEARCH CH MEMORY SELECT SET SET PREVIOUS RETURN QUIT MENU CH SEARCH AIR 2 START START SET PREVIOUS RETURN QUIT MENU 3 Adding weak or additional channels from TV memory 1 Select CH MEMORY from the CH SETTING screen by pressing or button then press the SET button 2 Use either the CH UP ...

Page 14: ...ded on older movie data Note MPAA RATING Example Example 1 PG 13 in the age based RATING is blocked this will automatically block the high ratings R NC 17 X also Example 2 R in the age based RATING is blocked this will automatically block the high rating NC 17 X also age base 1 User setting 2 Block table PG age base Not to block Not to block Select block Auto block Auto block Auto block G G PG PG ...

Page 15: ... note that the lower age rating TV PG did not change from its previous settings Note Content ratings can be modified but only in the combinations indicated by an V in the table on page 14 Changing a lower age rating s content setting to BLOCK automatically changes the same higher age rating s content setting to BLOCK regardless of their previous settings Changing a lower rating s AGE setting to BL...

Page 16: ... the SET button 5 Press the RETURN button toaccess TVGUIDELINES 6 Repeat steps 3 to 5 until all ratings and their contents are set 7 Press the MENU button to exit SELECT SET SET PREVIOUS RETURN QUIT MENU MENU TIMER VIDEO ADJUST CLOSED CAPTION FUNCTION CLOCK LANGUAGE CH SETTING V CHIP BLOCK INPUT SECRET NO INPUT 0 9 SET SET PREVIOUS RETURN QUIT MENU INPUT SECRET NO INPUT 0 9 SET SET PREVIOUS RETURN...

Page 17: ... If you watch the program containing New Rating System Data the DOWNLOAD screen will be displayed 2 The DOWNLOAD screen will disappear once the downloading is finished Note DOWNLOAD will not start if you do not watch a program containing New Rating System Data L How to set Additional mode Example 1 Repeat steps 1 to 2 of LAdditional mode DOWNLOAD 2 Press the or button to select Cdn English Ratings...

Page 18: ...124 125 AUTO CATV HRC CATV IRC AUTO 1 2 3 124 125 AUTO If AUTO is selected for clock setting it may take a few hours to complete the clock setting as your TV has to search for the EDS channel If you want to use the clock functions immedi ately proceed to step 2 for MANUAL CLOCK SET TING Please refer to page 19 3 2 Press the power on Once the Auto Clock setting is completed the time is displayed on...

Page 19: ... the or button to select the YEAR then press the SET button The mark will move to the next item TIME The year will change as follows using the or button 6 Press the or button to select the hour then press the SET button The yellow position will move to the minute portion The hour will change as follows using the or button 7 Press the or button to select the minute then press the SET button The min...

Page 20: ...he or button to select REPEAT PLAY then press the SET button 3 Press the or button to select the REPEAT PLAY mode you want to use then press the SET button To clear the Auto Repeat select the OFF position in above OFF TAPE BLANK TAPE END Disengage the REPEAT PLAY In playback when the recorded portion of the tape ends and the blank portion begins the tape will automatically rewind and played back f...

Page 21: ...tracking adjustment The Automatic Tracking Control System will readjust the tracking during Playback mode if the recording speed changes or at the boundary between sections recorded on different VCRs If noise should remain on the TV screen after the track adjustment has been completed by the Automatic Tracking Control System use the Manual Tracking mode To adjust Manual Tracking press the TR e or ...

Page 22: ...and some picture noise appears This is not a malfunction L FAST FORWARD AND REWIND To move through the cassette faster press the STOP button and press the FF or REW button to fast forward or rewind the cassette Note The picture quality in Still Picture and Video Search is best with tapes recorded in the EP mode For tapes recorded in the SP mode the picture may be distorted Sound is muted during St...

Page 23: ...recording speed SP or EP 3 Press the REC button If the erasure protection tab is removed the cassette will be ejected To pause recording press the PAUSE STILL button on the Remote Control To resume recording press the PAUSE STILL button again Pause disengages automatically after about 5 minutes to avoid damage to the tape and the VCR and Stop mode is engaged Note PAUSE will appear on the TV screen...

Page 24: ...he SET button 10 Press the or button on the Remote Control to select COMPLETE then press the SET button The REC TIMER is now on and the Program Timer indicator will light up To continue any additional program setting press the or button on the Remote Control to select the NEXT and press the SET button Then repeat the steps 3 through 10 above To make a correction to the current program press the Re...

Page 25: ...ed the PROGRAM TIMER indicator flashes and the cassette is ejected To stop timer recording press the STOP button If no buttons are pressed within 3 minutes while setting a program the set automatically returns to the normal viewing mode A program cannot be set unless all the recording input data is set During program timer setting with the Program Timer indicator ON the video set remains inoperati...

Page 26: ...e Tape Press the REC button Note When connecting video or audio equipment to the television be sure that the power is turned off in order to prevent damage to either the television or the equipment being connected It is the intent of SHARP that this product be used in full compliance with the copyright law of the United States and that prior permission be obtained from copyright owners whenever ne...

Page 27: ...the direction or height of your antenna Spots on the picture when receiving broadcast signals Cars neon signs etc may affect the picture received Place the antenna as far away as possible from roads and neon signs No tape movement Make sure the Pause Still mode is not activated Make sure the tape has not already reached the beginning or end Snowy picture appears on the TV during playback The heads...

Page 28: ... System Rotary Two Head Helical Scanning Number of Video Heads 2 Video Signal Standard NTSC Color System Playback Recording Tape Width 12 7 mm 1 2 inches Tape Speed SP 33 35 mm sec LP 16 68 mm sec Playback only EP 11 12 mm sec Recording Playing Time SP 120 minutes max with T 120 tape LP 240 minutes max with T 120 tape Playback only EP 360 minutes max with T 120 tape Operating Temperature 5 C to 40...

Page 29: ...29 Notes 29 32 13VT R100 150 E pm65e 12 4 01 2 28 PM 29 ...

Page 30: ...30 Notes 29 32 13VT R100 150 E pm65e 12 4 01 2 28 PM 30 ...

Page 31: ...rection of defects in the manner and for the period of time described herein shall constitute complete fulfillment of all liabilities and responsibilities of Sharp to the purchaser with respect to the Product and shall constitute full satisfaction of all claims whether based on contract negligence strict liability or otherwise In no event shall Sharp be liable or in any way responsible for any dam...

Page 32: ...32 Printed in Malaysia TINS 7353PEZZ 01P05 MSP SHARP ELECTRONICS CORPORATION Sharp Plaza Mahwah New Jersey 07430 2135 29 32 13VT R100 150 E pm65e 12 4 01 2 28 PM 32 ...

Reviews: