SEVIC BLUE LASER SBL0304MP4 Instruction Manual Download Page 22

21

Controlling Playback

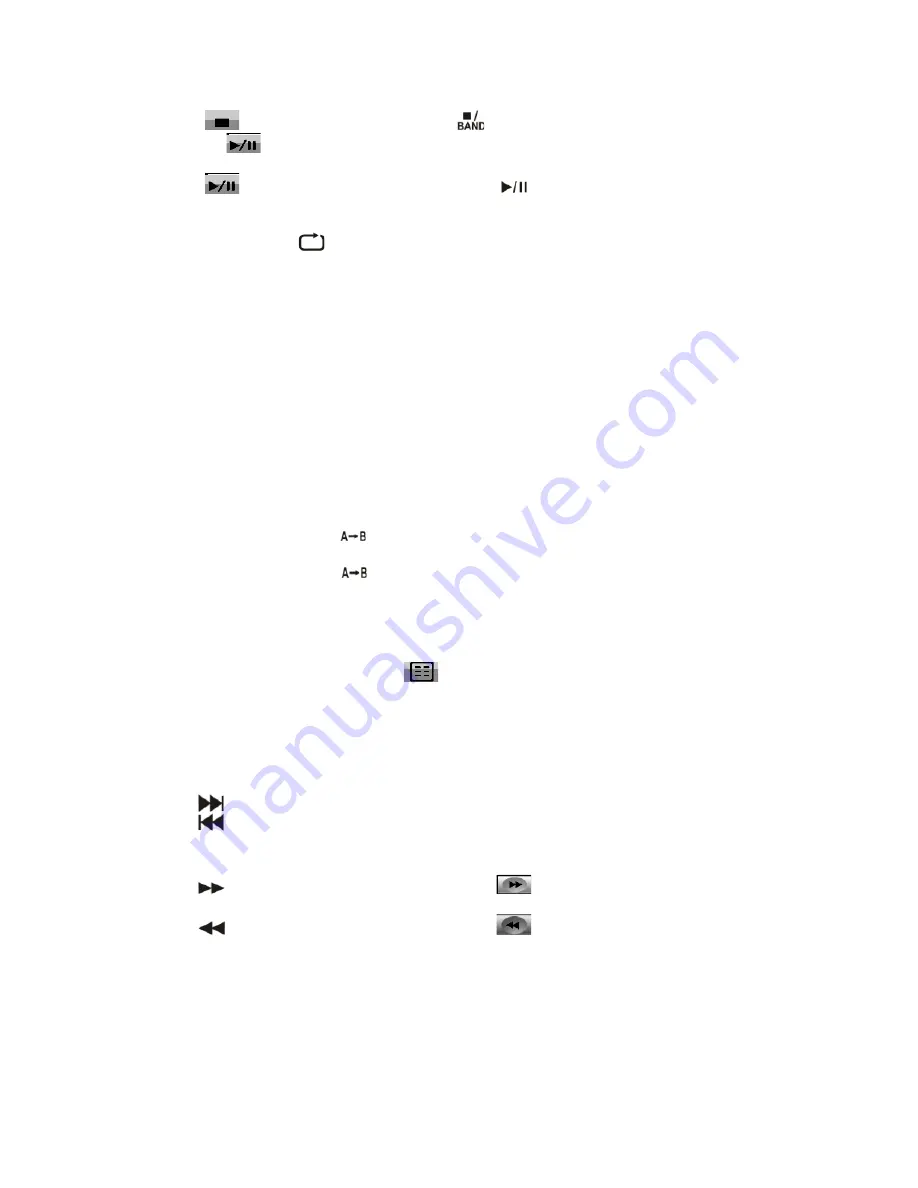
Stopping Playback

Touch the

  button on the screen or press the

  button on the remote control to stop DVD play

and touch the

button on the screen or the OK button on the remote control to resume disk play.

Pausing Playback

Touch the

  button on the screen or press the button

  on the front panel to suspend or resume

disc play.

Repeat Playback

Press the

Repeat

button

on the screen or on the remote control to alter repeat mode according to the

following:

• DVD: Repeat Title, Repeat Chapter, Repeat Off
• VCD

(PBC Off): Repeat Single, Repeat Off

• MP3: Repeat Single, Repeat Folder, Repeat Off

NOTE

: For VCD play, the repeat function is not available if PBC is on.

PBC (Play back Control) (VCD Only)

For VCD with play back functionality, play back control (PBC) provides additional controls for
VCD playback.
Press the

ROOT

 button on the remote control to toggle the PBC function “On”/”Off”. Once PBC is

on, playback starts from track one of the play list.

NOTE

: When PBC is activated, fast forward, slow playback, and previous/next track are available.

Repeat and direct track selections are not available.

When PBC is activated, selecting random, scan,

or search playback automatically deactivates PBC.

Sectional Repeat Function (A -B)

Use the A-B function to define a specifi c area of a disc to repeat.

• Press the

Repeat A-B

button

  on the screen or on the remote control to set the start point (A) of the

repeated section.

• Press the

Repeat A-B

button

  again once you reach the desired end point (B) of the repeated

section. The selected portion of the DVD will now repeat continuously.

• Press the

Repeat A-B

button again to cancel the A -B section setting and stop repeat play.

Accessing the DVD Menu

1.

Touch the area E, and then touch the

  button to recall the main DVD menu.

2.

Use the direction buttons on the remote to select a title from the menu.

3.

Press the

TITLE

button on the remote control to select a different title for playback.

4.

Press the OK button on the remote control or touch the item directly to confirm your selection and
begin playback.

Moving Through Chapters

Press the

button on the remote control to advance to the next chapter on the DVD.

Press the

button on the remote control to move to the previous chapter on the DVD.

Fast Forward/Fast Reverse

Press the

button on the remote control or  touch the

button on the screen to fast forward. Keep

pressing or touching and

releasing the button to increase the rate from “2X” to “4X”, “8X”, and “20X”.

Press the

button on the remote control or  touch the

button on the screen to fast reverse. Keep

pressing or touching and

releasing the button to increase the rate from “2X” to “4X”, “8X”, and “20X”

.

Summary of Contents for BLUE LASER SBL0304MP4

Page 1: ...V20071024 SEVIC BLUE LASER SBL0304MP4 INSTRUCTION MANUAL...

Page 2: ...uch screen Remote Control P8 9 Remote Control Using the TFT Monitor P10 11 Open Close TFT Monitor TFT Monitor Auto Open Monitor Tilt Angle Adjustment Rear Camera Mode Image Setting Parking Brake Inhib...

Page 3: ...ate Picture Angle DVD Only Multi Language Discs DVD Only Playback Information General Disc Information DVD Setup Menu P25 26 Accessing the DVD Setup Screen LANGUAGE Menu AUDIO Menu VIDEO Menu RATING P...

Page 4: ...tall this unit where operation and viewing could interfere with safe driving conditions WARNING To reduce the risk of a traffic accident except when using for rear view video camera never use the vide...

Page 5: ...4 Button Operation Controls and Indicators 25...

Page 6: ...Select FM AM band in TUNER mode 9 PLAY PAUSE Press once for play pause Press to scan radio stations stored in the 6 preset channels in TUNER mode 10 MODE Press once to select the playing source 11 DIS...

Page 7: ...6 preset channels in the current band 23 BAND Press to switch between FM and AM 24 IR REMOTE CONTROL RECEIVER 25 REL Release Press REL to release the detachable front panel The radio will go into slee...

Page 8: ...rea A Area F Area B Area C Area E Area D A Return to MAIN menu B DISP key Displays playing information C Select previous chapter D Select next chapter E Display the onscreen controls and different mod...

Page 9: ...n Decrease volume 8 Informati on Displays playing information 9 GOTO search Search function in the VCD DVD disc 10 Stop Ban d Selects FM AM band on Tuner mode Stop playback on other mode 11 Select Ent...

Page 10: ...next chapter track for playback Searches an available radio station by increasing tuning frequency 22 Previous Selects the previous chapter track for playback Searches an available radio station by d...

Page 11: ...optional re ar camera is connected to the unit the TFT monitor will automatically switch to the camera input source Image Setting Video Output Format The nether table shows the video output format for...

Page 12: ...is low in the circuit The transform time must be less than 2 sec between High Low Low High When the PARKING line is impending no video display Parking brake function is overridden when the video sour...

Page 13: ...ume Adjustment To increase or decrease the volume level turn the VOL button on the front panel or press the VOL VOL buttons on the remote control The volume ranges from 0 to 40 The LCD screen displays...

Page 14: ...ting the Audio Control Menu Press the escape arrow on the top right corner of the TFT display Press the ESC button on the remote control to exit the audio control menu System Reset To correct a system...

Page 15: ...u 10 Touch to access CAMERA mode 11 Toutch to access Ipod mode Note Remote touch screen operations and buttons on front panel are all useable to select menu and adjust SETTING The following instructio...

Page 16: ...e Adjusting the Clock 1 Access the Clock setting under the General Setup menu 2 Press the direction button on the remote to move the cursor to the Hour or Min position and press the OK button You also...

Page 17: ...urned on or turned off English The menus are displayed in English German The menus are displayed in German French The menus are displayed in French OSD Menu Dutch The menus are displayed in Dutch Stan...

Page 18: ...3 AM 1 and AM 2 13 Touch to automatically scan and store stations in current radio band 14 Touch to seek backward 15 Touch to seek forward 16 Touch to decrease one step at a time 17 Touch to increase...

Page 19: ...ars at the top of the screen 3 Press and hold the buttons 1 6 on the front panel to store the current radio station Recalling a Station 1 Select a band if needed 2 Touch an on screen preset button 3 t...

Page 20: ...ER the current playing mode is overridden and it lets you receive traffic announcements automatically When traffic announcement is over the current playing mode will be resumed CT Clock Time Function...

Page 21: ...l not play unless the recording session is closed Ejecting a Disc Press the button on the unit to eject the disc The unit automatically reverts to Tuner mode Reset the Loading Mechanism If the disc lo...

Page 22: ...tion A B Use the A B function to define a specific area of a disc to repeat Press the Repeat A B button on the screen or on the remote control to set the start point A of the repeated section Press th...

Page 23: ...e disc 6 Press the button or touch the Area F on the touch screen again to exit Direct Chapter Track Selection During DVD VCD and CD playback you can use the numeric keypad on the remote control to ac...

Page 24: ...3 Indicates the first of 20 chapter on the DVD is currently playing 4 Indicates the playback time of the current title 5 Indicates User Defined Equalizer Lever 6 Indicates the Loud Setting 7 Indicates...

Page 25: ...ages available on the disc maximum of 32 Number of angles provided maximum of 9 Aspect ratios available LB stands for Letter Box and PS stands for Pan Scan In the example on the left the 16 9 video ca...

Page 26: ...y pressing the OK button on the remote or by pressing the ENTER button A submenu appears in a second row with the selected option highlighted in light yellow 2 Select a new value by pressing the or bu...

Page 27: ...le for setup RATING Menu Features Setting Options Function Password Enter a 4 digit password to activate the Rating feature 1 Kid Safe 2 G 3 PG 4 PG 13 5 PG R 6 R 7 NC 17 Rating 8 Adult Select the app...

Page 28: ...isplayed or played back correctly CD Player User Interface 1 Current source indicator touch this area to access MAIN menu 2 Disk title 3 Track title 4 Current time 5 Touch to play pause disc playback...

Page 29: ...pling Frequency 48kHz When recording MP3 up to the maximum disc capacity disable additional writing For recording on an empty disc up to maximum disc capacity use the Disc at once setting 1 Current so...

Page 30: ...utton on the remote control or touch the a track directly to play Change Directory Touch the or on the screen to navigate through the directories folders Previous Next Page Touch the or on the screen...

Page 31: ...op disc playback 7 Touch to turn to the previous page 8 Touch to turn to the next page 9 Touch to fast backward current track 10 Touch to fast forward current track 11 Touch to activate deactivate Sca...

Page 32: ...s You can choose a play list from your iPod play lists and then select a song to listen to Playback of video on iPod For playback of video on iPod press the button to enter the touch screen will displ...

Page 33: ...r distortion Speaker is shorted Check speaker contact Tel Mute malfunction MUTE wire is grounded Check that MUTE connection is not grounded and that it s properly insulated Unit resets itself when eng...

Page 34: ...opied Use original disc PBC cannot be used during VCD playback PBC is not available on the disc No repeat or searching while playing VCD PBC is on Turn PBC off MP3 Disc is dirty or scratched Clean dis...

Page 35: ...n silicone cloth and neutral detergent to clean the monitor A rough cloth and non neutral detergent such as alcohol may result in scratching or discoloration 2 Get off water and other liquid things 3...

Page 36: ...on ability 10 200Hz X Y Z direction 1 0 G Video Section Format NTSC PAL auto detection Output 1Vp p 75 ohm buffered Input 1Vp p 75 ohm FM Tuner Section Tuning Range 87 5MHz 107 9MHz Mono Sensitivity 3...

Page 37: ...36...

Page 38: ...R Transport costs nor charges relating to an intervention at the address of the purchaser Scratches splinters or marks in the packaging of the device or its accessories which were not noted at the tim...

Reviews: