27
EN
3.1 Coffee pads
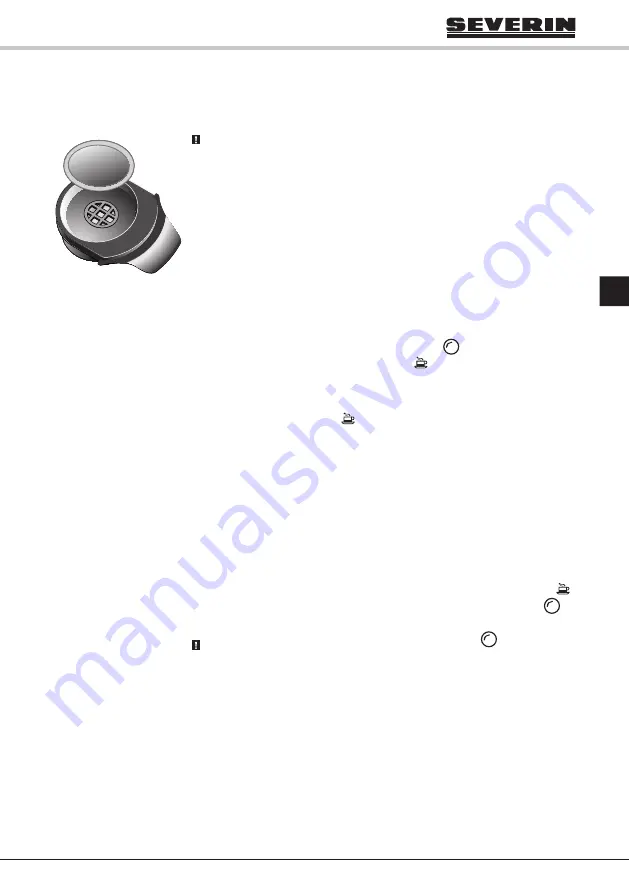
1. Place a coffee pad into the centre of the strainer support (C).
Note: Only use commercially available round soft coffee pads. If the coffee
pad is slightly bulged on one side, place the pad into the strainer support
with the bulged side facing downwards. Never fill coffee powder into the
strainer support for coffee pads.
2. Now, open brewing unit (A). For this purpose, fully fold open the
bracket closure (B) and insert the strainer support. When inserting the
components into the brewing group (A), make sure the paper edge of
the coffee pad is not placed below the gasket.
3. Close the brewing unit (A) by firmly pressing the bracket closure (B)
downwards.
4. Place a suitable coffee cup onto the drainage grille (G).
5. Now press shortly the Start/Stop button (H.3)
. The preparation
process is started (display element (H.1)
is flashing). After a short
heat-up phase the cup is filled with coffee.
6. Please wait until your appliance has completed the follow-up time, i.e.
the display element (H.1)
stops flashing. A short acoustic signal is
generated.
7. Then, remove your cup, fold the bracket closure upwards and remove
the strainer support from the appliance for cleaning.
8. Ready! Enjoy your coffee.
Adjusting the beverage quantity
When the brewing process is started, press and hold the Start/Stop button
until the desired beverage quantity is reached. The display element (H.1)
is lit during this process. When you release the Start/Stop button (H.3)
the respective beverage quantity will be memorised.
Note: After having released the Start/Stop button (H.3)
a little
quantity of coffee will still come out.


