Tools & Setup
45
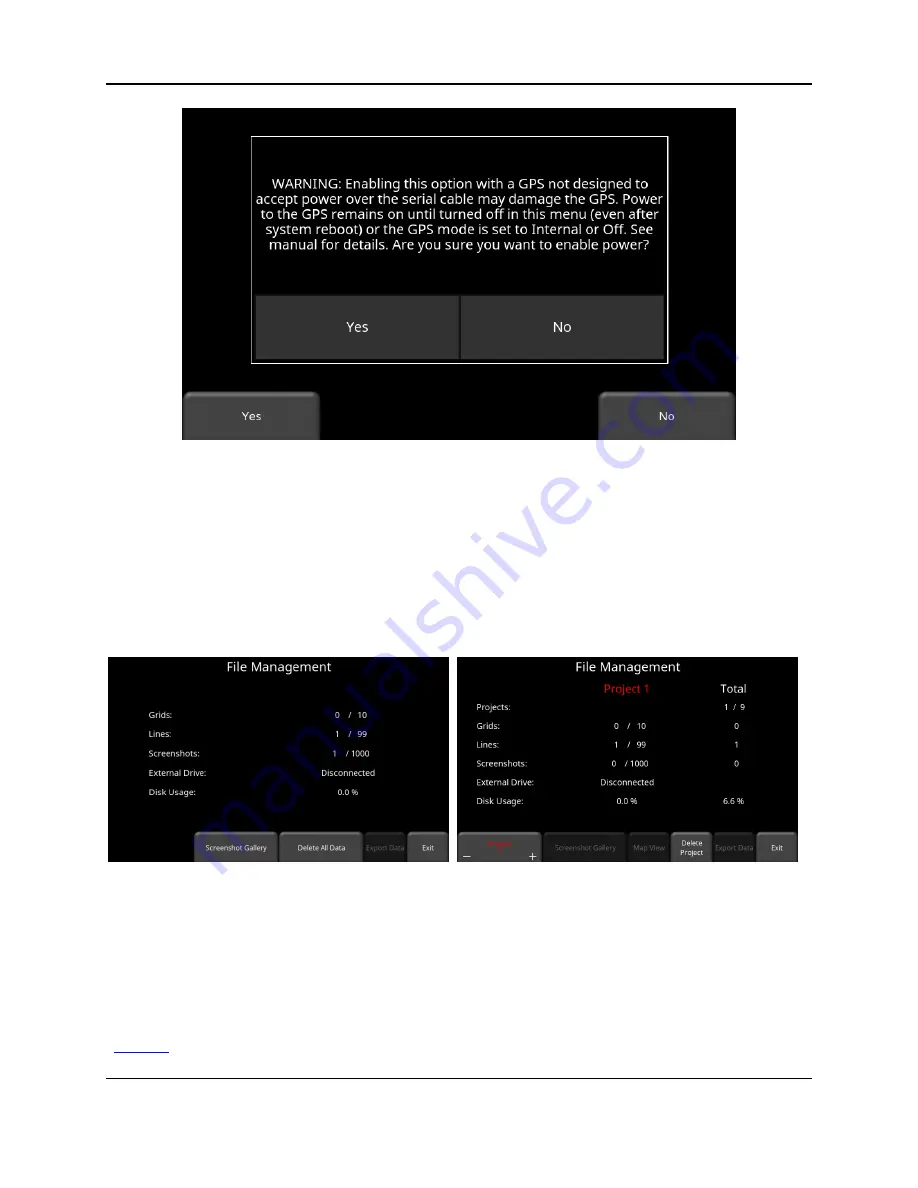
Figure 4-24: Warning message about enabling power to the serial port
4.3 File Management
Press
File Management
to enter this sub-menu. From here, the user can view screenshots,
export data and delete all data. If you have the regular LMX200, you will see the image in
Figure 4-25a. If you have the LMX200 Enhanced system, you will see the image in Figure
4-25b.
Figure 4-25: a) LMX200 system on left, displays the total number of lines, grids and screenshots saved on the
system. b) The LMX200 Enhanced system on the right displays the lines, grids and screenshots for a given project in
the middle column. The right column displays the total for each that are saved on the system.
A description of each of the buttons is given below:
4.3.1 Screenshot Gallery
This allows the user to view all screenshots that were saved by pressing the Camera button
(
10.1). The display will show a Tile View of four screenshots per page (Figure 4-26). If
Summary of Contents for LMX200 Series
Page 1: ...2015 00158 09 ...
Page 2: ...ii ...
Page 4: ...Product Registration iv ...
Page 10: ...x ...
Page 14: ...xiv ...
Page 48: ...Tools Setup 48 ...
Page 52: ...GPR Concepts 52 ...
Page 86: ...SliceView 86 ...
Page 96: ...Capturing Screens E mailing Mini Reports 96 Figure 10 3 Example of a Mini Report ...
Page 104: ...Transferring Data to a PC 104 ...
Page 108: ...Troubleshooting 108 ...
Page 111: ...Care Maintenance 111 ...
Page 112: ...Care Maintenance 112 ...
Page 114: ...Parts List Accessories 114 ...
Page 116: ...Parts List Accessories 116 ...
Page 118: ...Technical Specifications 118 ...
Page 120: ...Appendix A Health Safety Certification 120 ...
Page 128: ...Appendix B GPR Emissions Interference and Regulations 128 ...
Page 130: ...Appendix C Instrument Interference 130 ...
Page 132: ...Appendix D Safety around Explosive Devices 132 ...


