Conquest 2-Assembling
Conquest
5
6. Turn on the system by pressing any button on the Monitor Keypad. Note that this
MUST be done on the Monitor Keypad and not the Sensor Keypad or the Remote
Keypad. After the system is powered on, the red LED on the Monitor Keypad will be
illuminated.
7. Once the main menu is displayed on the LCD monitor screen, you are ready to begin
scanning with Conquest!
8. Use the
Help
option (Section 6: P31) from the main menu to learn how to scan and
generate depth slice images.
9. In high dust environments, keep the carry case lid tilted down over the back of the
monitor to minimize the amount of dust settling in ventilation slots.
2.2
Attaching the Handle
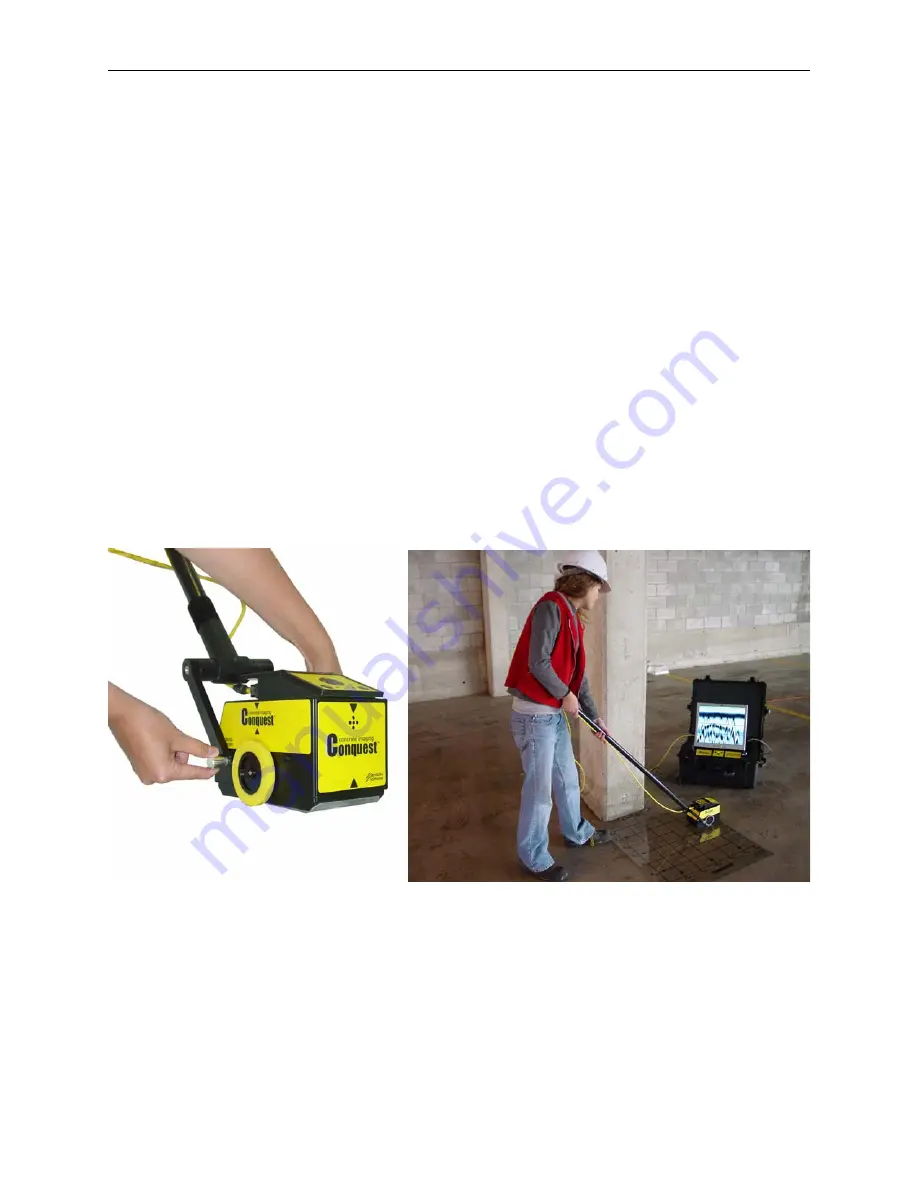
Conquest Enhanced comes with a handle to allow the operator to stand up during data collection
on floors.
Retract the spring-loaded knobs on the end of the handle, align with the two holes at the back of
the Sensor Head and release them to lock into position.
Figure 2-4:Connecting the optional handle to the Sensor Head allows data collection to be performed from
a standing position.
There is an additional set of handle mounting holes which can be used under unique
circumstances like scanning a vertical surface or in confined spaces when pulling the sensor
head towards the user may be preferable to pushing it.
Summary of Contents for Conquest Series
Page 1: ... Copyright 2012 Sensors Software Inc Drawing Number 2006 00112 05 ...
Page 2: ......
Page 3: ......
Page 4: ......
Page 8: ......
Page 12: ...Table of Contents Conquest iv ...
Page 14: ...1 Overview Conquest 2 ...
Page 20: ...3 Packing Up Conquest Conquest 8 ...
Page 32: ...4 Principles of Operation Conquest 20 ...
Page 42: ...5 Line Scans and Grid Scans Conquest 30 ...
Page 44: ...6 Help Conquest 32 ...
Page 58: ...10 Care and Maintenance Conquest 46 ...
Page 69: ...Appendix C Instrument Compatibility Conquest C 2 ...
Page 71: ...Appendix D Safety Around Explosive Devices Conquest D 2 ...


